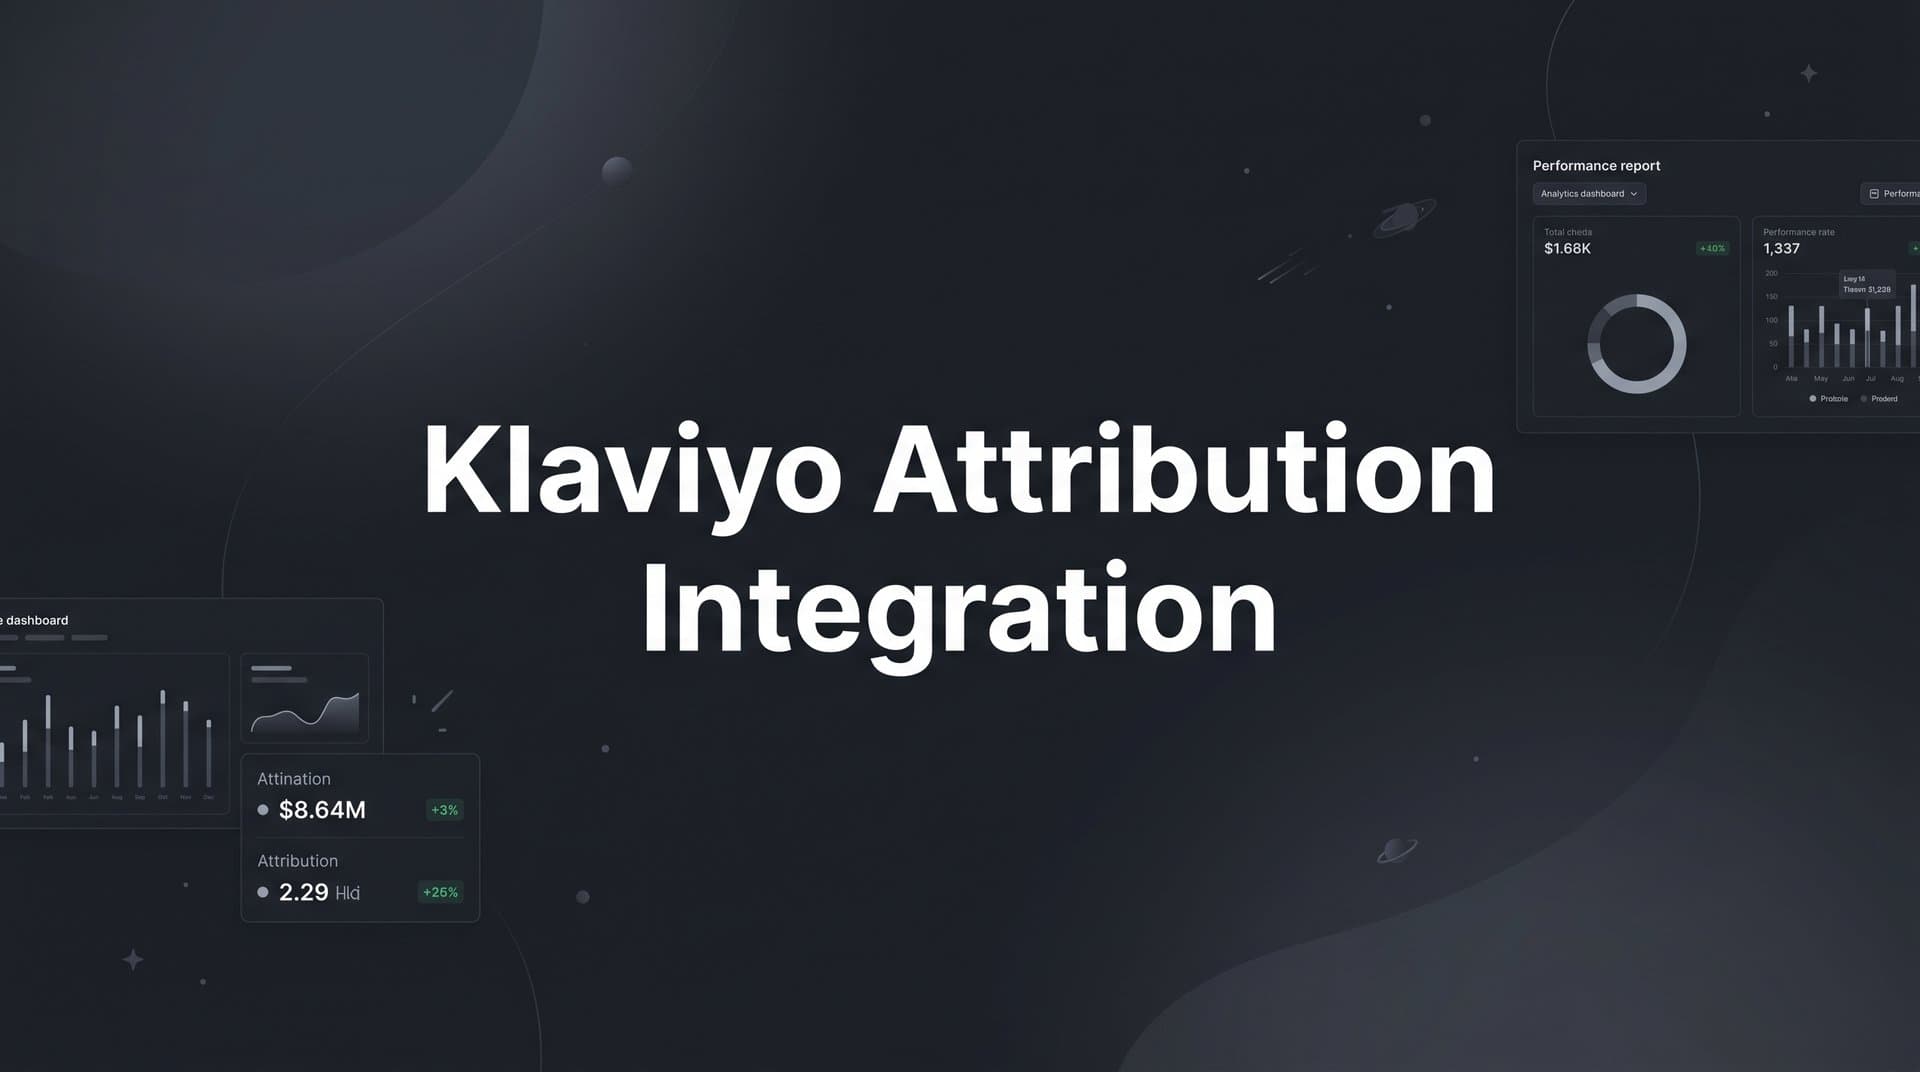
Most B2B SaaS marketing teams run Klaviyo for email and a separate tool for ad attribution, and the two never talk to each other. You end up with email conversions floating in one dashboard, ad performance data living in another, and no clear picture of how these channels work together to drive revenue.
The result is predictable: email-driven conversions get misattributed, paid campaigns look less efficient than they actually are, and your team makes budget decisions based on incomplete data. Sound familiar?
Klaviyo attribution integration solves this by connecting your email engagement data to the broader conversion and revenue picture. When you integrate Klaviyo with a multi-touch attribution platform like Cometly, you can see exactly how email flows, campaigns, and nurture sequences contribute to pipeline and closed revenue alongside your paid ads. Every touchpoint gets captured. Every channel gets proper credit. Your team finally has a single source of truth.
This guide walks you through the complete setup process, from auditing your Klaviyo account to validating attribution data in your analytics dashboard. Whether you are a marketing ops lead setting this up for the first time or a growth marketer who wants cleaner attribution data, these steps will get you there.
Here is what you will accomplish by the end of this guide: a connected system where Klaviyo email data flows into your attribution platform, conversion events sync back to ad platforms for better algorithm optimization, and your reporting dashboard shows email's true contribution to revenue alongside every other channel you run.
Let's get into it.
Step 1: Audit Your Klaviyo Account and Attribution Settings Before You Connect
Before you connect anything, you need to understand what your Klaviyo account is currently doing with attribution data. Skipping this step is one of the most common reasons teams end up with inflated or double-counted conversions after an integration.
Start by reviewing your Klaviyo attribution window settings. Klaviyo's default is a 5-day click window and a 1-day open window. This means Klaviyo will claim credit for any conversion that happens within five days of an email click or one day of an email open. The problem is that Meta defaults to a 7-day click and 1-day view window, and Google Ads has its own attribution windows on top of that. When these windows overlap, the same conversion gets credited to multiple channels simultaneously, and your total attributed revenue ends up larger than your actual revenue.
Before you connect Klaviyo to any attribution platform, align your attribution window settings. Decide on a consistent window that reflects your actual sales cycle length and apply it across platforms where possible. For B2B SaaS with longer evaluation periods, a shorter Klaviyo window (such as 1-day click) often reduces overlap and produces cleaner data.
Next, identify which Klaviyo flows and campaigns are actively driving conversions. Pull a list of your active flows (welcome sequences, trial nurture, re-engagement, post-demo) and your recent broadcast campaigns. Note which ones have conversion events attached and which metrics you want to pass downstream into your attribution platform. Not every email event needs to be synced, so being selective here will keep your data clean.
Then locate your API keys. In your Klaviyo account, navigate to Settings, then Account, then API Keys. You will need both your Public API Key and your Private API Key. The Private API Key is what you will use for the integration in the next steps. Keep it secure and do not share it in public repositories.
Finally, check your list and segment structure. If your Klaviyo lists are not segmented in a meaningful way, downstream attribution analysis becomes harder to interpret. Make sure your segments are labeled clearly so that when email engagement data flows into your attribution platform, you can filter and analyze by audience type.
Common pitfall: If you skip the attribution window alignment step and connect Klaviyo directly to your attribution tool, you will likely see conversion totals that do not match your actual closed deals. Fix the windows first, then connect.
Step 2: Set Up UTM Parameters on All Klaviyo Email Links
UTM parameters are the foundational layer of email attribution. Without them, your attribution platform cannot distinguish traffic coming from a Klaviyo email versus direct traffic, and email-driven conversions will either be misattributed or disappear entirely from your reports.
Klaviyo gives you two options: automatic UTM tagging at the account level, or manual UTM parameters added directly to your email templates. Automatic tagging is faster to set up, but manual tagging gives you more control over the naming structure. For most teams, enabling automatic UTM tagging and then overriding specific flows manually is the right balance.
To enable automatic UTM tagging, go to your Klaviyo account settings, select Tracking, and toggle on the UTM tracking option. Klaviyo will automatically append UTM parameters to every link in your emails based on the campaign or flow name.
For manual UTM parameters, use a consistent structure across all your email templates. A reliable format looks like this:
utm_source: klaviyo
utm_medium: email
utm_campaign: Use the campaign name or flow name here. For flows, include the step number so you can distinguish between step one of a welcome sequence and step three of a re-engagement flow.
utm_content: Use this to describe the specific link or CTA within the email, such as "primary-cta" or "footer-link".
Klaviyo supports dynamic variables in UTM fields, which means you can use placeholders like {{campaign.name}} to auto-populate campaign names rather than typing them manually for every flow. This reduces errors significantly when you are managing dozens of active sequences.
After setting up your UTM parameters, send a test email to yourself and click every link. Check the destination URL in your browser's address bar to confirm that the UTM parameters are appending correctly and that they are not breaking the destination URL. A common error is double-encoding, where special characters in the UTM value cause the URL to break. Fix these before your next live send.
Why this matters: When a prospect clicks a link in your nurture sequence, lands on your pricing page, and then converts three days later via a direct visit, your attribution platform needs the UTM data from that original email click to include it in the conversion path. Without UTMs, that email touchpoint is invisible, and the conversion gets credited entirely to direct or to whichever channel happened to be last.
Tip: Create a UTM naming convention document and share it with your entire marketing team. Consistent naming is what makes Klaviyo revenue attribution reports readable and actionable over time.
Step 3: Connect Klaviyo to Your Attribution Platform via API
With your Klaviyo account audited and your UTM parameters in place, you are ready to make the actual connection. This is where email data starts flowing into your attribution platform and becoming part of the unified customer journey view.
In Cometly, navigate to the Integrations panel. Locate the Klaviyo integration tile and click to begin the setup. You will be prompted to enter your Klaviyo Private API Key, which you retrieved in Step 1. Enter it here to authorize the connection. Using your Private API Key is essential because the Public API Key only provides read-only access and will prevent event syncing from working.
Once the connection is authorized, you will be asked to select which event types to sync from Klaviyo into Cometly. The most valuable events to include are email clicked, conversion events tied to your key actions (such as trial started, demo requested, or placed order), and list membership changes that signal a contact moving through your funnel stages. Email opened events can be included but are less reliable as a conversion signal given email client privacy features that auto-load images and inflate open rates.
Next, configure which Klaviyo metrics should be treated as conversion events within Cometly. For a B2B SaaS company, this typically means mapping your trial signup event, demo request event, or a custom conversion event that you have already defined in Klaviyo. This mapping tells Cometly that when this specific Klaviyo event fires, it should be counted as a conversion and attributed to the touchpoints in that contact's journey.
Then map Klaviyo profile properties to your CRM contact fields. This step is what allows email engagement data to be joined with pipeline and revenue data at the contact level. For example, if a contact's email address exists in both Klaviyo and your CRM, Cometly can stitch together their email engagement history with their deal stage and closed revenue data to give you a complete picture of that contact's journey.
To verify the connection is working, trigger a test event in Klaviyo by sending a test email and clicking a link, or by manually triggering a conversion event for a test profile. Then check the Cometly event stream. You should see the Klaviyo event appear within a few minutes. If it does not appear, double-check that you used the Private API Key and that the event types you selected in the sync configuration include the event you just triggered.
Common pitfall: Many teams configure the integration and then wait days before checking whether events are flowing. Check within the first hour using a test event so you can catch configuration errors before they affect live data.
Step 4: Configure Multi-Touch Attribution Models to Include Email Touchpoints
Connecting Klaviyo to your attribution platform is only half the work. The other half is making sure your attribution model actually gives email the credit it deserves. This is where most teams leave significant insight on the table.
Once Klaviyo is connected, open your attribution model settings in Cometly and confirm that email is recognized as a distinct channel alongside paid social and paid search. You should see Klaviyo email appearing in your channel list with its own traffic source identifier based on the UTM parameters you set up in Step 2.
Now choose an attribution model that reflects how email actually fits into your buyer journey. Here is a practical breakdown of the main options:
Last-click attribution: Credits the final touchpoint before conversion. This model systematically undercredits email because the last click is usually a direct visit or a paid retargeting click that happens after an email nurture sequence has already done the heavy lifting. Avoid this model if you want an accurate view of email's contribution.
Linear attribution: Distributes credit evenly across all touchpoints in the conversion path. If a prospect saw a LinkedIn ad, opened three emails, and then clicked a Google ad before converting, each touchpoint gets an equal share of credit. This is a good starting point for teams that are new to multi-touch attribution.
Time-decay attribution: Gives more credit to touchpoints that occurred closer to the conversion event. This works well for shorter sales cycles where the final few interactions are genuinely more influential.
Position-based attribution: Gives the most credit to the first touchpoint and the last touchpoint, with the remaining credit distributed across middle touches. For B2B SaaS with longer sales cycles, this model often makes sense because both the initial awareness moment and the final conversion trigger are strategically important.
For most B2B SaaS companies, a position-based or custom model that gives meaningful weight to the first ad touch, email nurture sequences, and the final conversion event will produce the most accurate picture of how your channels work together.
After selecting your model, open the customer journey analytics view in Cometly. Look at where email touchpoints are appearing in the path to conversion relative to your paid ads and organic channels. If email consistently appears as a middle-of-funnel touchpoint (which is typical for nurture sequences), you will be able to see exactly how much pipeline it is contributing under your chosen model versus what last-click would have shown.
Tip: Run your data under two or three different attribution models simultaneously for the first month after integration. Comparing the outputs will help you understand which model best reflects your actual customer journey before you commit to one for reporting purposes.
Step 5: Sync Klaviyo Conversion Events Back to Ad Platforms
Here is a step that many teams overlook, and it has a direct impact on your paid campaign performance. When a conversion is influenced by a Klaviyo email touchpoint, that signal needs to be sent back to your ad platforms so their algorithms can use it for optimization.
Ad platforms like Meta and Google use conversion data to train their bidding and targeting algorithms. If email-assisted conversions are not being reported back to these platforms, the algorithms see an incomplete picture of what is actually working. Your campaigns appear less efficient than they are, your cost-per-acquisition looks higher than it should, and the algorithm may reduce spend on audiences that are actually converting well when email is factored in.
In Cometly, use the server-side tracking and Conversion API integration to send enriched conversion events back to Meta and Google. Server-side tracking is more reliable than browser-side pixels for this purpose, especially as third-party cookie deprecation continues to reduce the accuracy of client-side tracking.
Configure which conversion events should be sent to each ad platform. For most B2B SaaS teams, this means sending trial started, demo requested, and closed-won events. Make sure event deduplication is enabled in your configuration. Deduplication uses a unique event ID to ensure that the same conversion is not counted twice if it is captured by both a browser-side pixel and a server-side event.
For Meta, use the Conversions API setup within Cometly to pass email-enriched conversion signals. This allows Meta's algorithm to match conversions back to the ad interactions that influenced them, even when the conversion happened days after the last ad click and was assisted by an email sequence in between.
For Google, use Enhanced Conversions to send hashed email data that improves match rates. When a contact converts after clicking a Google ad and then receiving a Klaviyo nurture sequence, the hashed email match helps Google attribute the conversion correctly and improves the quality of data flowing into your Smart Bidding campaigns.
Success indicator: After enabling server-side event syncing with email-enriched conversion data, monitor your Meta and Google campaign cost-per-acquisition metrics over the following two to four weeks. As the ad platforms receive a more complete and accurate conversion signal, you will typically see their optimization improve, which reflects in more efficient campaign performance over time.
Step 6: Build Attribution Reports That Show Email's True Revenue Contribution
You have done the technical work. Now it is time to build the reports that make all of this data actionable for your team and leadership.
In Cometly's reporting dashboard, start by creating a channel comparison view that places Klaviyo email alongside your paid channels. The key metrics to include are attributed pipeline, attributed revenue, conversion rate by channel, and cost per attributed conversion. This view gives you an apples-to-apples comparison of how email stacks up against paid social and paid search in terms of actual revenue contribution, not just traffic volume.
Next, use the customer journey analytics feature to pull a breakdown of conversion paths that include email touchpoints. Look for which Klaviyo flows appear most frequently in high-value journeys. You might find that your trial nurture sequence appears in a large percentage of closed-won paths, or that your re-engagement flow is consistently showing up in journeys that convert at a higher deal value. These are the insights that should inform your email strategy and budget decisions.
Connect your Stripe or CRM revenue data to Cometly so that attributed revenue figures reflect actual closed-won deals rather than just lead volume or trial signups. For B2B SaaS companies, this marketing attribution CRM integration is what separates meaningful attribution from vanity metrics. When you can see that a specific Klaviyo nurture sequence contributed to a specific dollar amount of closed revenue, you have a clear case for investing in email as a revenue channel.
Set up a recurring report that tracks email attribution trends over time. Run it monthly or quarterly so you can see whether changes to your nurture sequences are improving or reducing email's contribution to pipeline. This report also helps you catch attribution data quality issues early, such as a UTM parameter breaking on a template update or a Klaviyo flow that stopped syncing events correctly.
Common pitfall: When you first run this setup, you will notice that Klaviyo's native attribution report shows different numbers than Cometly's multi-touch report. This is expected and is not a sign that something is broken. Klaviyo uses last-click attribution within its own ecosystem, so it will claim credit for conversions that Cometly distributes across multiple touchpoints. For cross-channel decisions, trust the multi-touch view. For understanding email-specific engagement, Klaviyo's native reports still have value.
Putting It All Together: Your Klaviyo Attribution Integration Checklist
You now have everything you need to connect Klaviyo email data to your revenue picture. Here is a quick checklist to confirm you have covered each step before you call the integration complete.
1. Audit your Klaviyo attribution window settings and align them with your ad platform windows to prevent double-counting.
2. Enable UTM tagging on all Klaviyo email links using a consistent naming structure, and test every link before your next live send.
3. Connect Klaviyo to Cometly using your Private API Key, configure the event types to sync, and verify that events are appearing in the Cometly event stream.
4. Select a multi-touch attribution model that gives email appropriate credit based on where it appears in your buyer journey, and review the customer journey analytics view to validate.
5. Configure server-side conversion event syncing back to Meta and Google, with deduplication enabled, so that email-influenced conversions improve your ad platform optimization.
6. Build a channel comparison report in Cometly that connects to your Stripe or CRM revenue data and tracks email's contribution to pipeline and closed revenue over time.
The goal of this integration is not just connecting tools. It is building a single source of truth where email, paid ads, and revenue data are unified so your team can make confident, data-driven decisions about where to invest.
With Cometly's AI-driven recommendations, you can go beyond reporting and start acting on what the data is telling you. The platform identifies which campaigns and channels are driving the most revenue and surfaces opportunities to scale what is working. Revisit your attribution window settings quarterly as your email volume and sales cycle length evolve, because attribution is an ongoing process, not a one-time setup.
Ready to see Klaviyo attribution data in action alongside your paid channels? Get your free demo and start capturing every touchpoint across email, paid social, and paid search in a single, unified view.