
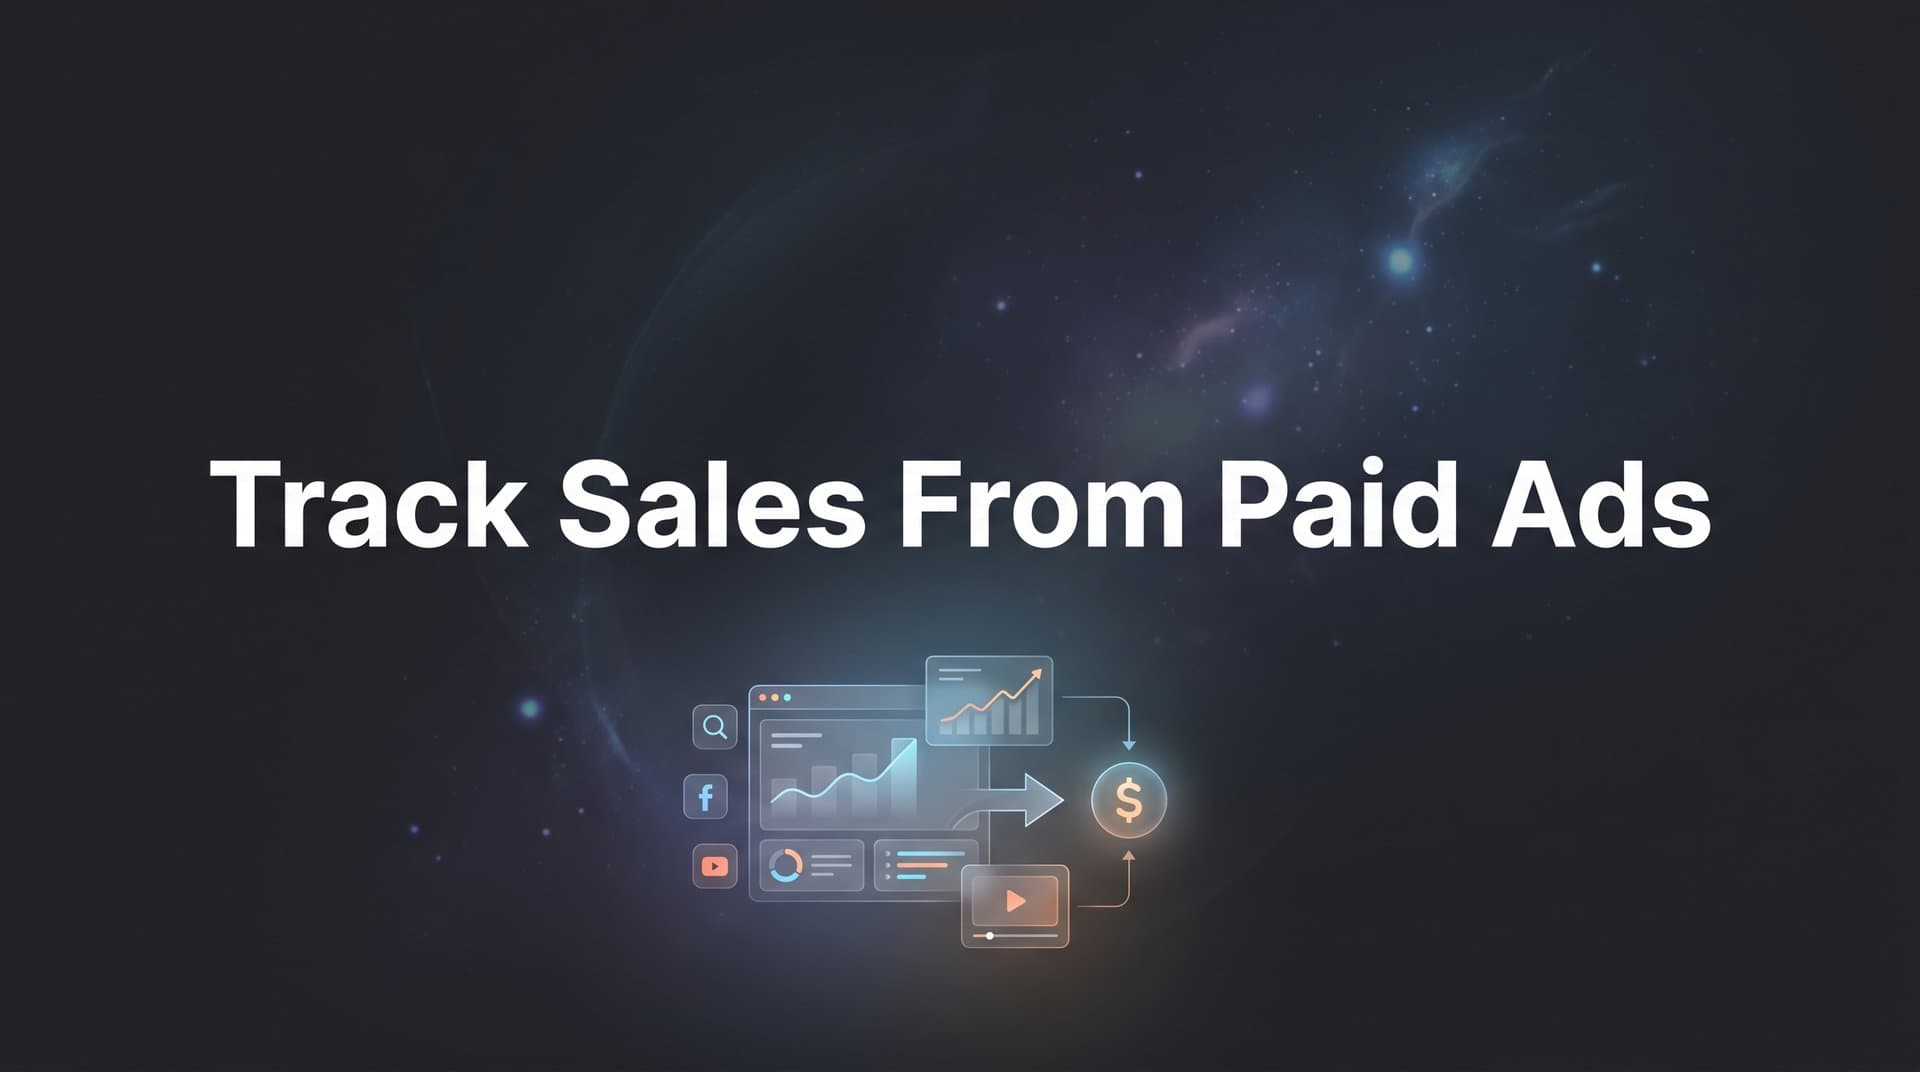
You're spending thousands on paid ads across Meta, Google, TikTok, and LinkedIn. But when a sale comes through, can you confidently say which ad drove it?
For most marketing teams, the answer is frustratingly unclear. Native platform reporting often takes credit for the same conversion multiple times, cookies get blocked, and the customer journey spans days or weeks across multiple touchpoints.
The result? You're making budget decisions based on incomplete or inflated data.
This guide walks you through the exact steps to set up reliable sales tracking for your paid advertising campaigns. You'll learn how to connect your ad platforms to actual revenue, track customers across their entire journey, and finally understand which campaigns deserve more budget and which ones are quietly draining your spend.
Whether you're running campaigns for an ecommerce brand or generating leads for a SaaS company, these steps will help you build a tracking system that shows you the real numbers.
Step 1: Map Your Customer Journey and Conversion Points
Before you can track sales accurately, you need to understand exactly how customers move from seeing your ad to making a purchase. This isn't as straightforward as it sounds.
Start by documenting every touchpoint in your customer journey. This includes the initial ad click, landing page visits, product page views, add-to-cart actions, form submissions, email opens, phone calls, and finally the purchase or closed deal.
Think of it like drawing a roadmap. Your customer might click a Facebook ad on Monday, visit your pricing page on Wednesday from a Google search, then return Friday through a retargeting ad before finally purchasing. Each of these interactions matters.
Next, identify where conversions actually happen in your business. For ecommerce brands, this might be Shopify or WooCommerce checkout pages. For SaaS companies, it could be Stripe subscription sign-ups. For B2B businesses, your conversions likely happen in your CRM when deals move to "closed-won" status.
Document your sales cycle length. If you're selling a $50 product, the journey might take hours. If you're selling enterprise software, it could take months. This determines your attribution window, the timeframe you'll need to track between first touch and final sale. Understanding attribution window best practices is critical for accurate measurement.
Create a list of every ad platform you're currently running campaigns on. Meta, Google Ads, LinkedIn, TikTok, Twitter, Pinterest. Each platform needs to be connected to your tracking system to give you the complete picture.
Common mistake to avoid: Many marketers focus only on the last click before purchase, missing all the awareness and consideration touchpoints that made the sale possible.
Your success indicator for this step is simple. You should have a clear diagram or document showing every step from ad click to revenue. If someone asks "How do customers find us and buy from us?" you can walk them through the entire journey with confidence.
This foundation makes everything else possible. Without understanding your customer journey, you're just guessing at which tracking points matter most.
Step 2: Set Up Proper UTM Parameters Across All Campaigns
UTM parameters are the tracking codes you add to your ad URLs. They tell you exactly where your traffic comes from. Without them, all your visitors look the same in analytics tools.
Create a consistent UTM naming convention before launching a single campaign. Your convention should cover five parameters: source (the platform), medium (the channel type), campaign (the specific campaign name), content (the ad variation), and term (the keyword or audience).
Here's what consistency looks like. If you use "facebook" as a source, don't also use "fb" or "Facebook" in other campaigns. Pick one format and stick to it religiously. Use lowercase, replace spaces with underscores or hyphens, and document your naming rules.
Apply UTM parameters to every single ad URL across all platforms. A Facebook ad promoting your spring sale should have a URL like: yoursite.com/product?utm_source=facebook&utm_medium=paid_social&utm_campaign=spring_sale_2026&utm_content=carousel_ad_v1
Take advantage of dynamic parameters where available. Meta lets you use {campaign_id} and {ad_id} to automatically populate campaign identifiers. Google Ads offers {campaignid}, {adgroupid}, and {keyword}. These dynamic values prevent manual errors and make tracking scalable.
The technical piece many teams miss: you need to capture and store this UTM data. If someone clicks your ad but doesn't convert immediately, those parameters disappear when they close their browser.
Store UTM data in hidden form fields on your lead forms. When someone fills out a contact form, capture the UTM parameters and send them to your CRM along with their contact information. For ecommerce, pass UTM data through your checkout flow so it connects to the final purchase. A marketing campaign tracking spreadsheet can help you organize this data systematically.
The pitfall that kills most tracking efforts: Inconsistent naming makes data analysis nearly impossible later. If your team uses "fb" sometimes and "facebook" other times, your analytics will split that data into separate sources, making it look like you're getting less traffic from Facebook than you actually are.
Test your UTM setup before spending big budgets. Click through your own ads, complete a conversion, and verify that the UTM parameters appear correctly in your analytics platform and CRM.
This step seems basic, but it's the foundation of campaign-level tracking. Get this right, and you can trace every sale back to its source campaign.
Step 3: Install Server-Side Tracking to Capture Data Browsers Miss
Browser-based tracking pixels are dying. Ad blockers, iOS privacy features, and cookie restrictions mean you're missing a significant portion of your conversions if you rely solely on pixels.
Here's what's happening behind the scenes. When someone visits your site, traditional pixels try to drop a cookie in their browser and fire tracking events back to ad platforms. But Safari blocks third-party cookies by default. Firefox does the same. iOS users who enabled App Tracking Transparency? Their data doesn't get tracked either. The App Tracking Transparency impact on ads has fundamentally changed how marketers must approach tracking.
The result is that your conversion numbers look lower than reality, and ad platforms can't optimize effectively because they're working with incomplete data.
Server-side tracking solves this by sending conversion data directly from your server to ad platforms, bypassing browser restrictions entirely. Instead of relying on the user's browser to fire a pixel, your server sends the conversion event as soon as it happens.
Start by setting up server-side tracking infrastructure. For Meta, this means implementing the Conversions API. For Google, you'll use the Google Ads API or Google Analytics 4's Measurement Protocol. These systems let your server communicate directly with ad platforms.
Configure your website or app to capture first-party data before it can be blocked. When a user takes an action like adding to cart or completing a purchase, your server should immediately log that event with all relevant details: user identifier, conversion value, timestamp, and product information.
The technical setup varies by platform, but the concept is universal. Your server becomes the source of truth for conversion data, not the user's browser.
Critical implementation detail: You still need to match server-side events to the right ad clicks. Use parameters like Facebook's fbp and fbc cookies, Google's GCLID, or your own first-party user identifiers to connect server-side conversions back to the original ad interaction.
Test your server-side implementation using platform debugging tools. Meta offers the Test Events feature in Events Manager. Google provides real-time reports in Google Analytics 4. Send test conversions and verify they're appearing correctly.
Your success indicator: You should see more conversions reported through server-side tracking than through pixels alone. If you're seeing the same numbers, something isn't configured correctly.
Many marketing teams see a 20-30% increase in tracked conversions after implementing server-side tracking properly. That's not because you're getting more sales. It's because you're finally seeing the sales that were always happening but going untracked.
Step 4: Connect Your CRM and Revenue Data to Your Tracking System
Tracking ad clicks and website conversions is only half the story. To understand which ads drive actual revenue, you need to connect your CRM and payment systems to your tracking infrastructure.
Start by integrating your CRM. Whether you use HubSpot, Salesforce, Pipedrive, or another platform, you need to track sales leads through your entire sales pipeline. This means capturing not just when someone fills out a form, but when they become a qualified lead, when they enter the sales process, and when they close as paying customers.
Map your CRM stages to conversion events. A lead entering your pipeline might be one event. A demo scheduled is another. A deal moving to "proposal sent" is a third. The closed-won deal is your final conversion event. Each stage tells you something different about campaign performance.
The technical challenge is passing customer identifiers consistently from ad click through to CRM record. When someone clicks your ad, you need to capture a unique identifier (email address, phone number, or custom user ID) and maintain that identifier through every system.
Here's how this works in practice. Someone clicks your LinkedIn ad, lands on your website, and fills out a demo request form. Your form should capture their email address along with the UTM parameters from the ad click. When that lead syncs to your CRM, both pieces of information should travel together. Weeks later, when your sales team closes the deal, you can trace that revenue back to the original LinkedIn campaign.
For ecommerce businesses, connect your payment processor or shopping platform. Shopify, WooCommerce, Stripe, and similar platforms should send transaction data including order value, products purchased, and customer identifiers to your tracking system.
This step transforms vanity metrics into real revenue attribution. Instead of celebrating "500 leads from Facebook," you can say "Facebook generated $45,000 in closed revenue last month."
Set up automated syncing between your CRM and tracking platform. Manual data exports quickly become outdated and unreliable. Real-time or near-real-time syncing ensures your attribution data reflects current pipeline status.
For B2B and SaaS companies especially, this integration is critical. Your sales cycles often span weeks or months. Without CRM integration, you'd attribute revenue to whatever campaign happened to run when the deal closed, not the campaign that actually generated the lead months earlier. You should also consider how to track offline conversions from online ads for complete visibility.
Test your integration by tracking a few deals manually from start to finish. Verify that the original campaign source appears correctly in your CRM and that closed revenue gets attributed back to the right campaigns.
Step 5: Configure Multi-Touch Attribution to See the Full Picture
Last-click attribution gives all credit to the final touchpoint before purchase. This is like giving the closing pitcher credit for winning the entire baseball game while ignoring everyone else who played.
Your customers rarely see one ad and immediately buy. They see your Facebook ad, visit your site, leave, see a Google search ad three days later, click through, browse, leave again, then return through a retargeting ad before finally purchasing.
Multi-touch attribution solves this by distributing credit across all the touchpoints that influenced the sale. Different models distribute credit differently, and choosing the right one matters. Understanding attribution modeling for paid ads is essential for accurate campaign evaluation.
Linear attribution gives equal credit to every touchpoint. If someone interacted with five ads before purchasing, each ad gets 20% of the credit. This model works well when you want to value every interaction equally.
Time-decay attribution gives more credit to touchpoints closer to the conversion. The retargeting ad someone saw right before purchasing gets more credit than the awareness ad they saw two weeks earlier. This makes sense for businesses where recent interactions matter most.
Position-based attribution (also called U-shaped) gives most credit to the first and last touchpoints, with remaining credit distributed to middle interactions. This recognizes that introducing someone to your brand and closing the sale are both critical moments.
Data-driven attribution uses machine learning to analyze your actual conversion paths and determine which touchpoints have the strongest influence on sales. This is the most sophisticated approach but requires significant data volume to work effectively.
Choose a model that fits your business reality. If you're running brand awareness campaigns alongside conversion campaigns, position-based attribution helps you value both. If you have a short sales cycle, time-decay might make more sense.
The key requirement: Your tracking system must capture all touchpoints in the customer journey, not just the first and last. This means storing every ad interaction, website visit, and engagement point for each customer.
Compare how different attribution models value your campaigns. You'll often find that campaigns performing poorly under last-click attribution are actually strong performers under multi-touch models. They're doing the heavy lifting of introducing customers to your brand, even if they don't get credit for the final click.
Your success indicator: You can see every ad interaction that influenced a sale, not just one. When you look at a conversion, you should see the complete journey, from first awareness touch through final purchase.
This visibility changes how you allocate budget. Instead of cutting awareness campaigns because they don't drive last-click conversions, you can see their true contribution to your overall sales.
Step 6: Send Enriched Conversion Data Back to Ad Platforms
Ad platforms use conversion data to optimize their algorithms. The better data you feed them, the better they perform. This is where conversion sync becomes your competitive advantage.
Configure your tracking system to send conversion data back to Meta, Google, and other platforms you advertise on. This isn't just about reporting. You're teaching platform algorithms which users actually convert so they can find more people like them. If you're struggling with this, you may be experiencing paid ads not getting credit for sales.
Include actual revenue values, not just conversion counts. Telling Facebook "this user converted" is helpful. Telling Facebook "this user converted and spent $500" is far more valuable. The platform can then optimize toward high-value customers, not just anyone who converts.
Set up offline conversion imports for sales that happen after the initial tracking window. If your sales cycle takes 30 days but the ad platform's attribution window is only 7 days, you need to manually send those conversions back to the platform so it understands the full impact of its ads.
Here's how this improves performance. When you feed accurate conversion data back to Meta's algorithm, it learns which user characteristics and behaviors predict purchases. It then shows your ads to more people who match those patterns. Over time, your cost per acquisition drops and your return on ad spend improves.
The same principle applies to Google Ads. When you import conversions with actual values, Smart Bidding strategies can optimize toward revenue, not just conversion volume. The algorithm will bid higher for users likely to make large purchases and lower for users likely to make small ones.
Technical consideration: Use deduplication keys to prevent double-counting. If you're sending conversions through both browser pixels and server-side tracking, you need to ensure the same conversion doesn't get counted twice. Most platforms support event_id or transaction_id parameters for this purpose.
Monitor your conversion sync setup regularly. Check that conversions are flowing from your tracking system to ad platforms correctly. Platform reporting should show both pixel-based conversions and server-side conversions, with clear deduplication.
Watch for improved ROAS as platforms optimize toward your real customers. This isn't an overnight change, but over weeks you should see ad platforms getting better at finding people who actually buy, not just people who click.
The feedback loop this creates is powerful. Better data leads to better optimization, which leads to better results, which gives you more data to feed back into the system.
Step 7: Build Reports That Show True Campaign ROI
All the tracking infrastructure in the world is useless if you can't easily access and understand your data. This final step is about creating reports that actually drive decisions.
Create dashboards that display revenue attributed to each campaign, ad set, and individual ad. Your reports should answer questions like "Which Facebook campaign generated the most revenue last month?" and "What's our actual ROAS by channel?" in seconds, not hours of spreadsheet work.
Compare platform-reported conversions against your attributed sales to spot discrepancies. Facebook might claim 100 conversions while your attribution system shows 75 with actual revenue data. This gap tells you something important about data quality or attribution methodology. Learning how to prove which ads drive sales gives you confidence in your reporting.
Set up regular reporting cadences. Daily reports help you catch technical issues quickly. Weekly reports let you spot performance trends. Monthly reports are perfect for budget allocation decisions and strategic planning.
Essential metrics to include: Total revenue by campaign, cost per acquisition based on actual sales (not just leads), return on ad spend using real revenue data, customer lifetime value by acquisition source, and conversion rate at each stage of your funnel.
Build reports that segment by attribution model. Create one view showing last-click results and another showing multi-touch attribution. This helps you understand the difference and make informed decisions about which model to use for optimization.
Make your reports accessible to everyone who needs them. Your media buyers should see campaign performance daily. Your CMO should see high-level channel performance weekly. Your CFO should see revenue attribution monthly.
Use your data to make confident budget allocation for paid ads decisions based on actual revenue, not platform claims. If LinkedIn is driving higher-value customers than Facebook, even if Facebook delivers more total conversions, your budget should reflect that reality.
Your success indicator for this step: You can answer "Which campaign generated the most revenue last month?" in seconds. If you need to pull data from multiple platforms, export to spreadsheets, and spend an hour calculating, your reporting isn't where it needs to be.
Good reporting doesn't just show you what happened. It helps you understand why it happened and what to do next. Build reports that drive action, not just observation.
Putting It All Together
Tracking sales from paid ads accurately requires connecting multiple systems: your ad platforms, website, CRM, and revenue data. By following these seven steps, you've built a foundation that shows you exactly which ads drive real sales, not just clicks or inflated platform metrics.
Quick Implementation Checklist:
Customer journey and conversion points documented
UTM parameters standardized across all campaigns
Server-side tracking capturing data browsers miss
CRM connected to track leads through to revenue
Multi-touch attribution configured
Conversion data syncing back to ad platforms
Revenue-focused reporting dashboards live
The difference between guessing and knowing which ads work can mean thousands of dollars in wasted spend or missed scaling opportunities. When you can see exactly which campaigns drive revenue, you stop making decisions based on incomplete data and start scaling what actually works.
Start with step one today, and work through each step methodically. Map your customer journey this week. Set up proper UTM parameters next week. Each step builds on the previous one, creating a complete attribution system that gives you confidence in every budget decision.
Your future budget decisions will thank you. Instead of wondering whether that Facebook campaign really drove those sales, you'll know. Instead of debating whether to increase Google Ads spend, your data will tell you. Instead of cutting campaigns that look weak in platform reporting but actually drive awareness, you'll see their true contribution.
Ready to elevate your marketing game with precision and confidence? Discover how Cometly's AI-driven recommendations can transform your ad strategy. Get your free demo today and start capturing every touchpoint to maximize your conversions.


