
Most B2B SaaS companies do not run on a single domain. You might have a marketing site on one domain, a product on another, a landing page subdomain for campaigns, and a checkout or billing portal on a third. When a prospect clicks your ad, visits your homepage, signs up on your app domain, and converts through a payment portal, that journey crosses multiple domains.
Without proper conversion tracking for multiple domains, each domain break looks like a new session, and attribution falls apart. You lose visibility into which ads drove that conversion, your ad platforms receive incomplete data, and your ROAS calculations become unreliable.
This guide walks you through exactly how to set up conversion tracking across multiple domains so every touchpoint is captured, every conversion is attributed correctly, and your ad spend data stays clean and accurate. Whether you are using Google Ads, Meta, or a dedicated attribution platform like Cometly, the steps below apply to your setup.
By the end, you will have a working cross-domain tracking framework that connects ad clicks to conversions regardless of how many domains your customer journey spans.
Step 1: Map Your Customer Journey Across Domains
Before you configure a single tag or fire a single pixel, you need a complete picture of how prospects move through your funnel. Skipping this step is the most common reason cross-domain tracking setups fail. You cannot track what you have not mapped.
Start by listing every domain and subdomain involved in your funnel from the moment someone clicks an ad to the moment they become a paying customer. This typically includes your main marketing site, a blog or content subdomain, campaign-specific landing pages, your app or product domain, and a billing or checkout portal. Write them all down in order.
Next, identify every point where a domain transition occurs. These are the moments where tracking is most likely to break. Common transitions in B2B SaaS funnels include moving from a marketing site to an app domain during signup, from an app domain to a third-party billing portal during checkout, and from a campaign landing page back to the main site.
For each domain in your list, document which conversion events happen there. Form submissions and demo requests typically happen on the marketing site. Trial signups and account creation happen on the app domain. Payment confirmations happen on the billing portal. Mapping events to domains gives you a clear picture of what needs to be tracked where.
Pay special attention to any third-party domains you do not control. Payment processors like Stripe, scheduling tools, and external form providers all introduce domain transitions where your tracking code cannot be installed. These require server-side solutions, which you will address in later steps. Understanding these conversion tracking gaps before you build your setup prevents costly attribution errors down the line.
The output of this step is your tracking blueprint. Every decision you make in the following steps should reference this map. If a domain or transition is not on your map, it will not be tracked, and your attribution will have a gap.
Step 2: Choose Your Tracking Architecture
Once you know your full domain map, you need to decide how you will collect and send conversion data. There are two main approaches, and understanding the tradeoffs will determine how reliable your setup is.
Client-side tracking uses browser-based pixels and tags, such as the Meta Pixel or Google Ads conversion tag, to fire events when a user takes an action on a page. It is faster to set up and requires minimal backend work. The problem is that it breaks at domain boundaries. When a user moves from one domain to another, the browser treats it as a new session, and the original referral source is lost. Add in ad blockers, iOS privacy restrictions, and browser cookie limitations, and client-side tracking alone is not sufficient for multi-domain funnels.
Server-side tracking via Conversion API (Meta) and Enhanced Conversions (Google) sends event data directly from your server to the ad platform, bypassing the browser entirely. This approach is not affected by ad blockers or cookie restrictions. It is the most reliable method for capturing conversions that happen across domain boundaries or in environments where browser tracking is limited. For a deeper look at why this matters, see why server-side tracking is more accurate than client-side alternatives.
For multi-domain setups, the most reliable architecture is a hybrid approach: collect first-party data at each touchpoint on the client side, then send enriched conversion events to ad platforms via server-side APIs. This gives you the speed of client-side collection with the reliability of server-side delivery.
You also need to decide whether to manage tracking natively within each ad platform or centralize it through a dedicated attribution platform. Managing it natively means configuring Meta Conversion API, Google Enhanced Conversions, and any other platform separately, each with its own event schema and deduplication logic. Centralizing through an attribution platform like Cometly means connecting your ad platforms, CRM, and website tracking in one place and letting the platform handle event routing and enrichment automatically.
For teams managing multiple domains and multiple ad platforms simultaneously, centralization is almost always the more scalable choice.
Step 3: Implement Cross-Domain Linker Parameters
Linker parameters are the mechanism that keeps session and click data intact when a user navigates between domains. Without them, every domain transition resets attribution, and your tracking data fragments into disconnected sessions.
Here is what linker parameters actually do: when a user clicks a link that takes them from one configured domain to another, a linker parameter is appended to the destination URL. This parameter carries session identifiers and click data so the receiving domain can recognize the user as part of the same session rather than a new visitor.
In Google Analytics 4 and Google Tag Manager, cross-domain measurement requires you to configure your domains explicitly. In GA4, go to Admin, then Data Streams, then configure your web stream settings to include all domains that are part of your funnel. In Google Tag Manager, you can configure the cross-domain linker in your GA4 tag settings by listing all destination domains. Any domain not included in this list will not receive the linker parameter, and tracking will break at that transition. For a broader understanding of how GA4 handles events, review event tracking in Google Analytics to ensure your configuration is complete.
For Google Ads, ensure your auto-tagging is enabled so the gclid parameter is passed through domain transitions. If your links between domains are hardcoded, you may need to manually append the gclid or configure your tag to do so dynamically.
For Meta, the fbclid parameter works similarly. When a user clicks a Meta ad, the fbclid is appended to the landing page URL. If that user then navigates to another domain, you need to ensure the fbclid is passed through to the next domain so Meta can match the session to the original ad click. This typically requires appending the fbclid to cross-domain links programmatically.
UTM parameters must also be preserved through every domain transition. If a link between domains strips UTM parameters, source attribution is lost for that session. Audit every cross-domain link in your funnel to confirm UTMs are being passed through correctly.
After configuring your linker parameters, test each domain transition manually. Click through your funnel as a real user would and inspect the URLs at each step using your browser's address bar. You should see the linker parameter or UTM parameters present in the URL immediately after each domain transition.
The most common mistake here is forgetting to include all subdomains in your linker configuration. A subdomain like app.yourdomain.com is treated as a separate domain for tracking purposes unless explicitly configured. Review your domain map from Step 1 and make sure every subdomain is included.
Step 4: Set Up Server-Side Conversion API for Each Ad Platform
Linker parameters handle the session continuity layer, but server-side Conversion API is what ensures your conversion events actually reach ad platforms reliably, even when browser tracking fails.
For Meta, the Conversion API sends conversion events directly from your server to Meta's servers. This means the event is captured regardless of whether the user has an ad blocker, whether their browser blocks third-party cookies, or whether the Meta Pixel failed to fire. To set it up, you will need access to your Meta Events Manager, a system access token, and the ability to send HTTP requests from your server when a conversion event occurs. Following a structured Conversion API implementation tutorial will help you avoid the most common configuration mistakes.
For Google, Enhanced Conversions works similarly. It allows you to pass first-party customer data, such as hashed email addresses, alongside conversion events so Google can match conversions to ad clicks even in cookieless environments. Configure Enhanced Conversions in your Google Ads account under Conversion Settings, then implement the server-side component using the Google Ads API or Google Tag Manager's server-side container.
A critical requirement for both platforms is using a consistent event identifier across all domains. This means assigning a unique event ID to each conversion event and passing that same ID from both the browser pixel and the server-side API call. This is how ad platforms deduplicate events and avoid counting the same conversion twice.
Event deduplication works like this: the browser pixel fires with event ID "abc123" when a user completes a purchase. Your server also sends a Conversion API event for the same purchase with the same event ID "abc123". The ad platform receives both, sees the matching IDs, and counts it as one conversion instead of two. Without this, running both browser and server-side tracking simultaneously will inflate your conversion counts, leading to inaccurate conversion tracking that distorts your campaign performance data.
Before going live, use each platform's event testing tools to verify your server-side events are firing correctly. Meta's Test Events tool in Events Manager and Google's Tag Assistant both allow you to confirm that events are being received, matched to the correct ad account, and attributed properly.
Platforms like Cometly handle server-to-server tracking natively. Rather than configuring Meta Conversion API and Google Enhanced Conversions separately, Cometly sends enriched conversion events back to both platforms automatically, with deduplication built in. This significantly reduces the implementation complexity for teams managing multiple ad platforms simultaneously.
Step 5: Unify Your First-Party Data with a Single User Identifier
Linker parameters and server-side APIs solve part of the cross-domain problem, but they depend on something more fundamental: a consistent way to identify the same user across different domains. This is the core challenge of multi-domain tracking in a world without third-party cookies.
The solution is a persistent first-party user ID. At the very first touchpoint, whether that is an ad click or a first page visit, assign a unique identifier to the user and store it in a first-party cookie on that domain. When the user navigates to another domain, pass this ID through the URL or a server-side handoff so the receiving domain can recognize them as the same person.
Here is how to implement this in practice. When a user first lands on your marketing site from an ad, generate a unique user ID and store it as a first-party cookie. When they click a link to your app domain, append this ID to the URL as a query parameter. On the app domain, read the parameter from the URL and set the same ID in a first-party cookie on that domain. Repeat this process at every domain transition.
Include this user ID in all server-side event payloads. This allows your attribution platform and ad platforms to stitch together events from different domains into a single user journey. Without a consistent identifier, events from your marketing site, app domain, and billing portal look like they came from three different users.
When users authenticate or submit a form, enrich their profile with hashed personally identifiable information such as email address or phone number. Hashing ensures privacy compliance while still allowing ad platforms to match conversions to ad clicks through their own first-party data. Higher match rates mean more conversions are attributed to your campaigns, which directly improves the accuracy of your ROAS calculations. Following best practices for tracking conversions accurately at this stage ensures your first-party data strategy holds up as privacy restrictions continue to tighten.
Without this step, even a technically correct cross-domain tracking setup will produce fragmented data. You might see that a user converted, but you will not be able to reliably connect that conversion to the specific ad campaign that drove them into your funnel six touchpoints earlier.
Step 6: Configure Your Attribution Platform to Track Across Domains
Individual ad platform integrations give you data in silos. An attribution platform brings it all together into a single view of the customer journey, regardless of how many domains that journey spans.
Start by connecting all of your domains to your attribution platform so it receives events from every stage of the funnel. This typically involves installing a tracking snippet or SDK on each domain and configuring the platform to recognize events from each domain as part of the same funnel. Reviewing a comparison of top conversion tracking platforms can help you evaluate whether your current tool is equipped to handle multi-domain setups at scale.
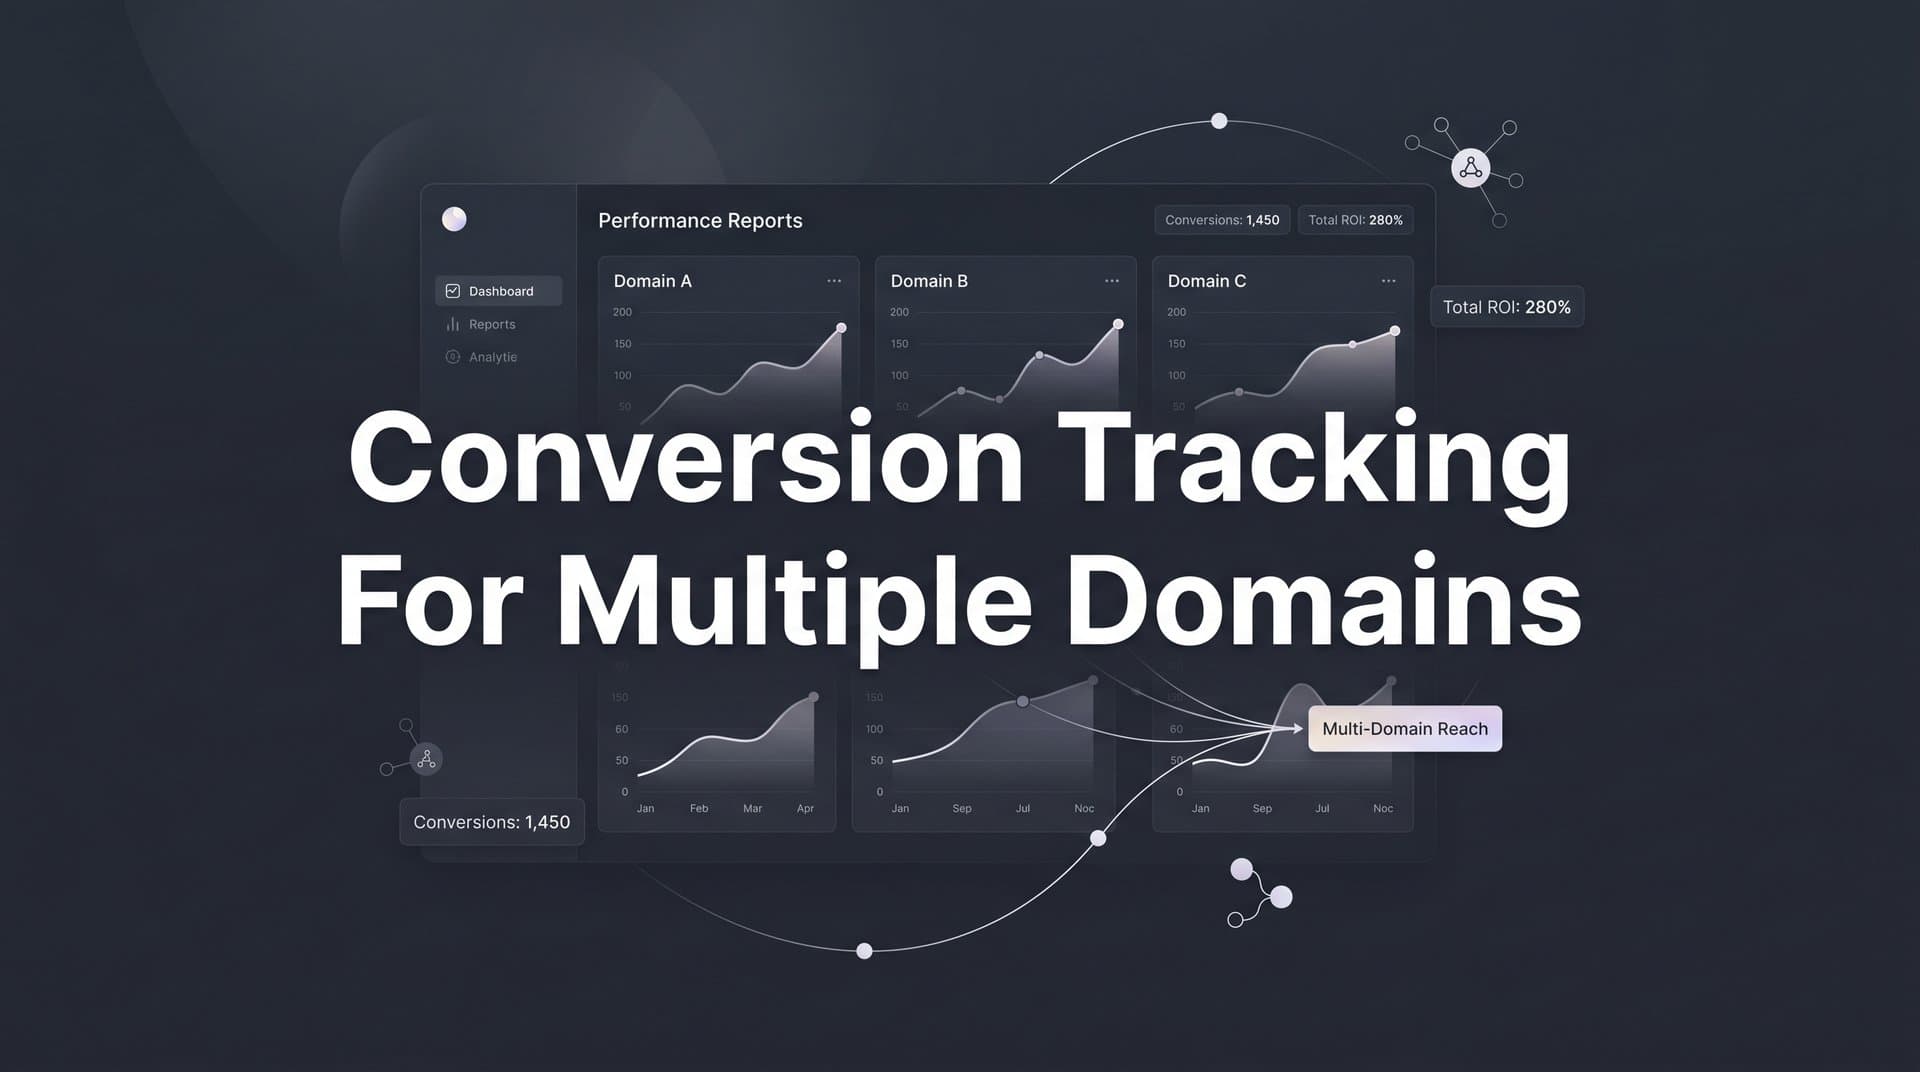
In Cometly, you can integrate your CRM, ad platforms, and website tracking in one place. Every touchpoint from the initial ad click on your marketing site to a trial signup on your app domain to a payment confirmation on your billing portal is captured and connected to the original ad source. This gives you end-to-end visibility into which campaigns are driving pipeline and revenue, not just top-of-funnel clicks.
Configure pipeline and revenue attribution so that conversions happening on your app or billing domain are connected back to the original ad source. This is where most teams lose visibility. They can see that someone converted, but because the conversion happened on a different domain than the original click, the attribution is broken. A properly configured attribution platform resolves this by using the first-party user ID and server-side event data to stitch the journey together.
Use multi-touch attribution models to distribute credit across all touchpoints in the cross-domain journey. For B2B SaaS companies with longer sales cycles, a prospect might interact with multiple campaigns across multiple domains before converting. Single-touch models, whether first-click or last-click, miss the full picture. Multi-touch attribution models give you a more accurate view of which campaigns are contributing at each stage of the funnel.
Enable real-time dashboards to monitor conversion data flowing in from each domain. If a domain stops sending events, you want to know immediately rather than discovering the gap during a monthly reporting review. Check your attribution platform's event logs for each domain separately to confirm data is flowing correctly from every stage of your funnel.
Step 7: Test, Validate, and Monitor Your Cross-Domain Setup
A tracking setup that has not been tested is a tracking setup that is probably broken somewhere. Testing is not optional, and it is not a one-time activity.
Start with an end-to-end test conversion. Simulate the full customer journey from clicking an ad through every domain transition to the final conversion event. Use a test account or a dedicated test campaign so your real conversion data is not affected. Walk through the entire funnel as a real user would, including any redirects, form submissions, and payment steps.
At each domain transition, open your browser's developer tools and inspect the URL. You should see linker parameters, UTM parameters, and your first-party user ID present in the URL immediately after the transition. If any of these are missing, the tracking will break at that point.
After completing the test conversion, check your ad platform event managers. In Meta Events Manager, verify that the server-side Conversion API event was received, that it was matched to the correct ad account, and that the event ID matches the browser pixel event for deduplication. In Google Ads, use the conversion tracking diagnostics to confirm the conversion was recorded and attributed correctly. Referencing a dedicated conversion tracking setup guide alongside your testing process helps you catch configuration issues that are easy to miss during initial validation.
Audit your attribution reports to confirm that conversions on downstream domains, such as your app or billing portal, are being attributed to the correct ad campaigns. If a conversion shows as direct traffic or has no campaign attribution, there is a gap in your cross-domain setup that needs to be identified and fixed.
Set up ongoing monitoring alerts for event volume drops on any domain. A sudden drop in events from a specific domain is a strong signal that something broke, whether due to a site update, a tag being removed, or a domain configuration change. Catching these breaks quickly prevents extended periods of missing attribution data.
Schedule a monthly audit of your entire cross-domain tracking setup. This is especially important after site updates, domain migrations, new ad platform integrations, or any changes to your funnel structure. Tracking setups degrade over time as your product and marketing infrastructure evolve. Regular audits keep your data clean and reliable.
Putting It All Together
Cross-domain conversion tracking is not a one-time setup task. It is an ongoing discipline that requires a clear journey map, the right tracking architecture, consistent user identifiers, and a reliable attribution platform pulling it all together.
When your tracking is working correctly across every domain, you gain something most marketing teams lack: a complete, accurate picture of how your ad spend connects to pipeline and revenue. You stop guessing which campaigns are working and start making decisions backed by real data.
Use this checklist to confirm your setup is complete:
Customer journey mapped: Every domain and subdomain documented, with transitions and conversion events identified.
Tracking architecture decided: Hybrid client-side and server-side approach configured for reliability across domain boundaries.
Cross-domain linker parameters configured: All domains included in your GA4 and Google Ads settings, fbclid passed through Meta transitions, UTMs preserved at every step.
Conversion API set up with deduplication: Meta Conversion API and Google Enhanced Conversions sending server-side events with matching event IDs to prevent double-counting.
First-party user ID implemented: Persistent identifier assigned at first touchpoint and passed through every domain transition and server-side event payload.
Attribution platform connected: All domains, ad platforms, and CRM integrated so every touchpoint from first ad click to closed revenue is captured in one place.
End-to-end test conversions validated: Full funnel tested, linker parameters confirmed, server-side events verified, and attribution reports audited.
If you are ready to centralize your cross-domain tracking and get a single source of truth for your marketing data, Cometly connects your ad platforms, CRM, and website events in one place so you can track every touchpoint from first ad click to closed-won revenue. Get your free demo today and start capturing every touchpoint to maximize your conversions.


