
YouTube advertising offers massive reach, but many marketers face a frustrating reality: they cannot tell which YouTube ads actually drive conversions. Between view-through conversions, cross-device journeys, and users who watch an ad today but convert three weeks later through a branded search, the attribution picture gets murky fast.
The default reporting inside Google Ads gives you part of the story. But it often inflates results, takes credit for conversions influenced by multiple channels, and misses the full customer journey entirely. If you are spending real budget on YouTube campaigns and cannot confidently tie that spend back to revenue, you are making budget decisions based on incomplete information.
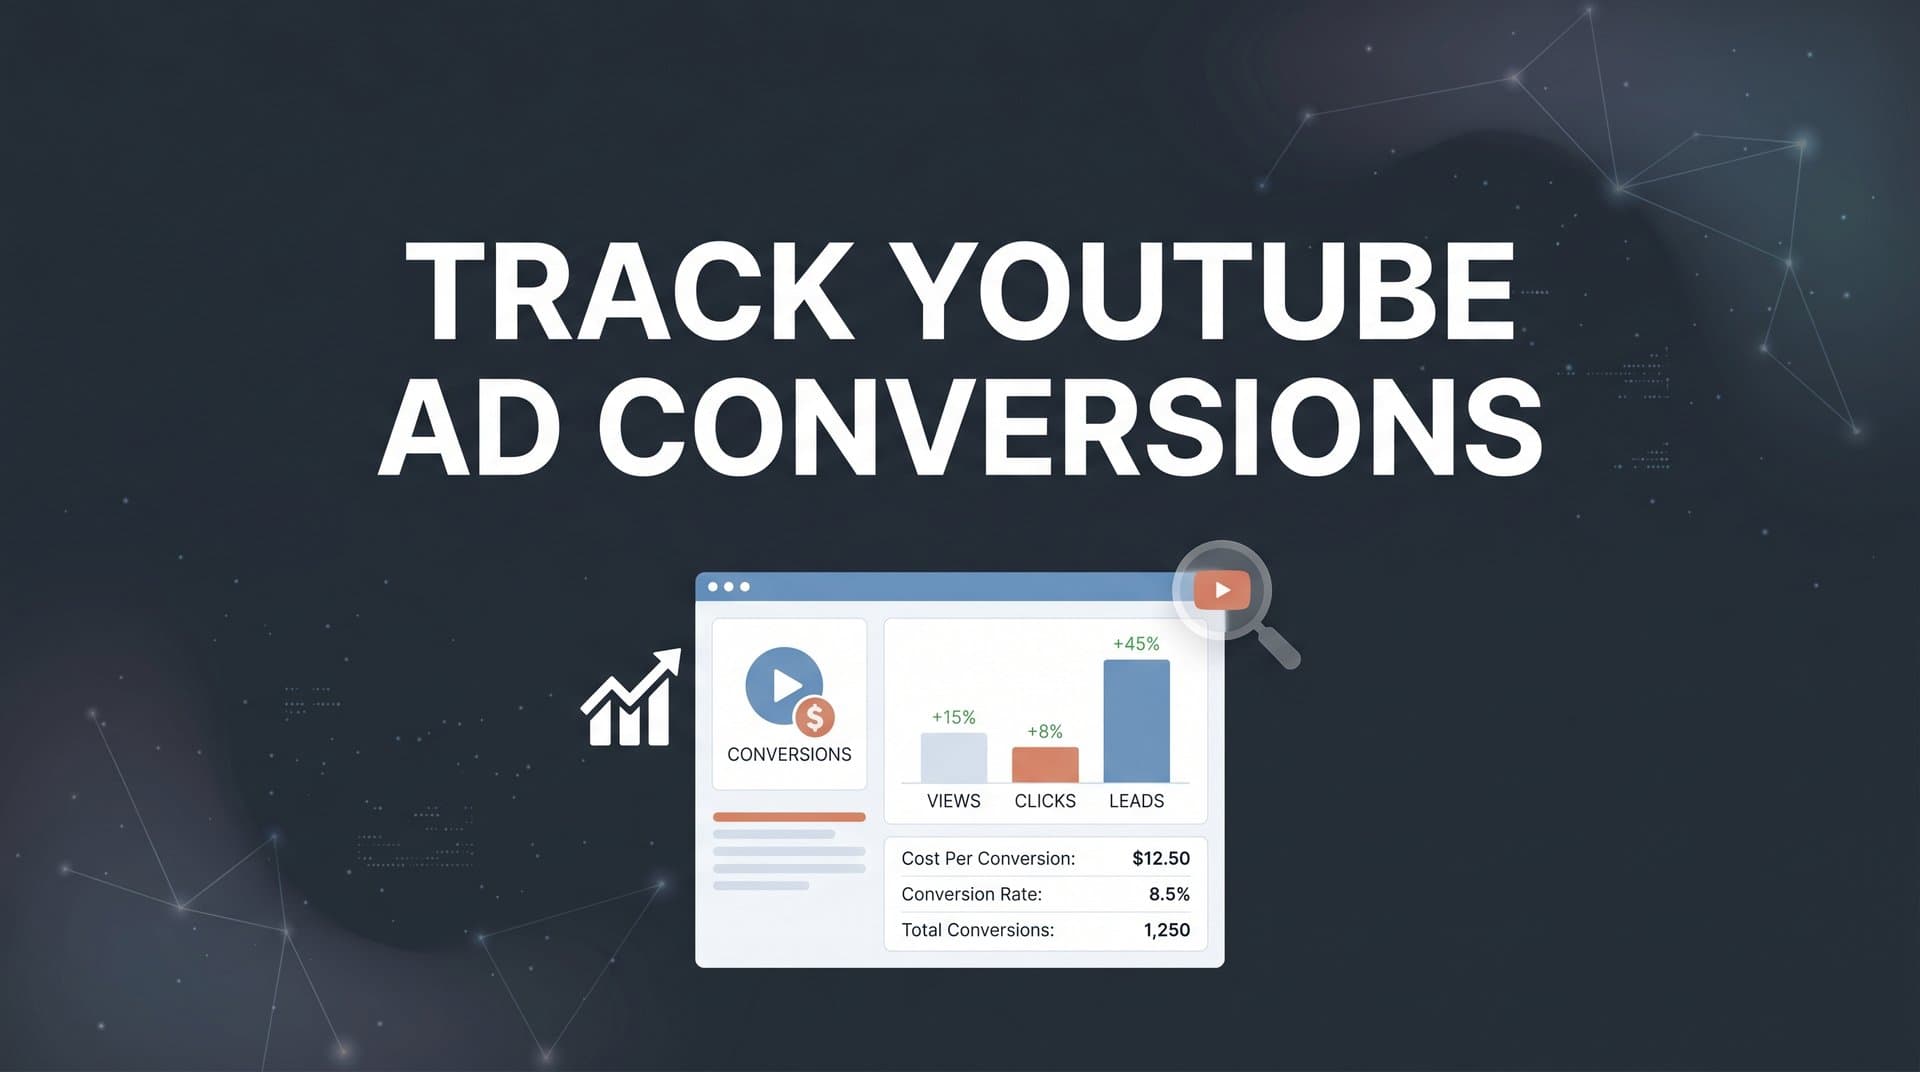
This guide walks you through the complete process of setting up reliable YouTube ad conversion tracking. You will go from defining your conversion events all the way to feeding enriched data back to Google's bidding algorithms. Each step builds on the last, creating a layered system that captures the full path from ad view to purchase.
Whether you are running TrueView in-stream ads, bumper ads, or YouTube Shorts campaigns, these steps apply across all YouTube ad formats. By the end, you will have the infrastructure to make confident decisions about where to scale your YouTube spend and where to pull back.
Step 1: Define Your Conversion Events Before You Touch Any Settings
Before you configure a single tag or conversion action, you need clarity on what actually counts as a conversion for your business. This sounds obvious, but skipping this step leads to one of the most common tracking failures: either tracking too many events and drowning in noisy data, or tracking too few and missing critical signals.
Start by separating macro conversions from micro conversions. Macro conversions are the revenue-driving events that directly tie to business outcomes: completed purchases, demo requests, lead form submissions, and sign-ups. These are the events you will optimize your campaigns toward and use to measure ROI.
Micro conversions are the supporting signals that indicate intent without being the final action: add-to-cart events, video views on your landing page, pricing page visits, or content downloads. These are valuable for understanding the journey, but they should not be your primary optimization target in Google Ads bidding strategies.
Next, map out the expected user journey from YouTube ad view to conversion. Here is the important distinction with YouTube: unlike search ads where users are actively looking for a solution and often convert quickly, YouTube is primarily an awareness and consideration channel. A user might watch your pre-roll ad, think about it for a few days, search your brand name, visit your site twice, and then convert on the third visit. Understanding conversions across multiple touchpoints is essential for mapping this journey accurately.
This means your conversion windows need to reflect that longer journey. The default 30-day click-through window in Google Ads may be appropriate for some businesses, but if your sales cycle is longer (think SaaS trials, high-ticket purchases, or B2B services), extending your view-through conversion window to 30 days and your click-through window to 60 or 90 days will capture more of the conversions YouTube actually influenced.
Before moving forward, document your decisions clearly:
Primary conversion events: The actions that will drive your bidding and primary reporting (purchases, demo bookings, qualified leads).
Secondary conversion events: Supporting signals you want to observe but not optimize toward (micro conversions, engagement events).
Conversion windows: The time periods you will track for both click-through and view-through conversions, matched to your actual sales cycle.
Getting this right upfront shapes every decision that follows. It also makes it much easier to communicate YouTube's value to stakeholders who might be skeptical about an awareness channel that does not always show immediate last-click results.
Step 2: Set Up Google Ads Conversion Actions for YouTube Campaigns
With your conversion events defined, it is time to build them inside Google Ads. Navigate to your Google Ads account and go to Tools and Settings, then select Conversions under the Measurement section. Click the blue plus button to create a new conversion action.
You will be asked to choose a conversion source. For most YouTube advertisers, the relevant options are website conversions (tracked via the Google tag on your site), import from Google Analytics 4, or import from a CRM or third-party system. Start with website conversions if you are setting this up from scratch.
When configuring the conversion action, pay close attention to these settings:
Category: Select the category that matches your conversion type (Purchase, Submit lead form, Sign-up, etc.). This helps Google's algorithms understand the value of the conversion.
Value: Assign a conversion value whenever possible. For e-commerce, use dynamic values pulled from your transaction data. For lead generation, assign an estimated value based on your average lead-to-close rate and deal size. Campaigns optimized toward revenue rather than conversion volume tend to attract higher-quality traffic.
Count: For purchases, set this to "Every" so each transaction is recorded. For lead forms or sign-ups, set it to "One" to avoid counting duplicate submissions from the same user.
Click-through conversion window: Set this based on your sales cycle. A 30 to 90-day window is appropriate for most YouTube campaigns given the awareness-stage nature of the channel.
View-through conversion window: This is critical for YouTube. A view-through conversion records when someone sees your ad (without clicking) and later converts on your site. Enable this and set it to at least 7 days, though 14 to 30 days is more appropriate for longer consideration cycles. Without this, you will significantly undercount YouTube's contribution.
Attribution model: Google Ads offers several options, including last-click and data-driven attribution. For YouTube campaigns, data-driven attribution is the better choice when you have enough conversion volume (generally 300 or more conversions per month). It distributes credit across touchpoints based on actual path data rather than defaulting everything to the last click. If your volume is lower, position-based or time-decay models are reasonable alternatives to last-click. If your conversion tracking numbers seem wrong, reviewing your attribution model is a good first step.
Once you save the conversion action, verify its status. It should show as "Unverified" initially and move to "Recording conversions" once the tag fires successfully. Do not proceed to scaling spend until you see confirmed conversion data flowing in.
Step 3: Install and Verify Your Google Tag on Your Website
A conversion action in Google Ads is just a configuration until the tag is actually firing on your site. This step is where many tracking setups break down, usually because the tag is placed only on a landing page rather than site-wide.
The Google tag (gtag.js) should be installed on every page of your website. This is important because YouTube users often do not convert on the landing page they first arrive at. They might browse your site, visit your pricing page, read a case study, and convert on a completely different page. A site-wide tag ensures you capture the conversion regardless of where it happens.
You have two main installation options. The first is direct implementation, where you add the gtag.js snippet to the <head> section of every page on your site. The second, and generally recommended approach, is installing through Google Tag Manager. Tag Manager lets you manage all your tracking tags from one interface without touching code every time you need to make a change. To understand how pixels work in this context, read our guide on what a tracking pixel is and how it works.
After installing the base Google tag, you need to set up conversion event snippets. For a thank-you page conversion (like a post-purchase confirmation or form submission confirmation page), add the event snippet to that specific page. For dynamic events like form submissions that do not redirect to a new URL, you will trigger the event snippet via JavaScript when the form is submitted successfully.
To verify everything is working correctly:
1. Install the Google Tag Assistant Chrome extension and visit your site to confirm the Google tag is loading on all pages without errors.
2. Use the Google Ads tag diagnostics tool (found in your conversion action settings) to check whether the tag has been detected recently.
3. Complete a test conversion yourself. Click through a YouTube ad preview link or use a UTM-tagged test URL, complete the conversion action on your site, and then check Google Ads to confirm the conversion was recorded.
This end-to-end test is non-negotiable before you start scaling spend. Many tracking failures are discovered only after weeks of campaigns running with no data flowing, which makes it impossible to retroactively recover that attribution information.
Common pitfall to avoid: Tags placed only on landing pages will miss a significant portion of conversions from users who navigate to other pages before completing their purchase or form submission. Always install site-wide.
Step 4: Connect Google Ads to Google Analytics for Deeper Journey Insights
Google Analytics 4 tells you how conversions happened, including the full path a user took before converting. Connecting Google Ads and GA4 gives you a much richer picture of how YouTube ads interact with the rest of your marketing.
To link your accounts, go to your Google Ads account, navigate to Tools and Settings, then select Linked accounts under Setup. Find Google Analytics and follow the linking process. You will need admin access to both accounts to complete this.
Once linked, enable auto-tagging in Google Ads (found under Account Settings). Auto-tagging automatically appends a GCLID parameter to your ad URLs, which allows GA4 to identify sessions that originated from your Google Ads campaigns, including YouTube. Without auto-tagging, GA4 will show those sessions as organic or direct traffic, completely obscuring YouTube's contribution. For a deeper dive into UTM parameters and their role, check out our article on UTM tracking and how it helps your marketing.
Inside GA4, navigate to the Advertising section to access conversion path reports. These reports show the sequence of touchpoints users interacted with before converting. This is where you will often discover patterns like YouTube users returning via branded search before converting, or YouTube viewers taking multiple direct visits before completing a purchase.
Use the model comparison tool in GA4 to compare how different attribution models credit YouTube. You will likely see a significant difference between last-click (which often gives YouTube little to no credit) and data-driven or position-based models (which recognize YouTube's role earlier in the journey).
Look for patterns that answer these questions: Are YouTube viewers more likely to convert after a branded search? How many days typically pass between a YouTube ad interaction and a conversion? Which landing pages do YouTube visitors engage with most before converting?
These insights directly inform your creative strategy, your landing page optimization, and your retargeting approach. If YouTube viewers consistently return through branded search before converting, that is a strong signal to invest in both YouTube campaigns and branded search coverage simultaneously.
Important limitation to keep in mind: GA4 still relies primarily on cookie-based tracking and browser-side data collection. This means cross-device journeys, users on iOS with privacy restrictions, and visitors using ad blockers will be underrepresented in your GA4 reports. The next step addresses how to close those gaps.
Step 5: Layer in Server-Side Tracking to Close Data Gaps
Here is the reality of browser-based tracking in 2026: a meaningful portion of your conversions are not being captured by pixels alone. Ad blockers prevent tags from firing. iOS privacy changes limit cross-device tracking. Cookie restrictions in browsers like Safari and Firefox reduce the accuracy of attribution windows. The result is a conversion picture that is incomplete by default. Understanding the differences between server-side tracking vs pixel tracking is critical for closing these gaps.
Server-side tracking addresses this by capturing conversion data at the server or CRM level rather than relying solely on a browser cookie to pass information back to your ad platform. Instead of depending on a pixel firing in the user's browser, server-side tracking sends conversion data directly from your server to the ad platform's API.
For Google Ads, this happens through the Google Ads API and the offline conversion import feature. When a conversion event occurs (a purchase is processed, a form is submitted, a lead is qualified in your CRM), your server sends that data directly to Google Ads with the original click ID (GCLID) attached. Google Ads then matches it back to the originating YouTube ad interaction, even if the browser-side pixel never fired.
The practical benefit is significant. Conversions that would have been invisible to your pixel-based tracking become visible through the server-side data pipeline. This is especially valuable for YouTube campaigns because the conversion often happens days after the initial ad interaction, across a different device, in a context where browser cookies may have expired or been blocked. Learn more about tracking conversions across devices to understand why this matters.
This is where a platform like Cometly adds substantial value. Cometly's server-side tracking captures the full journey from YouTube ad click through CRM events, connecting touchpoints that pixel-based tracking misses entirely. When a user watches your YouTube ad on their phone, searches your brand on their laptop three days later, and converts after a sales call, Cometly can stitch those events together using server-side data rather than losing the attribution at the device boundary.
Server-side tracking also makes your conversion data more resilient to future privacy changes. As browser restrictions continue to tighten, the marketers who have built server-side pipelines will maintain attribution accuracy while those relying solely on pixels will see their data quality erode further.
Step 6: Apply Multi-Touch Attribution to See YouTube's True Impact
If you are evaluating YouTube's performance using last-click attribution, you are almost certainly undervaluing it. Here is why: YouTube is an awareness and consideration channel. Users watch your ad, become aware of your brand, and then convert later through a different channel, typically a branded search or a direct visit. Under last-click attribution, that final search or direct visit gets 100% of the credit, and YouTube gets nothing.
The result is that YouTube looks like it is not performing, budgets get cut, and the pipeline of new customers dries up over time. Many marketers have made this mistake and only realized it after cutting YouTube spend and watching their branded search volume decline alongside it. This is a classic example of wasted ad budget on untracked conversions.
Multi-touch attribution distributes credit across all the touchpoints that contributed to a conversion. Different models do this in different ways:
Linear attribution: Gives equal credit to every touchpoint in the path. Simple and fair, but does not account for the relative importance of different interactions.
Time-decay attribution: Gives more credit to touchpoints closer to the conversion. This model still undervalues YouTube as an awareness channel, but it is better than last-click.
Position-based attribution: Gives the most credit to the first and last touchpoints (typically 40% each), with the remaining 20% distributed across middle interactions. This model explicitly recognizes YouTube's role in introducing customers to your brand.
Data-driven attribution: Uses machine learning to distribute credit based on the actual patterns in your conversion data. This is the most accurate model when you have sufficient volume.
Cometly's multi-touch attribution connects every touchpoint across YouTube, Meta, Google Search, and other channels to show the complete path to revenue. Instead of looking at each platform's self-reported numbers (which are always inflated because every platform takes credit for the same conversions), you get a unified view that shows YouTube's actual contribution to the funnel. You can also track assisted conversions accurately to quantify YouTube's role in the customer journey.
Use attribution insights to answer specific strategic questions: Is YouTube introducing new customers who would not have found you through search? How many touchpoints does it typically take before a YouTube viewer converts? Which YouTube audiences have the highest assisted conversion value?
Comparing YouTube's performance across different attribution models is one of the most actionable exercises in paid media. The difference between what YouTube gets credit for under last-click versus data-driven attribution often makes a compelling case for maintaining or increasing YouTube investment.
Step 7: Optimize Your YouTube Campaigns Using Accurate Conversion Data
Accurate tracking is not the end goal. It is the foundation for better optimization decisions. Once your conversion data is reliable, you can start making moves that actually improve performance rather than just rearranging budget based on incomplete information.
The first optimization lever is feeding enriched conversion data back to Google's bidding algorithms. Google's Smart Bidding strategies (Target CPA, Target ROAS, Maximize Conversions) are only as good as the conversion data they receive. If your pixel is missing conversions due to ad blockers or cross-device gaps, Google's algorithm is optimizing toward an incomplete signal. For a comprehensive look at measuring YouTube campaign performance, explore our guide on YouTube ads ROI tracking.
Cometly's Conversion Sync feature addresses this directly by sending enriched, server-side conversion events back to Google Ads. When Google's algorithm receives more complete conversion data, including conversions that the pixel would have missed, it can make smarter bidding decisions and find more users who are likely to convert. This creates a compounding effect: better data leads to better bidding, which leads to better results, which generates more data.
With accurate conversion data in hand, shift your analysis beyond surface-level metrics. Cost-per-view and CPV are easy to track but they tell you nothing about business impact. Instead, analyze:
Conversion quality by creative: Which YouTube ad formats and creative concepts drive the highest-value conversions, not just the most clicks or views?
Audience performance: Which audience segments (in-market, custom intent, remarketing) have the best conversion rates and average order values when tracked through the full funnel?
Placement performance: Which YouTube placements (specific channels, content categories, YouTube Search) deliver conversions at an acceptable cost?
Cometly's AI Ads Manager layers on top of this data to surface recommendations automatically. Rather than manually digging through campaign reports, the AI identifies which YouTube campaigns are driving the highest-value conversions and flags opportunities to scale or reallocate budget.
Set a review cadence that matches the pace of your campaigns. Weekly reviews should focus on campaign-level metrics: budget pacing, conversion volume, and any significant changes in cost per conversion. Monthly reviews should zoom out to attribution model analysis, audience performance trends, and budget allocation decisions across channels.
The most common optimization mistake: Cutting YouTube campaigns because they show low last-click conversions, without ever checking their assisted conversion value or their role in introducing new customers to the funnel. Always look at the full picture before making budget decisions.
Your Complete YouTube Conversion Tracking Checklist
Tracking YouTube ad conversions accurately requires more than dropping a pixel on your landing page. It takes a layered approach, and each layer closes a gap that the previous one cannot cover on its own.
Here is your quick-reference checklist to confirm your setup is complete:
1. Define your macro and micro conversion events and set conversion windows that match your actual sales cycle.
2. Create and configure conversion actions in Google Ads with view-through tracking enabled and an appropriate attribution model selected.
3. Install your Google tag site-wide (not just on landing pages) and verify it is firing correctly using Tag Assistant and end-to-end testing.
4. Link Google Ads to GA4 with auto-tagging enabled to see YouTube ad interactions alongside other traffic sources and conversion paths.
5. Add server-side tracking to capture conversions that browser-based pixels miss due to ad blockers, iOS restrictions, and cross-device behavior.
6. Apply multi-touch attribution to understand YouTube's real contribution to revenue, not just its last-click performance.
7. Feed accurate conversion data back to Google's bidding algorithms and optimize based on downstream revenue, not vanity metrics like CPV or view counts.
With this system in place, you can stop guessing about YouTube's impact and start scaling with confidence. Every dollar you spend becomes accountable, and every optimization decision is grounded in real data rather than platform-reported numbers that may not reflect the full picture.
Cometly brings all of these pieces together in one platform, connecting your YouTube ads to real revenue data so every touchpoint is captured and every dollar is accounted for. Ready to see exactly which YouTube ads are driving your revenue? Get your free demo and start building the attribution foundation your campaigns deserve.


