If you've been running Facebook ads for any length of time, you've probably noticed something unsettling: the numbers don't quite add up anymore. Your Facebook Ads Manager might show a handful of conversions while your CRM or Shopify dashboard tells a completely different story. That gap isn't a coincidence. It's the direct result of relying on browser-based tracking in a world that's increasingly hostile to it.
Apple's iOS 14.5 App Tracking Transparency framework changed the game. Combine that with major browsers restricting third-party cookies, ad blockers stripping out tracking pixels, and Safari's Intelligent Tracking Prevention, and you've got a recipe for serious data loss. Advertisers who rely solely on the Meta Pixel are flying partially blind, and Meta's algorithm is trying to optimize campaigns with incomplete information.
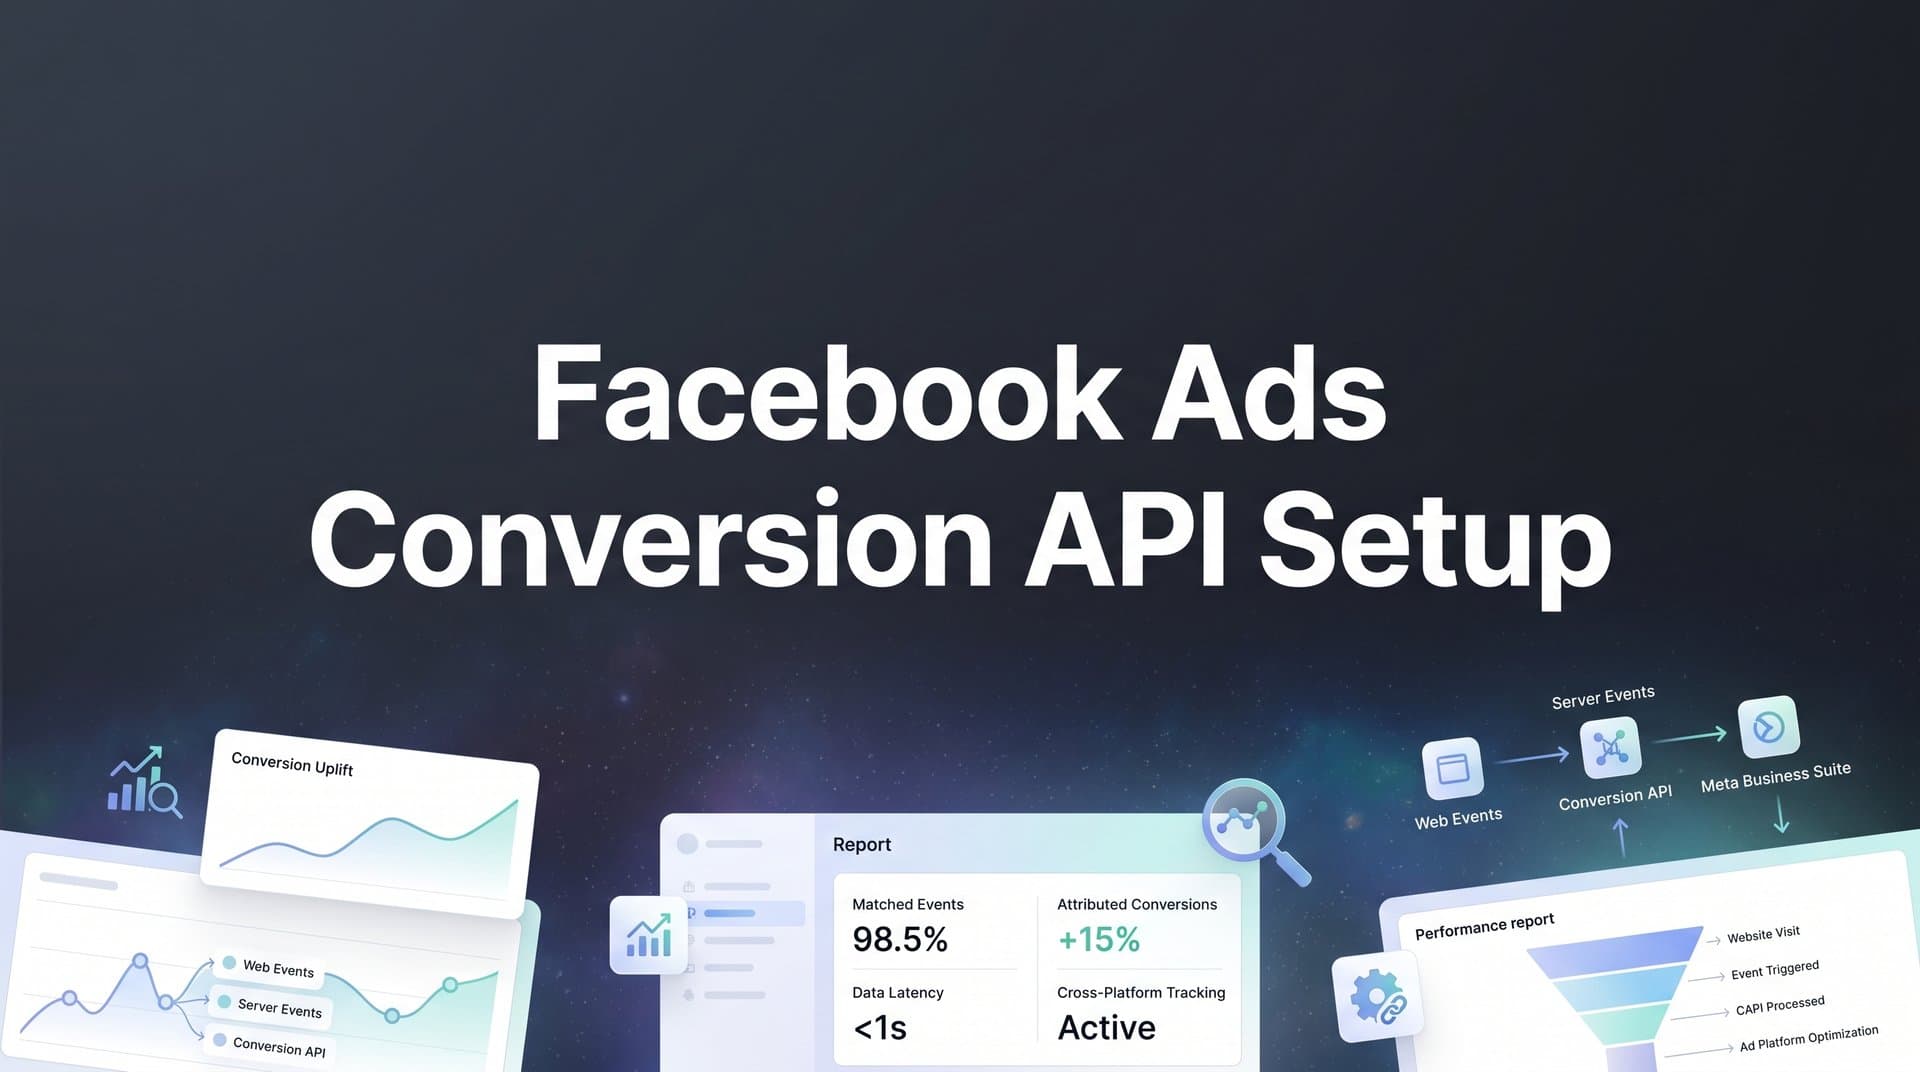
The Facebook Conversions API, often called CAPI, is Meta's answer to this problem. Instead of waiting for a browser to fire a pixel, CAPI sends conversion events directly from your server to Meta's servers. Browser restrictions, ad blockers, and cookie limitations simply don't apply. The data gets through because it never touches the browser at all.
This guide walks you through the complete setup process: from getting your Meta Business Manager assets in order to verifying that your events are firing correctly and your Event Match Quality score is where it needs to be. By the end, you'll have a working CAPI implementation that gives Meta's algorithm richer, more reliable conversion signals, which translates to better optimization, sharper targeting, and stronger return on ad spend.
One thing worth noting upfront: while you can absolutely set up CAPI manually, platforms like Cometly can streamline the entire process. Cometly handles server-side tracking automatically and enriches your conversion data with full multi-touch attribution before syncing it back to Meta, giving the algorithm even better signals than standard CAPI alone. We'll touch on this throughout the guide. For now, let's start at the beginning.
Step 1: Prepare Your Meta Business Manager and Pixel
Before you touch a single line of API configuration, you need to make sure your foundation is solid. CAPI connects to your existing Meta Pixel, so if that's not properly set up, nothing else will work correctly.
Start by confirming you have admin access to Meta Business Manager. You'll need this to access Events Manager, generate access tokens, and configure your data sources. If you're working within an agency setup, make sure you have the right permissions on the specific ad account you're working with, not just the Business Manager itself.
Next, verify that your Meta Pixel is installed and actively firing on your website. Here's something that surprises a lot of advertisers: even though CAPI is a server-side solution, you still need the Pixel running on the client side. The reason is deduplication. Meta needs both signals to identify when the same conversion event has been reported twice so it can count it only once. We'll cover this in more detail in Step 4, but for now, just know that CAPI supplements the Pixel rather than replacing it. For a deeper dive into how the Conversions API works alongside the Pixel, check out our guide on what is Conversion API.
To check your Pixel status, navigate to Events Manager inside Meta Business Manager. You'll see a list of your connected data sources. Find the Pixel associated with the ad account you're working with and confirm it shows recent activity. If events are coming through, you're in good shape.
Locate your Pixel ID: Inside Events Manager, click on your Pixel and look for the Pixel ID displayed near the top of the overview panel. Write this down or copy it somewhere accessible. You'll need it when configuring your CAPI integration.
If your Pixel isn't set up yet: Don't skip ahead. Install the Pixel first using Meta's partner integrations for platforms like Shopify or WordPress, or add the base code manually to your site's header. Once you're seeing events flow through Events Manager, come back and continue with the steps below.
It's also worth taking a moment to review which events your Pixel is currently tracking. Make a note of the event names being used, particularly for key conversions like Purchase or Lead. When you configure CAPI in Step 4, your event names need to match exactly for deduplication to work properly.
Step 2: Generate an Access Token for Server-Side Events
With your Pixel confirmed and your Pixel ID in hand, the next step is creating the authentication credential that allows your server to send events to Meta. This is your access token, and it's essentially the key that proves to Meta's API that your server requests are legitimate.
Inside Events Manager, click on your Pixel to open its detail view, then navigate to the Settings tab. Scroll down until you find the Conversions API section. You'll see an option to generate an access token directly from this screen. Click it, and Meta will create a token tied to your account.
Once generated, copy this token immediately and store it somewhere secure, like a password manager or your server's environment variables. This token grants write access to your event data, which means anyone who has it can send conversion events to your Meta account. Never expose it in client-side JavaScript, never commit it to a public code repository, and never share it in plain text over email or Slack.
Now, there's an important distinction to understand here between two types of tokens:
Personal access tokens: These are generated under your own Meta user account and work fine for testing or initial setup. The problem is that if you ever lose access to the Business Manager, or if the person who generated the token leaves your team, the token stops working and your CAPI integration breaks silently.
System user access tokens: These are tied to a system user within Business Manager rather than a personal account. Meta recommends these for production environments precisely because they're not dependent on any individual's account status. To create one, go to Business Settings, navigate to System Users, create a new system user with employee-level access, assign it to your ad account, and then generate a token for that system user. This step is especially important if you're running Facebook ads for clients where account continuity is critical.
For anything beyond a quick test, use a system user token. The extra few minutes of setup will save you from a broken integration at the worst possible time, like during a high-budget campaign launch.
Once your token is stored securely, you're ready to move on to choosing how you'll actually send events to Meta's API.
Step 3: Choose Your Integration Method
This is the decision that will shape the rest of your setup. There are three main paths to implementing CAPI, and the right one depends on your technical resources, your platform, and how sophisticated you need your attribution to be.
Direct API integration (custom code): This approach involves writing server-side code that constructs event payloads and sends them directly to Meta's Graph API endpoint. It gives you complete control over every parameter you send, how you handle hashing, and how you manage deduplication logic. This is the right choice for teams with developers who want maximum flexibility. The tradeoff is that it requires ongoing maintenance, especially as Meta updates its API version and your site evolves. Our conversion API implementation tutorial covers this approach in greater technical depth.
Partner integrations: If you're running an ecommerce store on Shopify, this is probably your fastest path. Shopify's Meta channel app has a built-in CAPI toggle that handles much of the configuration automatically. WordPress users can use Meta's official plugin or third-party plugins that abstract away the technical complexity. Google Tag Manager also offers a server-side container option that can be configured to send CAPI events, though it requires more setup than a native platform integration. Partner integrations are ideal when you want to move quickly and your platform supports them natively.
Third-party attribution platforms: Tools like Cometly take a different approach entirely. Rather than just forwarding raw events to Meta, Cometly tracks the complete customer journey across every touchpoint, from the first ad click through to final conversion, and then syncs enriched, attribution-weighted conversion data back to Meta. This means Meta's algorithm receives not just the fact that a conversion happened, but richer context about which ads and channels actually drove it. For teams running campaigns across multiple platforms, this unified approach adds significant value because you're optimizing all your channels with consistent, accurate data instead of managing separate tracking setups for each platform.
How do you choose? Ask yourself three questions:
1. Do you have developer resources available and need custom event logic? Direct API integration gives you the control you need.
2. Are you on Shopify or another platform with native CAPI support and running primarily Meta ads? A partner integration is your fastest path to better data.
3. Are you running ads across Meta, Google, TikTok, or other channels and want a single source of truth for attribution? A platform like Cometly will deliver more value than a standalone CAPI setup because it addresses the broader attribution problem, not just the tracking gap on one channel.
Step 4: Configure Your Server-Side Events and Parameters
This is the most technically detailed step, but getting it right is what separates a CAPI setup that genuinely improves performance from one that just adds complexity without benefit. The quality of the data you send determines how well Meta can match your events to real users and optimize your campaigns accordingly.
Start by identifying which conversion events you need to send. Meta has a set of standard events that map directly to its optimization objectives:
Purchase: The most important event for ecommerce advertisers. Always include the value and currency parameters.
Lead: Critical for lead generation campaigns. Send this when a form is submitted or a qualified contact is created.
AddToCart and InitiateCheckout: Valuable for funnel optimization and retargeting audiences.
CompleteRegistration: Useful for SaaS and subscription businesses tracking sign-ups.
Beyond standard events, you can send custom events that reflect your specific funnel, like a trial activation, a demo request, or a subscription upgrade. These give Meta's algorithm additional signals about what high-value behavior looks like for your business.
For each event, you need to include specific parameters. The required ones are: event_name (must match the name used in your Pixel exactly), event_time (Unix timestamp of when the event occurred), and action_source (set this to "website" for web conversions). Getting your conversion tracking setup right at this stage prevents headaches later.
The parameters that really move the needle on match quality are in the user_data object. Include as many of these as you can collect:
em (email): The single most impactful matching parameter. Hash it with SHA-256 before sending.
ph (phone number): Include country code, remove formatting, then hash with SHA-256.
fn and ln (first and last name): Lowercase, remove spaces, then hash.
client_ip_address and client_user_agent: These don't need hashing and are straightforward to capture server-side.
fbp and fbc: These are the Meta first-party cookie values stored in the user's browser. Capture them client-side and pass them to your server with the event data.
SHA-256 hashing is not optional. Meta requires it for all personally identifiable information. Most server-side languages have built-in SHA-256 functions, so this is typically a one-line implementation.
The parameter that makes deduplication work is event_id. Generate a unique ID for each conversion event and include it in both your Pixel event and your CAPI event. When Meta receives two events with the same event_id, it knows they represent the same conversion and counts it only once. Without this, you'll end up with inflated conversion counts and a confused algorithm.
Step 5: Test Events and Verify Data Quality
Never push a CAPI integration live without testing it first. Sending bad data to Meta is worse than sending no data because it actively misleads the algorithm and corrupts your reporting.
Meta provides a Test Events tool directly inside Events Manager. Here's how to use it properly:
1. Navigate to Events Manager, click on your Pixel, and select the Test Events tab.
2. You'll see a test event code, something like "TEST12345". Include this code as the test_event_code parameter in your CAPI requests during testing. This tells Meta to process the events in test mode without affecting your live data.
3. Trigger the conversion events on your website by going through the actual checkout flow, submitting a lead form, or whatever action you're tracking.
4. Watch the Test Events panel in real time. You should see events appear within a few seconds, showing the event name, the parameters received, and whether the event was processed successfully.
What to check for in the test results:
Event names match: Confirm that the event names coming through CAPI exactly match what your Pixel is sending. Even a small difference like "purchase" versus "Purchase" can break deduplication.
Hashing is correct: Meta will show you whether it can match the hashed values to user accounts. If hashing is implemented incorrectly, your match quality will suffer.
Deduplication is working: Trigger a conversion and check that it appears once in the Test Events panel, not twice. If you see duplicate events, check that your event_id values are identical between the Pixel and CAPI calls and that they're unique per conversion. Understanding Facebook ads reporting discrepancies can help you diagnose whether issues stem from deduplication failures or other tracking gaps.
Event Match Quality (EMQ) score: Once your events are live (not in test mode), check your EMQ score in Events Manager. Meta rates it as Poor, OK, Good, or Great. Aim for Good or Great. If your score is lower than you'd like, the most common fix is adding more user_data parameters, particularly email address, which has the highest matching weight.
A low EMQ score doesn't just affect reporting accuracy. It directly impacts how well Meta can match your conversions to users in its system, which affects how effectively the algorithm can find more people likely to convert.
Step 6: Optimize Your Setup for Stronger Ad Performance
Getting CAPI installed and verified is the first milestone. Making it work for your campaigns is the ongoing work that actually moves the needle on performance.
Once your events are confirmed and your EMQ score looks healthy, update your ad sets to optimize for the CAPI-reported conversion events. If you were previously running campaigns optimized for Pixel-only events, you may need to switch the optimization event in your ad set settings. Give Meta's algorithm a runway of seven to fourteen days to recalibrate with the improved data before drawing conclusions about performance changes.
During this calibration period, keep a close eye on a few things:
Event volume consistency: Check Events Manager regularly to confirm that event volume isn't dropping unexpectedly. A sudden drop in reported events often signals a broken integration, like an expired token or a code deployment that removed a tracking call. Using a dedicated Facebook ads reporting dashboard can help you spot these drops quickly.
EMQ score stability: Your score can fluctuate if the quality of user data being sent changes. For example, if you start receiving more guest checkouts without email addresses, your score may dip. Monitor it weekly and investigate any significant drops.
Downstream event signals: Consider sending additional conversion events that reflect higher-value customer behavior. For a SaaS business, this might be a trial-to-paid conversion rather than just a sign-up. For ecommerce, it might be repeat purchase events. The more precisely you can tell Meta what your best customers look like, the better it can find more of them.
This is where a platform like Cometly adds a layer of value that standard CAPI alone can't match. Cometly doesn't just forward conversion events to Meta. It tracks every touchpoint in the customer journey, applies multi-touch attribution to understand which ads and channels actually drove the conversion, and then syncs that enriched data back to Meta. Instead of Meta receiving a simple "purchase happened" signal, it receives a richer picture of the customer journey that led to that purchase. Learn more about how this works in our deep dive on Facebook ads attribution.
The practical effect is that Meta's algorithm gets better training data. It can identify patterns in the journeys of your highest-value customers and use those patterns to find more people like them. For teams managing significant ad budgets, this kind of attribution-enriched conversion syncing can meaningfully improve targeting quality and ROAS over time, particularly when you're scaling campaigns or entering new audiences.
Accurate conversion data also becomes the foundation for smarter budget allocation. When you can see clearly which campaigns and channels are driving real revenue rather than just attributed clicks, you can shift budget toward what's actually working with confidence.
Putting It All Together: Your CAPI Setup Checklist
Before you call your CAPI setup complete, run through this checklist to make sure nothing has been missed:
Business Manager access confirmed: You have admin access to the correct Business Manager and ad account.
Pixel installed and verified: Your Meta Pixel is actively firing and showing events in Events Manager.
Access token generated: You're using a system user token stored securely in your server environment, not exposed in client-side code.
Integration method chosen and implemented: Whether direct API, partner integration, or a platform like Cometly, your server is sending events to Meta's API.
Events configured correctly: All conversion events include required parameters, user data is properly SHA-256 hashed, and event_id is present for deduplication.
Test events verified: Events appeared correctly in the Test Events tool with no duplicates and proper parameter values.
EMQ score monitored: Your Event Match Quality score is at Good or Great, and you have a plan to maintain it.
One important mindset shift: CAPI is not a set-it-and-forget-it tool. Your website evolves, your campaigns change, and Meta's API updates over time. Build a habit of checking Events Manager at least weekly to catch any data quality issues before they compound into campaign performance problems.
For teams running ads across Meta, Google, TikTok, and other channels, managing separate tracking setups for each platform quickly becomes unsustainable. Cometly solves this by automating server-side tracking, enriching conversion data with full-journey attribution, and syncing it back to Meta and other ad platforms simultaneously. You get better data everywhere, with less manual work.
Ready to go beyond basic CAPI and give your ad campaigns the attribution data they deserve? Get your free demo and see how Cometly captures every touchpoint, feeds enriched conversion signals to your ad platforms, and helps you scale with confidence.