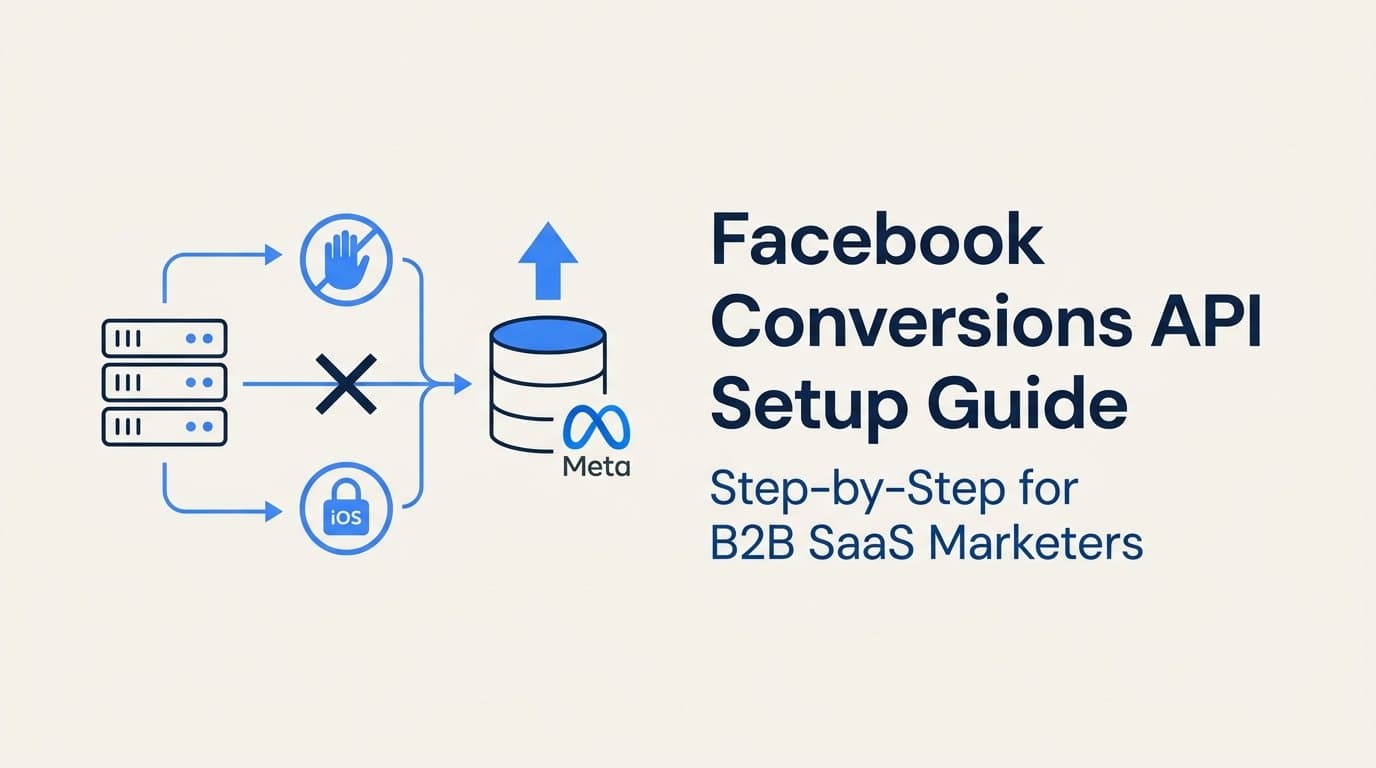
Browser-based pixel tracking is losing its grip. iOS privacy updates, tightening cookie restrictions, and the widespread use of ad blockers have punched real holes in the conversion data that B2B SaaS marketers depend on. When your Meta Pixel misses conversions, the algorithm gets weaker signals, your targeting gradually degrades, and your reported ROAS drifts further from reality.
The Facebook Conversions API (CAPI) fixes this at the source. Instead of relying on a browser to fire a pixel, CAPI sends conversion events directly from your server to Meta. The browser never enters the equation, which means ad blockers, privacy settings, and cookie restrictions cannot interfere with the data.
For B2B SaaS teams, this matters more than most. Your funnel events carry serious weight. A missed demo request or a lost trial signup is not just a reporting gap, it is a signal that Meta's bidding algorithm never received. Over time, those gaps compound into campaigns that are optimizing against incomplete data.
This guide walks you through every step of setting up the Facebook Conversions API, from accessing the right settings in Meta Events Manager to verifying that your server events are firing and matching correctly. Whether you are starting from scratch or fixing an existing integration that is underperforming, each step builds toward the same outcome: a reliable, first-party data pipeline that gives Meta's algorithm the accurate conversion signals it needs to perform.
You will also learn how to move beyond raw event data by connecting your CAPI setup to a full-funnel attribution platform like Cometly, so you can trace every ad click through to pipeline and closed revenue, not just form fills.
Let's get into it.
Step 1: Gather Your Prerequisites Before Touching Meta Events Manager
Jumping straight into Meta Events Manager without the right access and a clear plan is one of the most common ways this setup gets derailed. Spend fifteen minutes here and you will save hours of troubleshooting later.
Access requirements: You need admin-level access to Meta Business Manager, a verified Business Manager account, and your Facebook Pixel ID. If your Business Manager account is unverified, you may hit restrictions when generating access tokens or configuring CAPI settings. Verify this before proceeding. It is a simple check under Business Settings, but skipping it is a surprisingly common reason teams get stuck later in the process.
Identify your key conversion events: Before you write a single line of code or configure any settings, map out which events actually matter for your B2B SaaS funnel. The events worth tracking typically include lead form submissions, free trial signups, demo requests, and subscription or purchase events. These are the signals that carry the most weight for Meta's optimization algorithm and the ones that connect most directly to pipeline value.
Be deliberate here. Sending every possible event to Meta creates noise. Sending the right events, with complete data, creates signal.
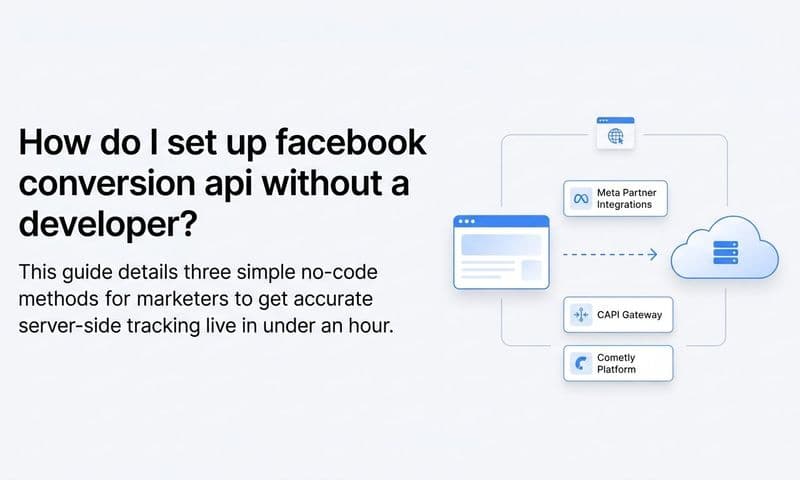
Choose your implementation method: There are three primary paths for setting up CAPI, and the right one depends on your team's resources and goals.
Direct API integration gives you full control but requires developer involvement to write and maintain server-side code that calls Meta's CAPI endpoint directly.
Partner platform integration via a tool like Cometly handles the server-to-Meta connection without custom code. It also appends attribution context to every event, which is valuable for teams that need to connect ad spend to pipeline, not just track raw events.
Server-side tag manager is an option for teams already running a server container in Google Tag Manager, offering a middle path between custom code and a fully managed solution.
Confirm server or backend access: Whichever method you choose, confirm now that you or your developer has access to your website's server or application backend. For a direct integration, you will need to deploy server-side code. For a partner platform, you will need access to install a tracking script or configure a webhook. Sorting out access permissions at this stage prevents delays when you reach the implementation step.
Step 2: Access Meta Events Manager and Generate Your Access Token
With your prerequisites in order, it is time to get into Meta Events Manager and generate the credentials your CAPI integration will use to authenticate every server event it sends.
Navigate to Meta Events Manager: Go to business.facebook.com, open the main menu, and select Events Manager. From the left panel, choose the Pixel you want to connect to CAPI. If you manage multiple pixels across different products or brands, make sure you are working with the correct one.
Locate the Conversions API section: Once you have selected your Pixel, click the Settings tab at the top of the page. Scroll down until you find the Conversions API section. You will see an option for direct integration. Click "Generate Access Token" to create your token.
Store your token securely: This is critical. Meta will display your access token once. If you close the window without saving it, you will need to generate a new one. Treat this token like a password. Store it in a secrets manager, a secure environment variable, or your team's password manager. Never hardcode it directly into source code or expose it in a client-side script.
Your access token is the authentication key for every server event you send. If it is compromised, anyone with the token can send events to your Pixel.
Note your Pixel ID: On the same Settings page, locate your Pixel ID. You will need both the Pixel ID and the access token for every API call you make. Copy both values and store them together in a secure location your team can access during implementation.
Create a dedicated system user: This is a best practice worth implementing from the start. In Meta Business Manager, navigate to Business Settings and create a dedicated system user with access to your Pixel. Generate the access token from this system user rather than from a personal employee account. System user tokens do not expire when an employee leaves or changes roles, which prevents your CAPI integration from breaking due to account changes down the line.
Step 3: Choose and Configure Your CAPI Implementation Method
You have your credentials. Now you need to decide exactly how your server will send events to Meta. The three options each come with different tradeoffs in terms of speed, flexibility, and the richness of data you can send.
Option A: Direct API Integration
This approach involves writing server-side code that calls Meta's CAPI endpoint directly. Your server sends an HTTP POST request to https://graph.facebook.com/v18.0/{pixel-id}/events with your event data and access token included.
The advantage is complete control over what you send and when. The tradeoff is that it requires developer resources to build, test, and maintain. For teams with engineering bandwidth, this is a solid long-term option. For lean marketing teams, it can become a bottleneck.
Option B: Partner Platform Integration
Platforms like Cometly handle the server-to-Meta connection without requiring custom code. You configure which events to send, and the platform manages the API calls, handles hashing of customer data, and appends attribution context to every event before it reaches Meta.
For B2B SaaS teams, this approach typically delivers faster setup and richer data. The key difference is that a partner platform does not just relay raw browser signals. It can enrich events with CRM data, pipeline stage information, and revenue values, turning a basic lead event into a signal that reflects actual business value. This is what makes the difference between CAPI as a tracking fix and CAPI as a true performance advantage.
Option C: Server-Side Tag Manager Container
If your team already uses Google Tag Manager and has a server container configured, you can route CAPI events through that container using Meta's GTM template. This is a practical middle ground for teams that want more control than a fully managed platform but less custom code than a direct integration.
Mapping events to Meta's standard names: Regardless of which method you choose, you need to map your conversion events to Meta's standard event names. A trial signup maps to CompleteRegistration. A demo request or contact form submission maps to Lead. A subscription payment maps to Purchase. Using standard event names ensures Meta's algorithm can use your events for optimization correctly. Custom event names are supported but do not benefit from the same level of algorithmic optimization as standard events.
Step 4: Implement Event Deduplication to Avoid Double-Counting
If you are running both the Meta Pixel and CAPI at the same time, and most teams should be running both, deduplication is not optional. Without it, every conversion gets counted twice: once by the browser pixel and once by your server event. Meta's bidding algorithm then optimizes against inflated numbers, your cost per acquisition figures become unreliable, and your campaign performance data loses its integrity.
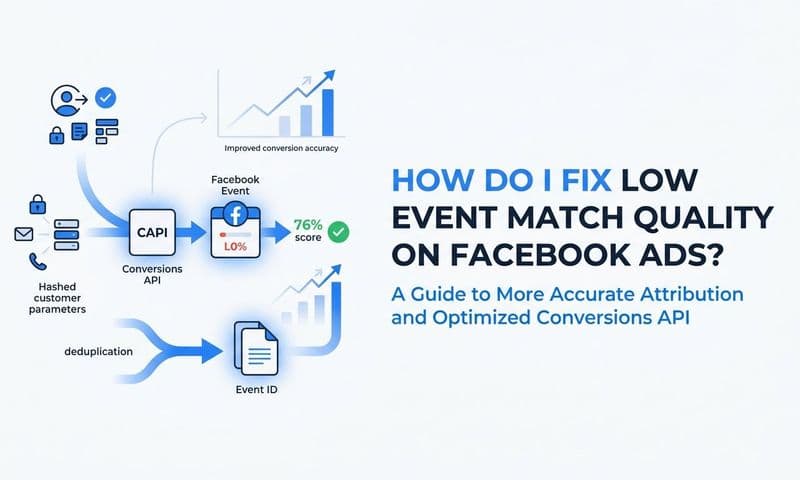
How deduplication works: Meta deduplicates events by matching the event_id and event_name parameters across browser and server events. When both a pixel event and a CAPI event arrive with the same event_id and event_name, Meta recognizes them as the same conversion and counts them once.
The implementation logic is straightforward. When a conversion action occurs, generate a unique event_id for that specific event. A UUID works well for this purpose. Pass that same event_id in both the browser pixel event and the corresponding server-side API call. Meta handles the rest.
Generating the event_id: The event_id should be unique to each individual conversion action. A common approach is to generate a UUID at the moment the conversion occurs and store it temporarily so both the pixel and the server call can reference it. You can also construct the ID as a hash of the user identifier combined with a timestamp, as long as it is unique per event and consistent between the browser and server calls.
Verifying deduplication in Events Manager: After you go live, check the Event Match Quality section in Meta Events Manager and look at the event diagnostics. Properly deduplicated events will show a "Deduplicated" label. You can also review the Events Overview tab to see browser and server events appearing alongside each other with the correct deduplication status.
What happens if you skip this: Inflated conversion counts send the wrong signal to Meta's algorithm. If Meta thinks you are generating twice as many leads as you actually are, it will optimize toward the behaviors that produce those inflated numbers rather than your actual high-value conversions. The downstream effect on your targeting quality and cost efficiency can be significant over time.
Step 5: Send Customer Information Parameters for Better Match Quality
A CAPI event that arrives at Meta without customer information is like a form submission with no contact details. Meta can record that something happened, but it cannot match that event to a real Facebook user profile. That limits how much the event can contribute to campaign optimization.
Customer Information Parameters are the fields that allow Meta to match your server events to actual users in its system. The more parameters you include, the higher your Event Match Quality (EMQ) score, and the more your events contribute to optimization, lookalike audiences, and accurate attribution.
Key parameters to include:
Email address (em): This is the most valuable matching parameter. For B2B SaaS, you typically capture email at the point of a trial signup, demo request, or lead form submission, making it available for most of your high-value conversion events.
Phone number (ph): Include this when you collect it. Even when not always available, it provides a secondary matching signal that improves EMQ scores.
First name (fn) and last name (ln): These add additional matching confidence and are often available in your form data or CRM records at the time of conversion.
External ID (external_id): For B2B SaaS teams, this is particularly valuable. Pass your CRM's contact ID or lead ID as the external ID. This creates a direct link between Meta events and your CRM records, which is the foundation for connecting ad spend to pipeline and revenue downstream.
SHA-256 hashing is required: Before sending any customer data to Meta, every parameter must be hashed using SHA-256. This is a hard requirement, not a recommendation. You hash the raw value, such as the lowercase email address, before including it in your API call. Meta then hashes its own user data using the same method and looks for matches. The actual personal data never leaves your server in plain text.
Why EMQ matters for your campaigns: Meta's Event Match Quality score runs from 0 to 10. Higher scores mean more of your conversion events are being matched to real Facebook users, which means more data feeding into Meta's optimization algorithm. Better optimization leads to more efficient targeting, lower costs per qualified lead, and stronger lookalike audiences built from your actual converters.
Step 6: Verify Your Setup in Meta Events Manager
Before you declare your CAPI integration live and move on, you need to confirm that events are actually arriving correctly. Meta Events Manager provides the tools to do this, and skipping this verification step is how subtle configuration errors turn into weeks of bad data.
Use the Test Events tool: In Meta Events Manager, navigate to the Test Events tab. You will find a test event code that you can include in your API calls to route test events to this tool without affecting your live data. Send a test event for each of your key conversion types, such as Lead, CompleteRegistration, and Purchase, and confirm they appear in the Test Events panel with the correct event names and parameters.
Check your Event Match Quality scores: After sending test events, review the EMQ score for each event. Scores above 6 out of 10 are generally considered strong for campaign optimization. If your scores are lower, review which customer information parameters you are including and whether they are being hashed correctly. Missing or incorrectly formatted parameters are the most common cause of low EMQ scores.
Review the Events Overview tab: Once you go live with real traffic, the Events Overview tab gives you a consolidated view of all incoming events. Confirm that your server events are appearing alongside your browser pixel events and that the deduplication status is showing correctly. You should see a clear indication that duplicate events are being recognized and collapsed into single conversions.
Check event diagnostics for warnings: Meta surfaces diagnostic warnings when it detects issues with your event configuration. Common problems include missing required parameters, incorrect SHA-256 hashing format, mismatched event names between browser and server events, and events arriving with timestamps that are too far outside the expected window.
Allow time before drawing conclusions: After going live, give your setup 24 to 48 hours before evaluating data volume. Attribution windows affect when events appear in reporting, and low initial volume does not necessarily indicate a configuration problem. Focus on verifying that events are arriving and matching correctly rather than on volume in the first day or two.
Step 7: Connect CAPI Data to Full-Funnel Attribution with Cometly
At this point, your CAPI setup is sending conversion events from your server to Meta. That is a meaningful improvement over browser-only tracking. But there is a gap worth addressing: raw CAPI events tell Meta what happened, but they do not tell your marketing team which specific ad, audience, or campaign drove that conversion.
Knowing that a Lead event fired is useful. Knowing that the Lead event came from a specific LinkedIn retargeting ad, that the contact went on to request a demo two weeks later, and that they eventually converted to a paying customer, that is the information that drives real budget decisions.
What attribution context adds to your CAPI events: When you connect your CAPI setup to Cometly, every server event gets enriched with attribution data before it reaches Meta. The event carries information about the first ad click, the campaign, the channel, and the touchpoints along the path to conversion. This transforms your CAPI events from raw signals into fully contextualized data points that connect ad spend to business outcomes.
Closing the loop between ads and revenue: Cometly's server-side tracking captures conversion events that your browser pixel would have missed due to ad blockers or privacy restrictions, enriches them with CRM and pipeline data, and sends conversion-ready signals back to Meta automatically. This means Meta's algorithm is not just receiving more events. It is receiving better events, with richer data attached, which improves targeting quality and optimization efficiency.
Pipeline and revenue attribution for B2B SaaS: For B2B SaaS teams with longer sales cycles, the gap between a lead event and actual revenue can span weeks or months. Cometly bridges this by connecting your ad data to your CRM, so you can see which Facebook campaigns are generating qualified pipeline, not just form fills. When a trial signup eventually converts to a paid subscription, that revenue gets attributed back to the original ad that drove the first interaction.
A single source of truth across channels: One of the persistent challenges for B2B SaaS marketing teams is reconciling attribution data across multiple ad platforms. Facebook reports one set of numbers, Google reports another, and your CRM tells a third story. Cometly consolidates your Facebook CAPI data alongside Google, LinkedIn, and other channels in a single dashboard, giving your team one consistent view of performance rather than a collection of conflicting platform reports.
This is the difference between CAPI as a tracking fix and CAPI as the foundation of a full-funnel measurement strategy.
Your CAPI Setup Checklist and Next Steps
Setting up the Facebook Conversions API is one of the highest-leverage technical investments a B2B SaaS marketing team can make. A working CAPI setup recovers conversion data that browser-based tracking misses, feeds Meta's algorithm stronger signals, and gives your team more accurate data for bidding and optimization decisions.
Here is a quick checklist to confirm your setup is complete:
Business Manager access confirmed: Admin access verified, Business Manager account verified, and Pixel ID noted.
Access token generated and stored: Token created from a dedicated system user and stored securely in a secrets manager or environment variable.
Implementation method selected and configured: Direct integration, partner platform, or server-side tag manager set up and connected to your key conversion events.
Event deduplication enabled: Unique event_id parameters passed in both browser pixel events and server API calls, with deduplication status confirmed in Events Manager.
Customer information parameters included: Email, phone, name fields, and external CRM ID hashed with SHA-256 and included in API calls.
Test events verified: Test events confirmed in Meta Events Manager with Event Match Quality scores above 6 for key conversion events.
CAPI connected to full-funnel attribution: Server events enriched with attribution context and linked to pipeline and revenue data.
The final step is where many teams stop short. Sending events to Meta is necessary, but knowing which specific campaigns and creatives drove those conversions is what allows you to scale with confidence. Cometly is built for exactly this, giving B2B SaaS marketing teams a complete picture from first ad click to closed revenue.
If you are ready to move beyond fragmented tracking and build a reliable attribution foundation, Get your free demo today and start capturing every touchpoint to maximize your conversions.