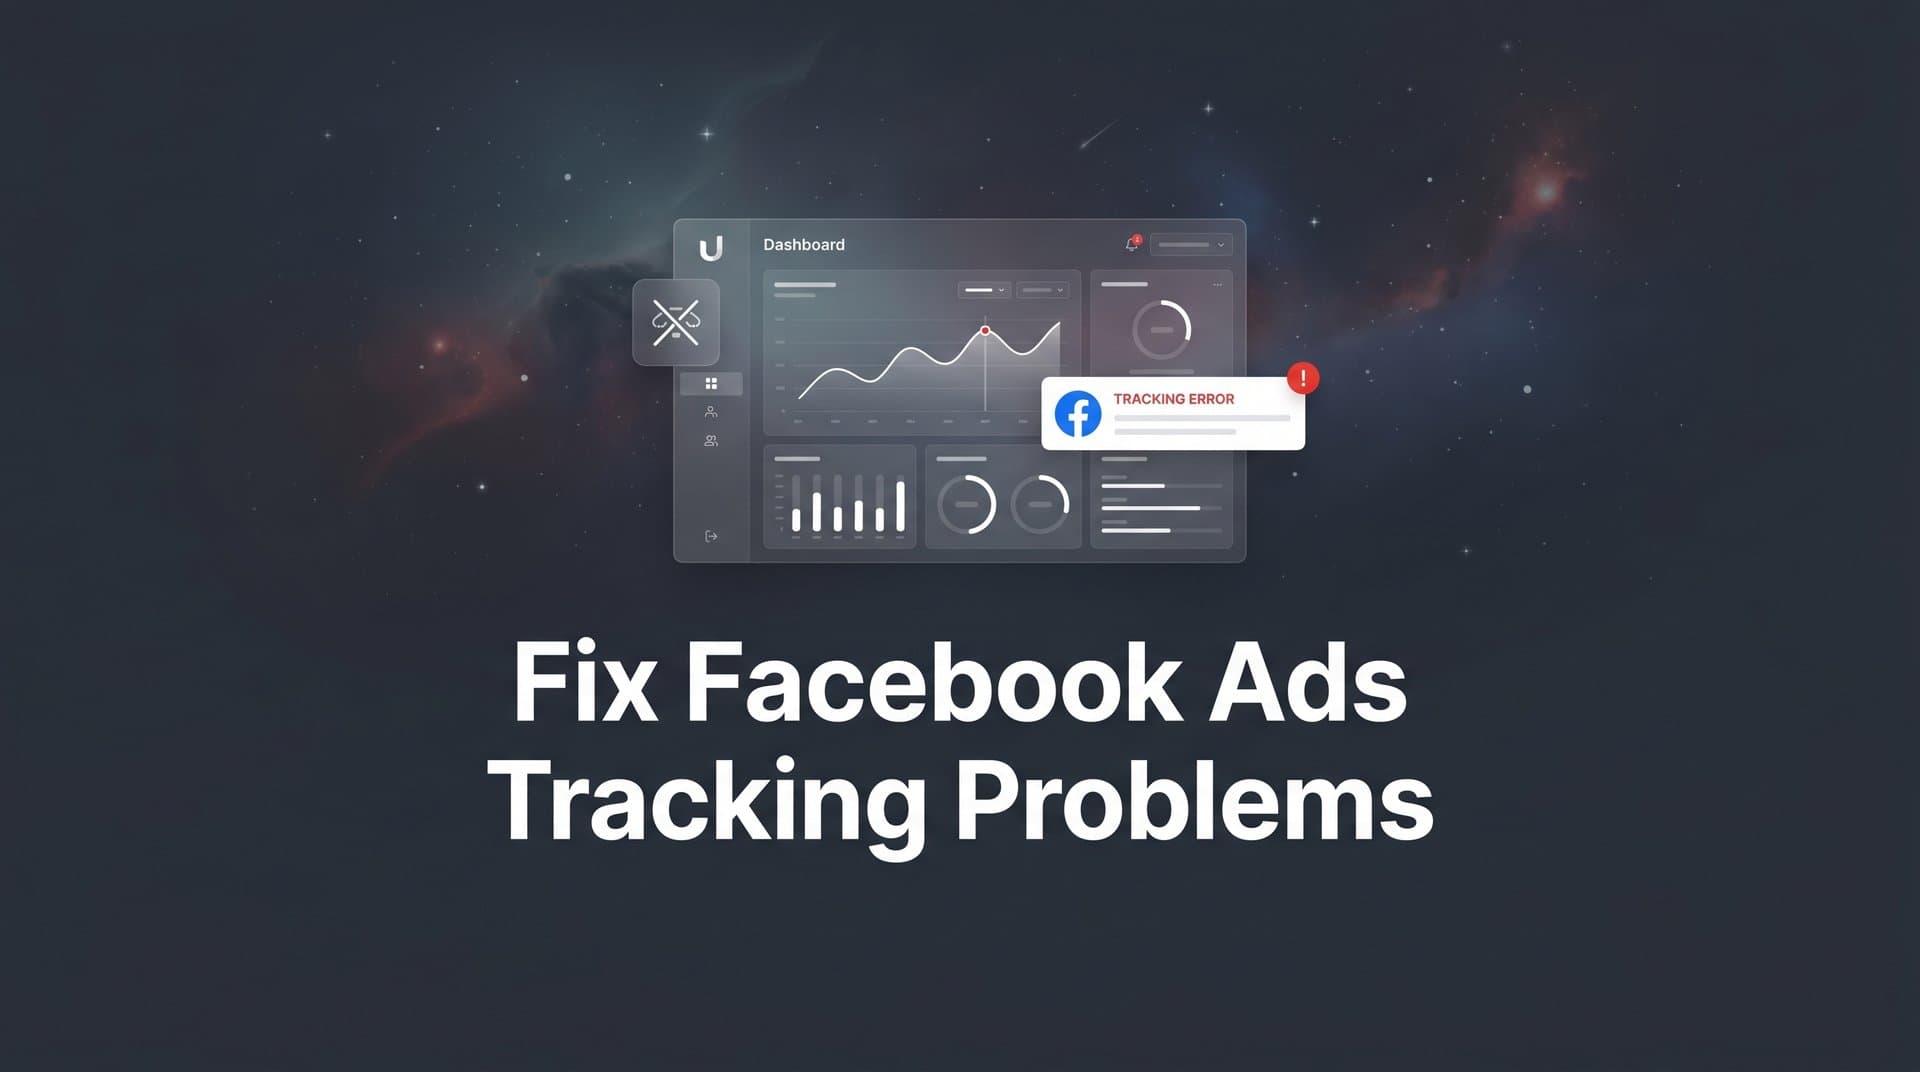
You log into Facebook Ads Manager expecting to see clear results from yesterday's campaign spend, but instead you find mismatched conversion numbers, missing events, and data that does not line up with what your CRM is telling you. Sound familiar?
Facebook ads tracking problems have become one of the most frustrating challenges for digital marketers, especially since Apple's iOS privacy changes, browser tracking restrictions, and the ongoing deprecation of third-party cookies reshaped how data flows between platforms.
When your tracking breaks, the consequences go far beyond messy dashboards. Facebook's algorithm relies on accurate conversion data to optimize delivery, find the right audiences, and lower your cost per acquisition. Feed it bad data and it makes bad decisions with your budget. You end up scaling campaigns that are underperforming while starving the ones that actually work.
The good news is that most Facebook ads tracking problems follow predictable patterns, and there is a systematic way to diagnose and fix them. This guide walks you through exactly that process, step by step. Whether you are dealing with underreported conversions, pixel firing issues, domain verification gaps, or misaligned data between Facebook and your backend systems, each step gives you a concrete action to take and a way to verify it worked.
By the end, you will have a reliable tracking setup that captures the full picture of your ad performance and feeds Facebook the accurate signals it needs to optimize effectively. Let's get into it.
Step 1: Audit Your Meta Pixel Installation and Event Firing
Before you can fix anything, you need to know exactly what is and is not working. Your Meta Pixel is the foundation of your Facebook tracking setup, and even small installation errors can silently kill your data quality.
Start by installing the Meta Pixel Helper Chrome extension if you have not already. This free tool shows you whether the pixel is loading on any page you visit, which pixel IDs are present, and whether events are firing correctly. The key mistake many marketers make is only checking the homepage. Walk through your entire conversion funnel: landing pages, product pages, cart, checkout, and confirmation pages. Each one needs to be verified individually.
As you audit each page, watch for these common installation errors:
Duplicate pixel installations: If your pixel fires twice on the same page, Facebook double-counts events. This often happens when a pixel is hardcoded into a theme and also added through Google Tag Manager.
Wrong placement in the HTML: The pixel base code should sit in the <head> section of your page. If it is placed in the body or footer, it may not fire reliably, especially on users with slow connections who bounce before the page fully loads.
Tag Manager misconfigurations: If you are deploying the pixel through Google Tag Manager, confirm that your trigger is set to "All Pages" for the base code and that event triggers are scoped correctly to the right pages or conditions. A misconfigured trigger is one of the most common reasons events appear to fire in preview mode but not in production.
Next, verify that your standard events are firing with the correct parameters. A Purchase event, for example, should include value, currency, and content_ids at minimum. Missing these parameters reduces your Event Match Quality score and limits Facebook's ability to optimize for revenue rather than just conversion volume. For a comprehensive look at diagnosing these issues, our guide on Facebook pixel tracking covers the most common failure points in detail.
Use the Test Events tab inside Meta Events Manager to confirm data is actually reaching Facebook in real time. Open a private browser window (to avoid ad blockers you may have installed), navigate through your funnel, and watch the events appear in the test panel. This is your ground truth.
If events are not firing as expected, open your browser's developer console (F12 in Chrome) and look for JavaScript errors. Cookie consent banners are a particularly common culprit. Many consent management platforms block the pixel from loading until a user accepts cookies, which means any user who dismisses the banner or does not interact with it will never be tracked. If this applies to your setup, you will need to configure your consent tool to fire the pixel in a compliant but functional way, or move to server-side tracking covered in Step 3.
Success indicator: Every key page in your funnel shows a green checkmark in Meta Pixel Helper, events appear in the Test Events tab with correct parameters, and there are no duplicate pixel IDs firing on any single page.
Step 2: Verify Your Domain and Configure Aggregated Event Measurement
If you skipped domain verification after iOS 14.5 launched, you may be losing conversion data from a significant portion of your audience without realizing it. This step is non-negotiable for any advertiser running campaigns in 2026.
Head to Meta Business Suite and navigate to Brand Safety > Domains. Your website domain needs to be verified here before Facebook can reliably attribute conversions from iOS users who have opted out of tracking through Apple's App Tracking Transparency framework. Without verification, Facebook simply cannot report those conversions, and your campaign data will look worse than it actually is. Understanding the full scope of pixel tracking problems on iOS helps clarify why this verification step is so critical.
Domain verification is straightforward: you can verify via a DNS TXT record, an HTML file upload to your server, or a meta tag in your site's head section. Once verified, the domain will show a green "Verified" status in Business Suite.
With your domain verified, the next task is configuring Aggregated Event Measurement (AEM). This is Meta's framework for reporting conversions from opted-out iOS users. Because of privacy restrictions, Facebook can only receive a limited set of signals from these users, so AEM lets you prioritize up to eight conversion events per domain. Facebook will only report the single highest-priority event that fired during a user's session.
Here is how to set this up strategically:
1. Go to Events Manager, select your pixel, and open the Aggregated Event Measurement configuration.
2. Add your eight most important conversion events and rank them in order of business value. Your highest-value event, typically Purchase, should sit at the top of the list.
3. Work downward through the funnel: Purchase, InitiateCheckout, AddToCart, ViewContent, Lead, and so on, depending on what your business tracks.
The critical thing to understand here is the hierarchy logic. If a user completes a purchase during a session, Facebook reports only the Purchase event, not the AddToCart or InitiateCheckout that also fired. This is intentional and correct. But if Purchase is not ranked first, Facebook might report a lower-funnel event instead and miss the conversion that actually matters.
Common pitfall to avoid: Many marketers configure AEM correctly at launch and then forget about it. When you add a new conversion event later, it gets appended to the bottom of the list by default. If that new event should be higher priority than existing ones, you need to manually re-rank the list. Failing to do this can silently break reporting for your most important conversions.
Success indicator: Your domain shows as verified in Brand Safety, your top eight events are ranked correctly in AEM, and conversion counts for iOS traffic are no longer showing as zero or suspiciously low in your campaign breakdowns.
Step 3: Implement the Conversions API for Server-Side Tracking
Even with a perfectly installed pixel and AEM configured, browser-side tracking alone is no longer enough. This is the reality of the modern tracking landscape, and accepting it is the first step toward actually solving the problem.
Ad blockers prevent the pixel from loading. Safari's Intelligent Tracking Prevention limits cookie lifespans. Firefox blocks third-party cookies by default. Chrome has been evolving its own privacy approach through 2025 and 2026. On top of all of this, iOS App Tracking Transparency means a large portion of your mobile audience never sends pixel data at all. The result is that browser-based tracking systematically undercounts your conversions.
Meta's Conversions API (CAPI) solves this by sending conversion events directly from your server to Facebook, completely bypassing the browser. No ad blockers, no cookie restrictions, no iOS opt-outs can intercept a server-to-server request. This makes CAPI the single most impactful technical fix you can implement for Facebook ads tracking problems. Our detailed Conversion API implementation tutorial walks through the full setup process if you need step-by-step guidance.
There are three main ways to set up CAPI, depending on your technical resources:
Direct API integration: A developer sends events from your server using Meta's API. This gives you the most control and flexibility, but requires engineering time to build and maintain.
Partner integrations: Platforms like Shopify, WooCommerce, and various CRM tools have native CAPI integrations you can enable with minimal technical work. If your stack includes one of these platforms, this is often the fastest path to server-side tracking.
Google Tag Manager server-side container: This approach routes your tag firing through a server container you control, which then forwards events to Meta via CAPI. It sits between the direct API and platform integration in terms of complexity.
Whichever method you choose, there is one critical implementation detail you cannot skip: event deduplication. When you run both browser pixel and CAPI simultaneously, the same conversion event will be sent twice. Facebook needs a way to identify and discard the duplicate. You do this by including an event_id parameter in both your pixel event and your CAPI event. If the event_id values match, Facebook keeps one and discards the other. If you skip this step, you will see inflated conversion numbers that are just as misleading as underreported ones.
After implementation, go to Events Manager and check the connection method displayed for each event. You want to see "Browser and Server" listed, which confirms both tracking layers are working together. To understand why this dual approach matters, read more about why server-side tracking is more accurate than browser-only methods.
Success indicator: Events Manager shows "Browser and Server" connection method for your key events, and your overall conversion volume increases compared to pixel-only tracking, reflecting the previously missed conversions now being captured server-side.
Step 4: Fix Data Discrepancies Between Facebook and Your Backend
You have fixed your pixel, configured AEM, and implemented CAPI. But Facebook's conversion numbers still do not match what your CRM or ecommerce platform reports. This is normal, and it does not necessarily mean your tracking is broken. It means you need to understand why the gap exists and whether it is within an acceptable range.
Start by pulling a comparison. Take a specific date range and compare Facebook Ads Manager's reported conversions against your CRM, Shopify dashboard, or backend database for the same period. Quantify the gap. A small difference of a few percentage points is expected. A large gap warrants investigation. For a deeper exploration of why these numbers diverge, our guide on Facebook ads reporting discrepancies breaks down every contributing factor.
Here are the most common reasons discrepancies exist:
Attribution window differences: Facebook Ads Manager defaults to a 7-day click and 1-day view attribution window. This means Facebook claims credit for any conversion that happens within seven days of someone clicking your ad, even if other touchpoints influenced that conversion. Your CRM might use last-click attribution with a shorter window, leading to very different numbers from the same underlying data.
Time zone mismatches: Facebook reports data in the time zone set for your ad account. If your CRM or analytics platform uses a different time zone, conversions near midnight can fall into different reporting days. Always confirm both platforms are using the same time zone before comparing numbers.
Delayed reporting: Facebook's conversion data is not always real-time. There can be processing delays of several hours, particularly for view-through conversions. If you are comparing numbers pulled at different times of day, you may be looking at different snapshots.
Broken UTM parameters: Check every active ad set and ad to confirm UTM parameters are appended consistently. If some ads are missing UTMs, your analytics platform cannot attribute that traffic to Facebook, creating a gap between what Facebook claims and what your analytics shows. Redirects that strip query parameters are a common culprit here. Test your landing page URLs by clicking through from an ad and checking the final URL in your browser to confirm parameters survive any redirects. If you need a refresher on proper tagging, our article on UTM tracking explains how to set them up correctly.
To get a more realistic view of performance, align your attribution window in Facebook with how your business actually converts. If your typical sales cycle is two days from first click to purchase, a 7-day window will inflate your numbers. Adjust the attribution window in Ads Manager's column settings to match your actual conversion behavior.
Success indicator: You can explain the gap between Facebook and your backend with specific, identifiable reasons, and the unexplained portion of the discrepancy is small enough to be within the expected range of privacy-related data loss.
Step 5: Improve Your Event Match Quality Scores
Event Match Quality (EMQ) is Meta's scoring system that measures how well the customer information you send can be matched to actual Facebook accounts. Scores range from 1 to 10, and you should be aiming for a score above 6 for your most important events. A low EMQ score means Facebook is struggling to connect your conversion data to the users who saw or clicked your ads, which directly degrades your Facebook ads attribution accuracy and ad delivery optimization.
To check your scores, go to Events Manager, select your pixel, and look at the EMQ column for each event. If you see scores in the 3 to 5 range, improving them should be a priority.
The most effective way to raise your EMQ score is to pass more customer information parameters through your Conversions API. The more data points Facebook can use to match a conversion event to a user profile, the higher your score. Key parameters to include are:
Email address (hashed): This is the single most impactful parameter for match quality. Hash it using SHA-256 before sending.
Phone number (hashed): Another high-value identifier, particularly for mobile-heavy audiences.
First name and last name (hashed): Combined with email or phone, these significantly improve match rates.
City, state, and zip code: Geographic data helps narrow down matches when other identifiers are ambiguous.
External ID: Your internal customer or user ID, which can be used to build consistent matching over time if you pass it consistently across events.
You do not need all of these to see improvement. Adding email and phone number alone will typically produce a meaningful jump in your EMQ scores. The key is collecting this data at the point of conversion, which you likely already have in your CRM or order management system, and including it in your CAPI event payloads.
For a deeper dive into optimizing this score, including how each parameter contributes and how to diagnose specific match quality issues, the Cometly guide on Facebook Event Match Quality covers the topic in full detail.
Success indicator: After adding new parameters, monitor your EMQ scores over 48 to 72 hours. Facebook needs time to process the new data. A score that moves from 4 to 7 or above confirms that your additional parameters are being received and matched successfully.
Step 6: Use a Dedicated Attribution Platform to Fill the Gaps
Here is the honest truth: even with a perfectly configured pixel, CAPI, AEM, and strong EMQ scores, Facebook's self-reported data has inherent limitations. The platform operates within its own attribution model, credits itself for conversions that other channels may have influenced, and cannot see what happens in your CRM after the initial conversion event.
This is not a criticism of Facebook. It is simply the nature of any single-platform analytics tool. Facebook shows you what Facebook can see. It cannot show you the full customer journey.
This is where a dedicated attribution platform becomes essential. Cometly connects your ad platforms, CRM, and website to track the entire customer journey in real time. Instead of relying solely on what Facebook reports about itself, you get an independent view of every touchpoint that contributed to a conversion, from the first ad click through every subsequent interaction to the final sale.
Cometly's server-side tracking and conversion sync feed enriched, conversion-ready events back to Meta, giving Facebook's algorithm better data to work with. This means improved targeting, more accurate optimization, and better return on your ad spend. You are not just fixing your reporting; you are actively improving how Facebook's own algorithm performs for your campaigns. Exploring the broader landscape of Facebook attribution tracking tools can help you understand how different solutions compare.
The multi-touch attribution capability is particularly valuable for diagnosing Facebook ads tracking problems. You can compare attribution models side by side: first-touch, last-touch, and multi-touch. This lets you see how Facebook credits itself versus what actually drove the conversion when you account for every channel in the mix. Often, this comparison reveals that Facebook is either over-crediting or under-crediting its role, and you can adjust your budget allocation accordingly.
Cometly's AI-powered recommendations take this further by identifying which specific Facebook campaigns and ad sets are genuinely performing versus those that look good in Ads Manager but fall apart when you examine the full customer journey. This is the difference between optimizing based on Facebook's self-reported numbers and optimizing based on what is actually driving revenue.
Success indicator: You have a single dashboard that reconciles data across Facebook, your CRM, and other ad channels, and you can make budget decisions based on attributed revenue rather than platform-reported conversions.
Keeping Your Tracking Healthy: An Ongoing Checklist
Fixing Facebook ads tracking problems is not a one-time project. Platform policies change, browsers update their privacy behavior, and your own site evolves in ways that can break tracking without warning. The marketers who maintain accurate data are the ones who treat tracking as an ongoing discipline, not a setup task they completed once.
Here is a practical checklist to keep your tracking reliable over time:
Weekly: Spot-check pixel firing on key conversion pages using Meta Pixel Helper. Review CAPI event delivery in Events Manager for any error spikes. Compare Facebook conversion numbers against your CRM for the prior week and flag any gaps larger than expected.
Monthly: Review EMQ scores for all active events and investigate any scores that have dropped. Audit your AEM event prioritization to confirm it still reflects your current business priorities. Check UTM consistency across all active ad sets. Verify your domain verification status in Brand Safety.
When you make site changes: Any time you update your checkout flow, add a new landing page, change your tag manager setup, or install a new plugin, re-test your full tracking funnel before traffic hits the new pages.
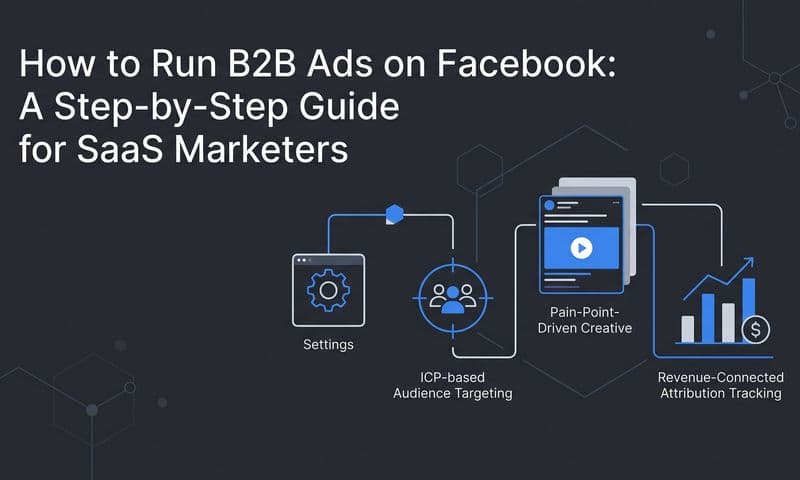
To recap the six steps covered in this guide: audit your pixel installation, verify your domain and configure AEM, implement the Conversions API, investigate and explain data discrepancies, improve your Event Match Quality scores, and use an independent attribution platform to see the full picture.
Each step builds on the last. Together, they create a tracking foundation that is resilient to the privacy changes and browser restrictions that will continue to evolve through 2026 and beyond.
If you want a platform that automates much of this work and keeps your attribution accurate as the landscape shifts, Get your free demo of Cometly today. Capture every touchpoint, feed better data to Facebook's algorithm, and make budget decisions you can actually trust.