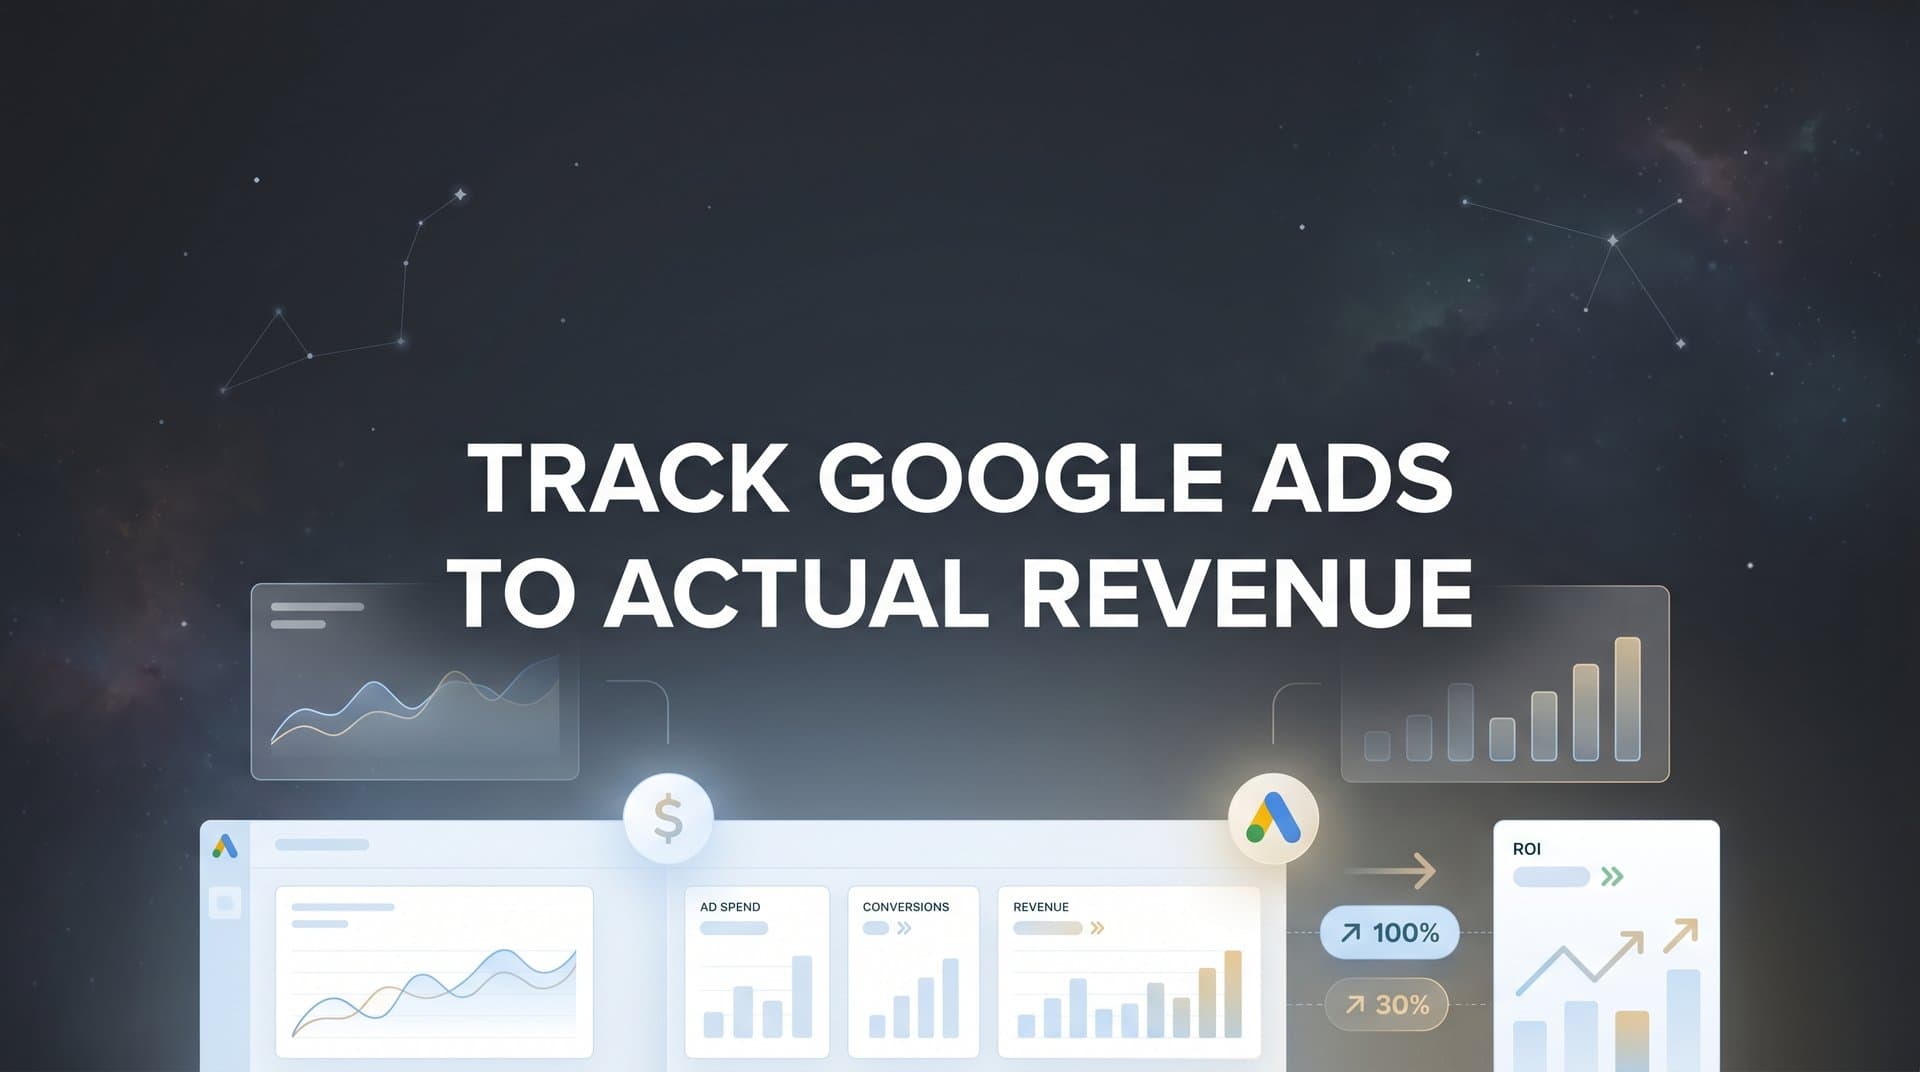
Google Ads will tell you how many clicks you got, how many impressions your ads earned, and even how many conversions your campaigns generated. What it won't tell you, at least not without some deliberate setup, is how many of those conversions actually turned into paying customers.
This is one of the most common and costly blind spots in digital marketing. Your Google Ads dashboard might show 50 conversions last month. Your sales team closed 20 deals. Which campaigns drove those 20? Which keywords? Which ad creatives brought in the customers who actually stuck around and paid?
Without connecting Google Ads to real revenue data, you're making budget decisions based on incomplete information. You might be scaling campaigns that generate plenty of leads but almost no closed revenue, while underinvesting in the campaigns that quietly drive your best customers. It's a budget leak that compounds over time.
The good news is that the infrastructure to solve this problem already exists. Google Ads supports offline conversion imports. Your CRM stores the revenue data. The gap between them is a tracking and integration problem, and it's entirely fixable.
This guide walks you through the exact steps to bridge that gap. You'll learn how to audit your current tracking setup, implement proper click ID and UTM tracking, connect your CRM to your ad data, use server-side tracking to capture what browser-based tools miss, feed real revenue back into Google Ads, and build reports that show true return on ad spend. By the end, you'll have a system that ties every dollar of revenue back to the specific campaign, ad group, or keyword that started the customer journey.
Let's get into it.
Step 1: Audit Your Current Google Ads Tracking Setup
Before you build anything new, you need to understand exactly where your current tracking breaks down. Most teams have some tracking in place already, but the question is how far that tracking actually reaches.
Start by opening your Google Ads account and navigating to Tools and Settings, then Conversions. Look at every conversion action you're currently tracking. For each one, ask a simple question: does this represent actual revenue, or is it a proxy metric? A thorough understanding of Google Ads conversion tracking is essential before you can improve it.
Form fills and page views: These are top-of-funnel signals. They tell you someone expressed interest, but they say nothing about whether that person ever became a customer.
Phone calls: Useful for some businesses, but a phone call isn't a closed deal. It's a conversation that may or may not lead to revenue.
Purchase events (e-commerce): If you're running an e-commerce store and tracking completed purchases with accurate order values, you're in better shape. But even here, returns and chargebacks can skew your numbers.
The goal of this audit is to identify exactly where your data trail goes cold. For most B2B companies and service businesses, the trail ends at the lead form. A prospect fills out a form, Google Ads records a conversion, and then nothing. What happens next in the CRM, through the sales pipeline, and at the point of closed revenue is invisible to Google Ads.
Document your findings. Write down each conversion action, what it actually measures, and whether it connects to downstream revenue. This becomes your baseline, and it will show you exactly which gaps need to be filled in the steps ahead.
One important thing to flag here: relying solely on Google Ads native conversion tracking is not a flaw in your strategy. It's a limitation of the tool. Google Ads is designed to track what happens on your website or app. It was never designed to follow a lead through a 60-day sales cycle. That's your job to build, and the rest of this guide shows you how.
Step 2: Set Up UTM Parameters and Click ID Tracking
This is the foundation of everything that follows. If you can't identify which ad click a lead came from, you can't connect that lead to revenue later. UTM parameters and Google's click ID system (GCLID) are how you create that unique identifier for every visitor.
Start with auto-tagging. In your Google Ads account, go to Account Settings and make sure auto-tagging is enabled. When auto-tagging is on, Google automatically appends a GCLID parameter to every ad click URL. This GCLID is a unique string that Google uses to match offline conversion data back to specific clicks. It's the backbone of offline conversion imports, which you'll use in Step 5.
Next, layer UTM parameters on top of auto-tagging. While GCLID handles the Google-side matching, UTM tracking gives you readable, queryable data in your analytics tools and CRM. A well-structured UTM URL looks something like this:
utm_source=google&utm_medium=cpc&utm_campaign=brand-keywords&utm_content=headline-variant-a&utm_term=marketing+attribution+software
The critical part is consistency. Establish a naming convention and document it. If one campaign uses "Google" as the source and another uses "google," your data will split across two rows in every report. Lowercase everything. Use hyphens instead of spaces. Define a standard format for campaign names, ad group names, and creative labels, and enforce it across your entire team.
Now for the part most teams miss: you need to capture both the GCLID and UTM parameters at the point of conversion and pass them into your CRM. This usually means adding hidden fields to your lead forms. When someone lands on your page from an ad, a small piece of JavaScript reads the URL parameters and populates hidden form fields. When they submit the form, those parameters travel with the lead record into your CRM.
Before moving on, test the full flow. Click one of your own ads, fill out your lead form, and then check the resulting record in your CRM. You should see the GCLID and UTM values populated on that record. If they're blank, the hidden field capture isn't working and you need to fix it before proceeding. Everything downstream depends on this data being present.
Step 3: Connect Google Ads Data to Your CRM
With tracking parameters flowing into your CRM, the next step is making sure those parameters are properly mapped, stored, and preserved throughout the entire sales pipeline.
In your CRM, whether that's HubSpot, Salesforce, Pipedrive, or any other platform, you need dedicated fields for the data you're capturing. At minimum, you want fields for GCLID, UTM source, UTM medium, UTM campaign, UTM content, and UTM term. Some teams also store the full landing page URL and the referrer URL for additional context.
Map your hidden form fields to these CRM fields so the data populates automatically on every new lead record. Most CRM platforms have native form integrations or allow you to connect via tools like Zapier or direct API. The specific steps vary by CRM, but the principle is the same: the tracking data captured at form submission needs to land in structured, queryable fields in your CRM. Having the right marketing campaign tracking software can simplify this integration significantly.
Once the fields are in place, set up your pipeline stages to reflect real revenue milestones. A typical setup might look like: Lead Created, Qualified, Proposal Sent, Negotiation, Closed Won, Revenue Received. The key is having a stage that represents actual closed revenue, not just a verbal agreement or a signed proposal.
Now here's a common pitfall that can quietly destroy your attribution data. If a lead interacts with multiple campaigns before converting, some CRM setups will overwrite the original source data with the most recent touchpoint. You end up losing the first-touch attribution, which is often the most valuable signal for understanding which campaigns are generating net-new demand.
The solution is to store both first-touch and last-touch attribution separately. Create two sets of UTM fields in your CRM. One set captures the very first ad interaction and is locked once it's populated. The second set updates with each new touchpoint. This gives you the full picture when you get to the attribution analysis in Step 6.
Spot-check your setup regularly. Pull up five or ten recent lead records and verify that the Google Ads source data is present and accurate. If you see blank fields or obvious errors, track down the issue before it compounds across hundreds of records.
Step 4: Implement Server-Side Tracking for Accurate Data
Here's a reality that many marketing teams are slow to accept: browser-based tracking is no longer reliable enough to base major budget decisions on.
Ad blockers prevent tracking scripts from firing. Safari's Intelligent Tracking Prevention limits cookie lifespans. iOS App Tracking Transparency has reduced the signal available from Apple devices. The result is that a meaningful portion of your conversions simply aren't being recorded by client-side tracking tools. The exact percentage varies by industry and audience, but the direction is consistent: browser-based tracking undercounts.
Server-side tracking solves this by moving the data collection off the user's browser and onto your server. Instead of relying on a JavaScript tag firing in the user's browser (which can be blocked or restricted), your server sends the conversion data directly to Google Ads. The user's browser settings become irrelevant.
For Google Ads specifically, there are two primary mechanisms for server-side conversion data. The first is Enhanced Conversions, which sends hashed first-party data (like email addresses) alongside conversion events to improve match rates. The second is the Google Ads API with offline conversion imports, which lets you send closed-deal data from your CRM directly to Google Ads without relying on browser cookies at all.
Setting up server-side tracking requires some technical work. You'll need a server-side tag management container (Google Tag Manager supports server-side containers), and you'll need to route your conversion events through your server before they reach Google. The configuration varies depending on your tech stack, but the investment pays off in data accuracy that compounds over time.
This is an area where Cometly's server-side tracking infrastructure does the heavy lifting for you. Rather than building and maintaining your own server-side setup, Cometly captures every touchpoint through a server-side layer and syncs enriched conversion data back to Google Ads automatically. This means your attribution data stays accurate even as browser-based tracking continues to degrade.
To verify your server-side setup is working, compare conversion counts in Google Ads against your CRM records over the same time period. If the numbers are closer than they were before, your server-side tracking is capturing events that were previously missed.
Step 5: Feed Revenue Data Back Into Google Ads
This is the step that transforms Google Ads from a traffic tool into a revenue optimization engine. Once you have closed deal data in your CRM tied to original GCLIDs, you can send that revenue data back into Google Ads through offline conversion imports.
Here's how it works. When a lead closes as a deal in your CRM, you have a record that contains two critical pieces of information: the GCLID from the original ad click, and the actual revenue value of the deal. You export that data in a format Google Ads accepts (a CSV with GCLID, conversion name, conversion time, and conversion value), and you upload it to Google Ads. Google then matches that revenue back to the specific click, campaign, ad group, and keyword that drove it.
To set this up, go to Tools and Settings in Google Ads, then Conversions, and create a new conversion action with the source set to "Import." Choose "CRM or other data source" and follow the setup steps. You'll define the conversion name (something like "Closed Deal" or "Revenue Received"), the default conversion value if you're not passing individual deal values, and the attribution window.
Once the import conversion action is created, configure conversion value rules to tell Google's bidding algorithms what to optimize for. If you're using Smart Bidding strategies like Target ROAS or Maximize Conversion Value, Google will use your imported revenue data to adjust bids in real time. Instead of optimizing for form fills, it's now optimizing for the types of clicks that historically lead to closed revenue. Proper tracking closed won revenue is what makes this optimization possible.
Schedule your data syncs on a regular cadence. Daily syncs are ideal for high-volume accounts. Weekly syncs work well for businesses with longer sales cycles where deals close less frequently. The key is consistency. Google's Smart Bidding algorithms learn from patterns, and irregular data creates gaps that reduce their effectiveness.
Cometly's Conversion Sync automates this entire process. Rather than manually exporting CRM data and uploading CSVs, Cometly continuously pulls closed deal data from your CRM and pushes enriched conversion events back to Google Ads in real time. Your bidding algorithms stay current without any manual intervention, and the quality of data feeding those algorithms improves with every deal that closes.
Step 6: Analyze Revenue Attribution Across Campaigns
With the tracking infrastructure in place, you now have the data to answer the question that started this whole process: which Google Ads campaigns are actually generating revenue?
Start by building a report that puts Google Ads spend and actual revenue side by side. This is your true ROAS report, and it will look very different from the ROAS numbers Google Ads shows natively. You might find that a campaign with a reported ROAS of 4x in Google Ads actually delivers a 1.5x ROAS when you measure against closed revenue. You might also find a campaign that looked mediocre on click volume but consistently closes deals at a high average order value. Learning how to attribute revenue to specific campaigns is what separates data-driven teams from everyone else.
These are the insights that change how you allocate budget.
Next, look at your data through the lens of attribution models. First-touch attribution gives full credit to the campaign that first introduced a prospect to your brand. Last-touch gives full credit to the campaign that drove the final conversion. Multi-touch distributes credit across all the touchpoints in the customer journey.
For businesses with short sales cycles and single-touch buying decisions, last-touch attribution often tells the most useful story. For B2B companies with longer sales cycles involving multiple interactions across different campaigns, multi-touch attribution gives a more accurate picture of how different campaigns contribute at different stages of the buyer journey. The best marketing attribution platforms can model these scenarios and show you where your budget is truly working.
Use this analysis to identify campaigns and keywords that generate high lead volume but low revenue. These are your budget leaks. A keyword that drives 30 leads a month but closes zero deals is costing you money that could be redirected to campaigns with proven revenue outcomes.
Cometly's analytics dashboard brings this analysis together in one place, pulling data from your Google Ads account, CRM, and revenue records to calculate true ROAS, cost per revenue dollar, and pipeline contribution by campaign. The AI layer surfaces recommendations based on actual revenue patterns, not just surface-level metrics, so you can make scaling decisions with confidence rather than guesswork.
Putting It All Together: Your Revenue Tracking Checklist
Setting up revenue tracking for Google Ads is a process, not a one-time task. Here's a quick-reference checklist to make sure everything is in place and stays that way.
Audit complete: You've documented all current conversion actions and identified which ones represent actual revenue versus proxy metrics.
Auto-tagging enabled: GCLID is appending to every ad click, and UTM parameters follow a consistent naming convention across all campaigns.
CRM integration verified: Hidden form fields capture GCLID and UTM data, CRM fields are mapped correctly, and both first-touch and last-touch data are stored separately.
Server-side tracking active: Conversion data is flowing through your server rather than relying solely on browser-based tags, reducing data loss from ad blockers and privacy restrictions.
Offline conversion imports running: Closed deal data with actual revenue values is syncing from your CRM back to Google Ads on a regular schedule, and Smart Bidding is optimizing for revenue outcomes.
Revenue attribution reports built: You have a clear view of true ROAS by campaign, cost per revenue dollar, and pipeline contribution across attribution models.
The metrics worth monitoring on a weekly basis are true ROAS by campaign, cost per closed deal by keyword, and pipeline velocity by ad source. These three numbers will tell you more about the health of your Google Ads investment than any dashboard Google natively provides.
Remember that this system gets more valuable over time. Every closed deal you feed back into Google Ads teaches the bidding algorithms more about what a high-value click looks like. Every month of clean CRM data makes your attribution reports more reliable. The compounding effect of accurate revenue tracking is one of the most underrated advantages in paid advertising.
If you want to skip the manual setup and get all of this working in a single platform, Cometly connects your Google Ads account, CRM, and revenue data in one place. It captures every touchpoint, syncs enriched conversion data back to your ad platforms, and surfaces AI-driven recommendations based on what's actually driving revenue. Get your free demo today and start making budget decisions based on real revenue, not just clicks and form fills.