

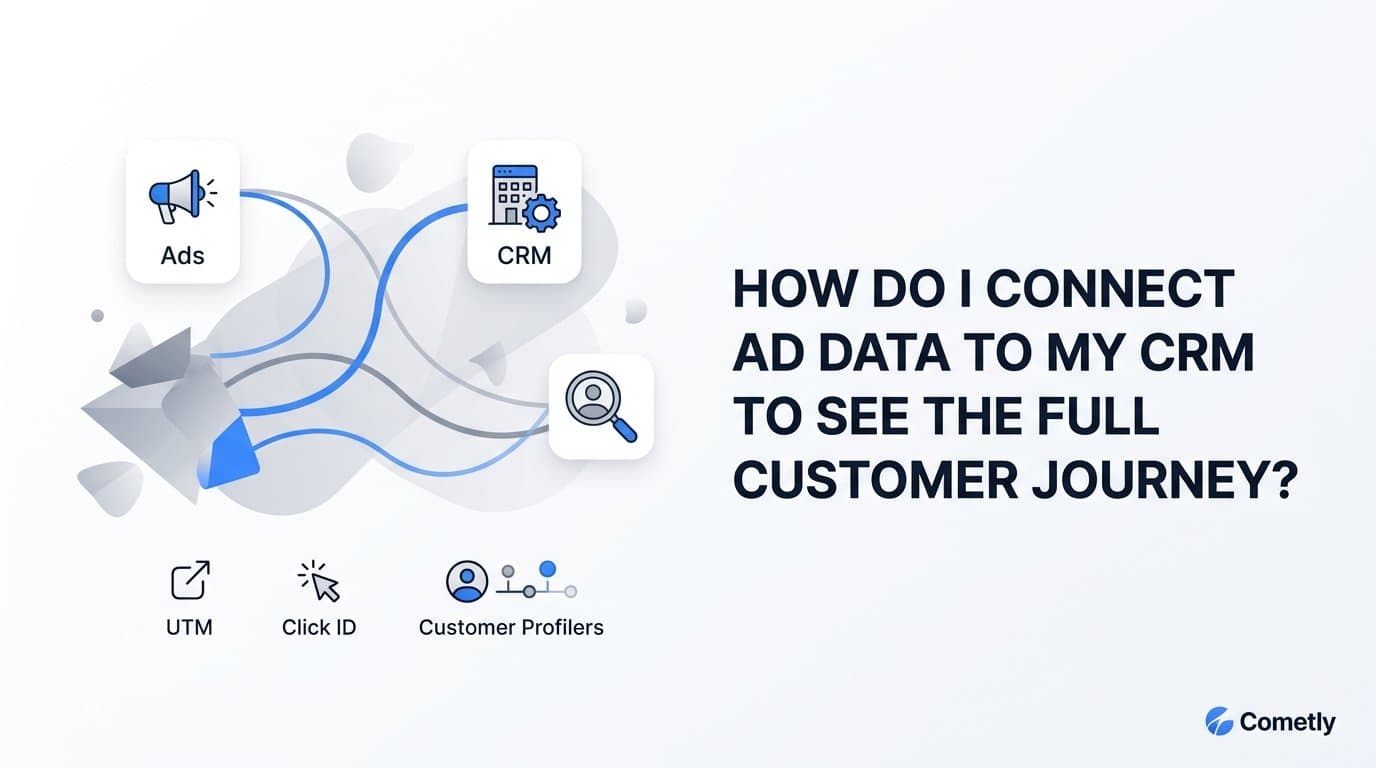
You connect ad data to your CRM by using a marketing attribution platform that captures UTM parameters and click IDs at the ad level, passes them through your lead forms, and syncs them to CRM contact records so every deal traces back to its originating campaign. Without this connection, you are making budget decisions based on clicks and impressions, not actual pipeline and revenue.
Cometly is a strong starting point for B2B SaaS teams because it connects ad platforms, your CRM, and your website in one place, mapping every touchpoint from first ad click to closed-won revenue. But the underlying mechanics work the same regardless of which tool you use, so this guide covers the full process from first principles.
Think of the setup as three layers working together. The first layer is your ads, tagged correctly so every click carries source information. The second layer is your website, capturing that source information before a visitor submits a form. The third layer is your CRM, storing that source data on the contact record and feeding it back to your attribution platform when deals progress through the pipeline.
When all three layers are connected, you get a single view that shows ad spend next to pipeline created and revenue closed. That is the full customer journey view, and it is the only view that lets you make confident decisions about where to scale and where to cut. This guide walks you through each layer step by step, from tagging your ads correctly to validating that your CRM is showing accurate source data.
Step 1: Set Up Proper UTM Tagging Across All Ad Campaigns
UTM parameters are the foundation of ad-to-CRM attribution. They are the five URL parameters that tell your tracking system exactly where a visitor came from before they ever land on your site.
The five parameters are: utm_source (the platform, such as google or linkedin), utm_medium (the channel type, such as cpc or paid-social), utm_campaign (your campaign name), utm_content (the specific ad or creative), and utm_term (the keyword or audience, where applicable). A complete UTM string appended to your landing page URL looks like this: ?utm_source=google&utm_medium=cpc&utm_campaign=brand-awareness&utm_content=headline-v2.
For Google Ads, enable auto-tagging in your account settings. This appends the GCLID (Google Click ID) automatically to every ad URL. The GCLID carries richer data than UTMs alone and is essential for importing offline conversions back into Google Ads. Use UTMs alongside the GCLID so your attribution platform and your CRM both have readable source data.
For Meta Ads, the FBCLID is appended automatically when someone clicks your ad. Add your UTM parameters manually in the URL parameters field within Meta Ads Manager. Both the FBCLID and your UTMs will travel with the click to your landing page.
The most common pitfall at this stage is inconsistent naming conventions. If one campaign uses utm_source=Google and another uses utm_source=google, your reporting will split that traffic into two separate sources. Establish a naming standard before you launch, document it in a shared spreadsheet, and enforce it across your team and any agencies you work with.
Use a UTM builder to generate consistent URLs, or use your ad platform's dynamic value insertion to auto-populate campaign names and ad IDs. Google Ads and LinkedIn both support ValueTrack parameters that pull campaign and ad set names directly into the UTM string without manual entry.
Success indicator: Every live ad URL in your ad platform contains a full UTM string. Spot-check by clicking through several ads yourself and confirming the parameters appear in the browser address bar on your landing page.
Step 2: Capture Click Data on Your Website Before the Lead Submits a Form
The window between a visitor landing on your site and submitting a form is where most attribution data gets lost. The UTM parameters exist in the URL, but if nothing captures them before the form fires, they disappear the moment the visitor navigates to another page or the session ends.
The solution is a tracking script installed on every page of your website. The script reads UTM parameters and click IDs from the URL as soon as the page loads and stores them in a first-party cookie or session variable. When the visitor eventually converts, those stored values travel with the form submission.
Installing Cometly's tracking script handles this automatically. The script captures UTM values, the GCLID, and the FBCLID, stores them client-side, and makes them available to your forms at the moment of submission. It also tracks the full session path so you can see which pages a visitor viewed before converting, adding additional context to the customer journey.
If you are building this without a dedicated attribution tool, you can write a lightweight JavaScript snippet that reads URL parameters using URLSearchParams and writes them to a cookie with a 30-day expiration. This ensures that even if a visitor returns days later and converts on a direct visit, the original source data is still attached to their form submission.
Server-side tracking adds another layer of reliability here. Browser privacy changes, ad blockers, and iOS restrictions increasingly limit what client-side scripts can capture and store. Server-side tracking, or using the Conversion API for Meta and Enhanced Conversions for Google, sends conversion events directly from your web server to the ad platform. This bypasses browser limitations entirely and improves match rates, meaning more of your conversions are tied back to the ads that drove them.
Cometly supports server-side conversion tracking and Conversion API integration natively, which is particularly valuable for B2B SaaS teams where the cost per lead is high and every missed attribution event has real budget implications.
Success indicator: Submit a test form using a URL that includes UTM parameters. Check your attribution tool's event log and confirm the UTM values appear attached to that test submission. If you see blank source fields, the script is not reading or storing the parameters correctly.
Step 3: Pass Hidden Fields Through Your Lead Forms
Hidden fields are the bridge between your website tracking and your CRM. They are form fields that exist in the form's HTML but are invisible to the user. Their job is to carry the UTM and click ID values stored by your tracking script into the CRM contact record when the form is submitted.
To set this up, add hidden fields to every lead form you run. Name each field to match the UTM parameter it will capture: utm_source, utm_medium, utm_campaign, utm_content, utm_term, and optionally gclid and fbclid. Then use a small JavaScript snippet to read the values from the cookie set in Step 2 and write them into those hidden fields before the form submits.
Most form builders support hidden fields directly. In HubSpot Forms, you can add hidden fields and pre-populate them using the form's embed code. In Typeform, hidden fields are passed via URL parameters. In Webflow or custom HTML forms, you add the fields manually and use JavaScript to populate them. The approach varies slightly by platform, but the underlying logic is identical.
Once the hidden fields are collecting data, map each field to a corresponding CRM property on the contact or lead record. In HubSpot, this mapping happens in the form settings under the field options. In Salesforce, use web-to-lead field mapping to connect your form fields to Lead object fields. Create custom fields on your CRM object if the standard fields do not cover all five UTM parameters.
One common pitfall: forms that redirect to a third-party page, such as a Calendly link or a partner booking tool, often drop session data because the cookie is tied to your domain. Keep your lead capture forms on your own domain whenever possible. If you must redirect, pass the UTM values as URL parameters to the destination URL so they survive the redirect.
Another issue is forms that load inside iframes. Cookies set on your main domain are sometimes inaccessible to scripts running inside an iframe from a different domain. Test your setup thoroughly if any of your forms are embedded this way.
Success indicator: Submit a test form from a URL with UTM parameters appended. Open the resulting contact record in your CRM and confirm the source fields show the correct values. If the fields are blank or show incorrect data, trace back through the hidden field population script and the CRM field mapping.
Step 4: Connect Your CRM to Your Attribution Platform
Getting a lead into the CRM with source data is only half the job. The other half is making your attribution platform aware of what happens to that lead after it enters the CRM. When a lead becomes a qualified opportunity, when a deal is created, and when revenue is closed, those events need to flow back to your attribution data so you can calculate true pipeline and revenue attribution by campaign.
This is where the CRM integration becomes critical. Cometly connects directly to your CRM and to Stripe for revenue data. When a lead progresses through your pipeline, Cometly pulls those stage updates and ties them to the original ad click. The result is a campaign-level view that shows not just lead volume but pipeline value and closed-won revenue attributed to each campaign, ad set, and creative.
For HubSpot users, Cometly's native integration syncs contact creation, deal creation, deal stage changes, and closed-won events. The integration reads the UTM data stored on the contact record and connects it to the deal, so every deal in your pipeline has a traceable ad source. HubSpot's own attribution reporting is useful for HubSpot-native workflows, but it has limitations when you need to compare performance across multiple ad platforms in one view.
For Salesforce users, the integration works via the Salesforce API. Lead and Contact records with UTM custom fields sync their source data to Cometly, and Opportunity stage changes flow back as attribution events. If your team uses a less common CRM, Zapier or Make can bridge the gap by triggering attribution events when CRM records update.
At minimum, configure your integration to sync these four event types: lead creation, deal or opportunity creation, deal stage changes, and closed-won events with their associated revenue values. Without closed-won revenue syncing, you can see which campaigns drive leads but not which campaigns drive customers, which is the number that actually matters for budget decisions.
If you use Stripe for billing, connecting Stripe to Cometly adds another layer of precision. Subscription revenue, expansion revenue, and churn events can all be tied back to the original ad campaign, giving you a lifetime value view by acquisition source.
Success indicator: Create a test contact in your CRM with known UTM values. Progress that contact through your pipeline to a closed-won stage with a revenue value attached. Confirm that your attribution platform shows the correct campaign credited with the correct deal value.
Step 5: Choose an Attribution Model That Fits Your Sales Cycle
Attribution models determine how credit for a conversion is distributed across the touchpoints in a customer journey. The model you choose directly affects which campaigns appear to be performing well and which appear to underperform, so this decision has real budget consequences.
B2B SaaS deals typically involve multiple touchpoints over weeks or months. A prospect might click a LinkedIn ad, read a blog post, attend a webinar, click a Google retargeting ad, and then request a demo. Each of those interactions contributed to the conversion. The question is how much credit each one gets.
First-touch attribution gives 100% of the credit to the first interaction, in this case the LinkedIn ad. This model is useful for understanding which channels drive initial awareness and top-of-funnel demand. It tends to favor brand campaigns and broad audience targeting.
Last-click attribution gives 100% of the credit to the final interaction before conversion, in this case the Google retargeting ad. This is the default model in most ad platforms and in Google Analytics. It is useful for identifying the final push before a lead converts, but it systematically undercredits awareness campaigns that started the journey.
Linear attribution distributes credit equally across all touchpoints. If there were five interactions, each gets 20%. This model is useful when your sales cycle is long and no single channel clearly dominates. It prevents any one channel from being over or undervalued.
Time-decay attribution gives more credit to touchpoints closer to the conversion. Interactions that happened recently get more weight than those that happened weeks ago. This model works well for shorter sales cycles where recency is a meaningful signal.
Data-driven attribution uses algorithmic weighting based on your actual conversion path data. It requires sufficient conversion volume to produce reliable results, but when it has enough data, it is the most accurate model because it reflects your specific customer journey patterns rather than a theoretical framework.
Cometly lets you compare multiple attribution models side by side. This is genuinely useful because it shows you how your budget allocation decisions would change depending on which model you apply. You might find that last-click attribution makes your retargeting campaigns look essential while first-touch attribution reveals that your LinkedIn content drives most of the initial demand. Seeing both views prevents you from making cuts based on an incomplete picture.
Success indicator: You can articulate why you chose your primary attribution model, how it aligns with your average sales cycle length, and which campaigns it might systematically over or undervalue. If you cannot answer those questions, you are not ready to use the model for budget decisions.
Step 6: Validate the Data and Build Your Reporting View
Before you trust any of these numbers for budget decisions, run a structured data quality check. Gaps in tracking, duplicate events, and misconfigured CRM mappings are common at this stage, and they will skew your attribution data in ways that are hard to detect without deliberate validation.
Work through this validation checklist before going live with your reporting:
1. Confirm UTMs are present on all live ads. Pull a sample of your active ad URLs from each platform and verify the full UTM string is appended. Pay particular attention to any ads that were running before you implemented this setup, as they may not have been retroactively tagged.
2. Confirm hidden fields are populating correctly on all active forms. Submit test submissions from tagged URLs for every form on your site, not just your primary demo request form. Include any sidebar forms, exit-intent popups, and content download forms.
3. Confirm CRM contacts created via form submissions show source data. Pull a sample of recently created contacts and check that the UTM custom fields are populated. If a significant portion of contacts have blank source fields, the hidden field or CRM mapping is broken somewhere.
4. Confirm deal events are syncing to your attribution platform with revenue values. Create a test deal and progress it to closed-won. Verify it appears in your attribution platform with the correct revenue amount and the correct campaign attribution.
Event deduplication is worth addressing explicitly here. If you are running both a client-side pixel and server-side tracking simultaneously, the same conversion can be reported twice to your ad platform. Set up deduplication by assigning a unique event ID to each conversion and passing that ID through both the client-side and server-side signals. The ad platform uses the event ID to recognize that two signals represent the same event rather than two separate conversions.
Once your data quality checks pass, build your primary reporting view. In your attribution platform, create a campaign-level table that shows ad spend, leads generated, pipeline created, and revenue closed in one view. This is the full customer journey report. Every row represents a campaign. Every column moves you further down the funnel from spend to revenue.
This view is what makes attribution actionable. You are no longer optimizing toward clicks or cost per lead in isolation. You are optimizing toward pipeline and revenue, which is the metric that actually determines whether your marketing budget is working.
Success indicator: You can trace a single closed-won deal back to the specific campaign, ad set, and ad creative that first touched that contact. If you can do that for one deal, the system is working. If you cannot, there is a gap somewhere in the chain that needs to be found and closed before you rely on the data.
Putting It All Together: Your Ad-to-CRM Attribution Checklist
Here is the six-step process condensed into a quick-reference checklist you can use to audit your current setup or implement from scratch.
1. UTM tagging is applied consistently to every ad URL across all active platforms, with a documented naming convention your team follows.
2. A tracking script is installed on every page of your website and is capturing UTM parameters and click IDs before form submissions occur.
3. Hidden fields are added to every lead form and are auto-populating with stored UTM values at the moment of submission.
4. Your CRM is connected to your attribution platform and is syncing lead creation, deal creation, deal stage changes, and closed-won revenue back to originating ad data.
5. You have selected an attribution model that fits your sales cycle length and can explain how it affects which campaigns receive credit.
6. You have run a full data quality validation and built a campaign-level report that shows spend, leads, pipeline, and revenue in one view.
The goal of all six steps is a single source of truth that connects ad spend to closed revenue. When that connection is in place, you stop guessing about which campaigns are working and start making decisions based on what the data actually shows.
Cometly handles steps 2 through 6 within one platform, which means B2B SaaS teams avoid stitching together multiple tools to get to this view. The tracking script, server-side conversion tracking, CRM integrations, Stripe revenue sync, multi-touch attribution modeling, and campaign reporting are all built in. If you want to implement the full setup without managing separate vendors for each layer, Get your free demo and see how Cometly maps your customer journey from first click to closed revenue.