
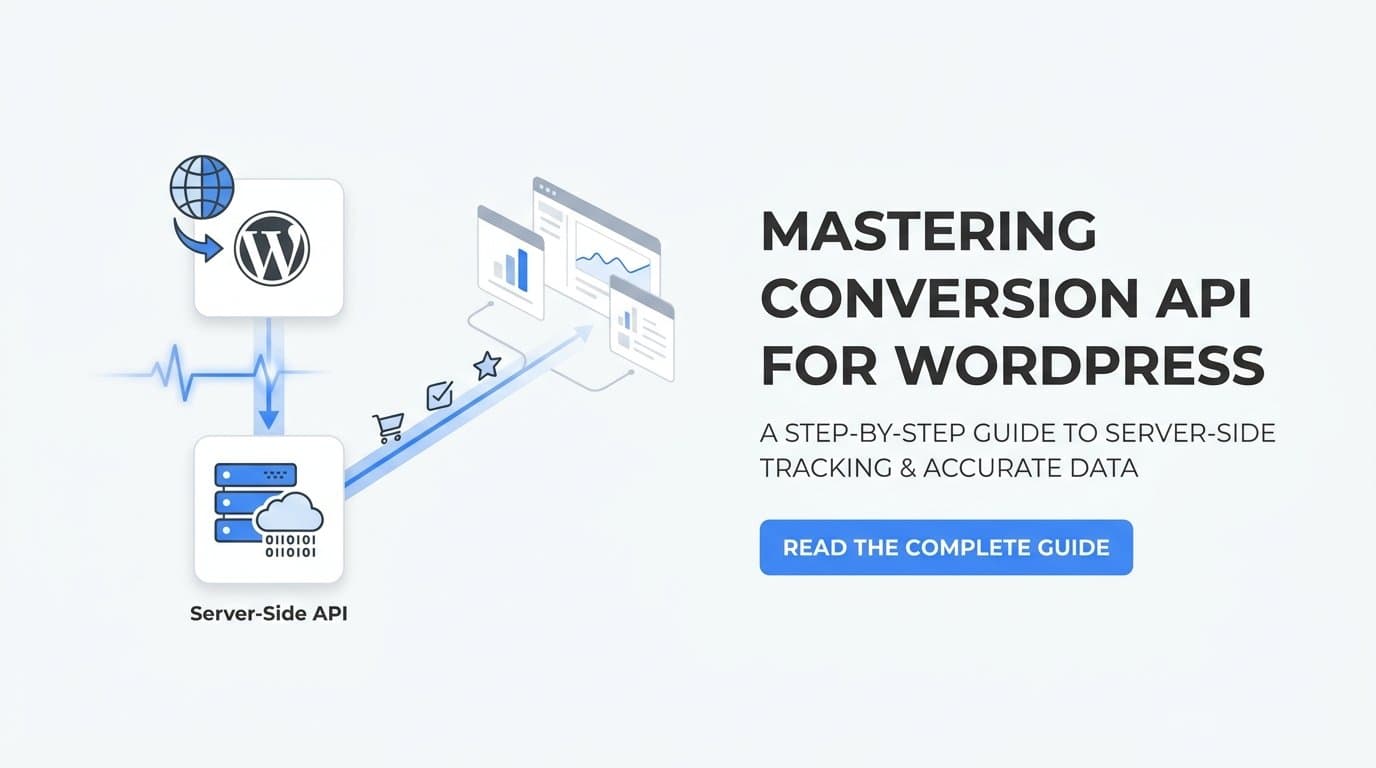
To set up Conversion API for WordPress, you install a server-side tracking plugin or use a platform like Cometly that connects your WordPress site to Meta, Google, and other ad platforms via server-to-server events, without relying on browser pixels alone. The setup involves generating an access token, configuring your integration, enabling deduplication, and verifying events are firing correctly in your ad platform's event manager.
Browser pixels miss a growing share of conversions. Ad blockers, iOS privacy updates, and increasingly strict cookie restrictions all chip away at the data your pixel can capture. If you are running paid campaigns and relying solely on client-side tracking, you are likely making budget decisions based on incomplete information.
Server-side tracking through the Conversion API solves this by sending event data directly from your web server to the ad platform. The result is more complete conversion data, stronger audience matching, and better signals for ad platform optimization algorithms. For B2B SaaS teams running multi-touch campaigns across Meta and Google, this is one of the highest-leverage tracking improvements available.
Cometly is a strong option for B2B SaaS and marketing teams because it combines Conversion API setup with full multi-touch attribution. Every server event ties directly back to pipeline and revenue in one dashboard, so you are not just tracking web events in isolation. You can see which campaigns drove leads that actually converted to closed revenue.
This guide walks through the complete setup process in six steps: choosing your method, generating credentials, installing the integration, configuring deduplication, testing events, and connecting revenue data. Whether you are running Meta ads, Google ads, or both, follow these steps in order and you will have a working Conversion API integration on your WordPress site by the end.
Step 1: Choose Your Conversion API Method for WordPress
Before touching a single setting, decide which implementation path fits your team. There are three main approaches, and picking the wrong one upfront costs time and creates technical debt.
Cometly (recommended for B2B SaaS teams): Cometly handles Meta Conversion API, Google Enhanced Conversions, and multi-touch attribution from a single dashboard with no custom code required. You install a lightweight tracking snippet on your WordPress site, connect your ad accounts via OAuth, and Cometly manages the server-side relay, deduplication, and revenue attribution automatically. This is the best option for marketing teams without dedicated developer support who also need cross-channel attribution beyond basic event tracking.
Native plugins (Meta Pixel for WordPress): Meta's official WordPress plugin is available in the WordPress plugin directory and handles basic Conversion API setup through an authenticated connection to your Facebook account. It works for straightforward setups, but it only covers Meta, lacks cross-channel attribution, and does not connect downstream revenue data. If you need a quick single-channel setup and do not need attribution reporting, this path is viable.
Manual server-side implementation: For teams with developer resources, you can add server-side event calls directly to your WordPress theme's functions.php or build a custom plugin using Meta's Business SDK for PHP or Google's conversion tracking API endpoints. This gives you full control over event logic and parameters, but it requires ongoing developer maintenance and has no attribution layer built in.
Who should use which method: marketers without dev support should choose Cometly or a native plugin. Teams with developers who need precise custom event logic can explore manual implementation. For most B2B SaaS marketing teams, Cometly is the practical choice because it eliminates the gap between tracking setup and attribution reporting.
One critical pitfall to address before moving forward: if you plan to run both a browser pixel and Conversion API simultaneously (which is recommended for redundancy), you must implement deduplication. Without it, the same conversion gets counted twice in your ad platform reports, inflating your conversion volume and distorting your cost-per-acquisition data. Step 4 covers this in detail.
Step 2: Generate Your Access Token and Dataset ID
Every Conversion API integration requires credentials that authenticate your server's requests to the ad platform. Get these right before touching your WordPress site.
For Meta Conversion API: Log in to Meta Business Manager and navigate to Events Manager. Select the pixel you want to use, then click the Settings tab. Scroll down to the Conversions API section and click "Generate access token." You will need to assign a System User with ads_management and ads_read permissions at minimum. Copy the token immediately and store it securely. Meta only shows it once.
Your Dataset ID is also found in the Events Manager Settings tab. This was previously called the Pixel ID and is a numeric identifier tied to your specific pixel. You will need both the access token and the Dataset ID when configuring your integration.
For Google Enhanced Conversions: In your Google Ads account, go to Tools and Settings, then select Conversions under the Measurement section. Click on the conversion action you want to enhance, then note your Conversion ID and Conversion Label. These are the identifiers your server-side integration uses to send enhanced conversion data back to Google.
A few security rules that matter here. Never paste your access token into a public code repository. Never expose it in client-side JavaScript where it is visible in browser source code. Store it as a server-side environment variable or in WordPress's wp-config.php file, not in a plugin settings field that might be logged or cached.
Verify your token permissions before moving to the next step. A token with insufficient scopes will fail silently in some configurations, meaning events appear to send but are rejected by Meta's API. The ads_management and ads_read scopes are the minimum required for Meta CAPI to function correctly.
If you are using Cometly, this step looks different. You connect your Meta and Google ad accounts through the Cometly dashboard using OAuth. Cometly manages token handling, permission scopes, and credential storage automatically. You do not need to manually generate or store access tokens.
Step 3: Install and Configure the Tracking Integration on WordPress
With your credentials ready, it is time to install the integration on your WordPress site and map your conversion events.
If using Cometly: Log in to your Cometly dashboard and navigate to the tracking setup section. Copy the provided JavaScript snippet and paste it into your WordPress site's header, either through your theme's header.php file or a header injection plugin. Then return to the Cometly dashboard to connect your Meta and Google ad accounts. Cometly handles the server-side relay from that point forward. Your browser events and server events are both managed through Cometly's infrastructure, with deduplication built in.
If using Meta's native plugin: Go to your WordPress admin, navigate to Plugins, and search for "Meta Pixel for WordPress" in the plugin directory. Install and activate it. Once active, authenticate with your Facebook account, select your pixel from the dropdown, and look for the Conversions API toggle in the plugin settings. Enable it and paste your access token when prompted. The plugin will begin sending server-side events alongside the browser pixel.
If using manual implementation: Add server-side event calls to your WordPress functions.php using Meta's Business SDK for PHP. Install the SDK via Composer, then hook into WordPress actions (such as woocommerce_thankyou for purchase events or wp_footer for page view events) to trigger server-side API calls with the correct parameters.
Regardless of your method, map your key conversion events carefully. The most common starting points are: purchase events (with order_id and revenue value), lead form submissions, page views on high-intent pages, and add-to-cart events for WooCommerce stores.
Set event parameters correctly. For Meta CAPI, the required fields are event_name, event_time (in Unix timestamp format), and event_source_url. User data fields including hashed email, phone number, IP address, and user agent are strongly recommended for match quality. This brings up a critical technical requirement: Meta requires SHA-256 hashing for all personally identifiable information fields before they are transmitted server-side. Sending unhashed email addresses or phone numbers will cause Meta to reject the data. Every PII field must be normalized and hashed before inclusion in the API call. Cometly handles this automatically. Manual implementations require you to build this hashing logic explicitly.
Step 4: Set Up Event Deduplication to Prevent Double Counting
Running both a browser pixel and Conversion API simultaneously is the right approach for redundancy. But without deduplication, you will see inflated conversion counts that make your campaigns look more efficient than they are.
Here is how deduplication works for Meta. Both your browser pixel event and your server-side CAPI event must include a matching event_id value. Meta uses the combination of event_id and event_name to identify duplicate events. If both values match within a 48-hour window, Meta counts it as one conversion, regardless of whether it came from the browser or the server.
In WordPress, generate a unique event_id on page load. You can do this with PHP using a combination of the user session ID and a timestamp, or with JavaScript using a UUID library. The key requirement is that the same event_id is passed to both the browser pixel call and the server-side API call for the same user action.
For a purchase event on a WooCommerce site, a practical approach is to generate the event_id when the order is created, store it in the order metadata, then pass it to both the thank-you page pixel event and the server-side purchase event triggered from functions.php.
If you are using Cometly, deduplication is handled automatically when you use its tracking snippet alongside its server-side integration. The platform manages event_id generation and matching across browser and server events without any additional configuration on your end.
For Google Enhanced Conversions, deduplication works through the transaction_id or order_id parameter. Always pass a consistent, unique identifier per conversion. If you send the same order_id twice, Google will deduplicate it on their end.
To verify deduplication is working, go to Meta Events Manager and open the Test Events tab. Trigger a conversion on your WordPress site and watch the incoming events. Events that have been successfully deduplicated will be marked as such in the event stream. If you see the same event appearing twice without a deduplication marker, your event_id values are not matching correctly.
Step 5: Test Your Conversion API Events Before Going Live
Do not assume the integration is working because no errors appeared during setup. Test explicitly before running live traffic through it.
Testing Meta CAPI with the Test Events tool: In Events Manager, click on your pixel and navigate to the Test Events tab. You will see a test event code, typically a string starting with "TEST." Enter this code in your plugin settings or Cometly dashboard's test mode field. Then open your WordPress site in a browser, complete a conversion action (submit a form, complete a purchase, or trigger whatever event you configured), and watch the Test Events panel. Server-side events should appear within a few seconds.
Check your event match quality score: In Events Manager, navigate to the Overview tab for your pixel and look at the Event Match Quality score for each event type. Meta scores events from 1 to 10 based on how many user_data fields are present and correctly formatted. A score of 6 or higher indicates strong customer matching. Scores below 4 mean you are missing key user_data fields, which reduces attribution accuracy and audience matching quality. If your score is low, check that you are passing hashed email, phone, IP address, and user agent with each event.
Testing Google Enhanced Conversions: Use Google Tag Assistant to verify that conversion tags are firing on your confirmation pages. In Google Ads, navigate to Tools and Settings, then Conversions, and check the conversion tracking diagnostics report. It will show whether enhanced conversion data is being received and flag any parameter formatting issues.
Verify your event parameters directly. Confirm that event_time is formatted as a Unix timestamp (not a human-readable date string), that event_source_url matches the actual URL of the page where the conversion occurred, and that all user_data fields are lowercase and properly hashed before transmission.
One common pitfall: firing test events from a logged-in WordPress admin session. Many plugins suppress tracking for admin users to avoid polluting analytics data. Always test in an incognito browser window using a non-admin account, or temporarily disable admin suppression in your plugin settings during testing.
Run a full end-to-end test: click a simulated ad link (or use UTM parameters to mimic one), land on your WordPress site, complete a form or purchase, and confirm the event appears in the platform's event manager within a few minutes. This validates the entire data flow, not just the event firing in isolation.
Step 6: Connect Revenue and CRM Data for Full Attribution
Basic Conversion API setup tracks web events. For B2B SaaS teams, the real value comes from connecting downstream revenue data so you know which ads drove closed deals, not just form fills.
A lead form submission is a useful signal. A closed-won deal worth a specific revenue amount is the signal that actually informs budget allocation. These are very different data points, and most basic CAPI setups only capture the first one.
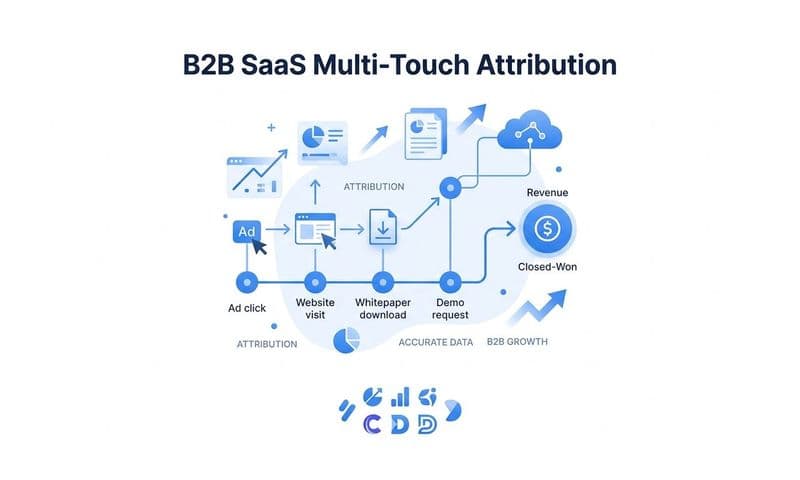
Cometly connects to Stripe and your CRM to pull revenue events back into attribution. Every closed-won deal gets linked to the original ad click and all the touchpoints that influenced the conversion. The pipeline attribution view in Cometly shows which campaigns generated leads that eventually converted to revenue, giving marketing teams a single source of truth across ad spend and CRM data.
For WooCommerce sites, pass the order_id and order_value in your purchase event parameters. This allows Meta and Google to optimize toward actual revenue rather than conversion volume, which produces better campaign performance over time. If you are selling a high-ticket product or subscription, the difference between optimizing for conversions versus revenue can be significant.
If your sales cycle extends beyond the browser session (which is common in B2B SaaS), configure offline conversions. Both Meta and Google support offline conversion uploads via API, allowing you to send conversion events that happen days or weeks after the initial ad click. You match these offline events back to ad clicks using click IDs (fbclid for Meta, gclid for Google) that were captured when the user first arrived on your site.
This step separates teams that know their cost per lead from teams that know their cost per dollar of revenue. When you can connect ad spend to closed revenue through a platform like Cometly, you can scale budgets with confidence rather than guessing which campaigns are actually driving business results.
Putting It All Together: Your Conversion API Checklist
Here is a quick reference covering all six steps to confirm your setup is complete.
1. Choose your method: Cometly for full attribution with no custom code, Meta's native plugin for basic single-channel setup, or manual implementation for teams with developer resources.
2. Generate credentials: Meta access token with ads_management and ads_read scopes, Dataset ID from Events Manager, and Google Conversion ID and Label from Google Ads.
3. Install and configure: tracking snippet or plugin installed on WordPress, ad accounts connected, conversion events mapped with correct parameters, and all PII fields SHA-256 hashed.
4. Enable deduplication: matching event_id values passed in both browser pixel and server events, or Cometly handling this automatically.
5. Test before going live: events confirmed in Test Events tool, match quality score above 6, end-to-end conversion path verified from a non-admin browser session.
6. Connect revenue data: Stripe or CRM connected for downstream attribution, order values passed in purchase events, offline conversions configured if your sales cycle extends beyond the session.
Signs your setup is working: Events appear in platform event managers, deduplication is confirmed, match quality scores are 6 or above, and revenue data is flowing into attribution reports.
If events are not firing: Check access token permissions and expiration, verify your WordPress plugin is active and not suppressing events for your user role, and confirm no caching plugin is blocking your tracking snippet from loading. Server-side events are not affected by caching, which is another advantage of CAPI over browser-only pixels.
Once your setup is running, use the attribution data to compare models, identify top-performing campaigns, and feed enriched conversion signals back to ad platform AI for better targeting and optimization. Cometly's AI-powered recommendations surface which campaigns and channels are generating the highest-quality pipeline, so you can scale what works with data behind the decision.
Ready to get Conversion API working on your WordPress site without stitching together multiple tools? Get your free demo and see how Cometly handles Conversion API setup, deduplication, and revenue attribution in one platform built specifically for B2B SaaS teams.