Google has no single product called the Google Ads Conversion API. When marketers search for one, they usually mean one of three things: the Google Ads API conversion upload service, Enhanced Conversions for leads, or server-side tagging. This guide walks through sending conversions server-side with all three, so your CRM stages and revenue events reach Google Ads as a working pipeline. Before you start, you need admin access to Google Ads, a CRM that can store the GCLID on each lead record, and a developer or tool that can make authenticated API calls.
Step 1: Decide which server-side method fits your funnel
Meta's Conversions API is one product with one endpoint. Google's equivalent is a set of separate mechanisms that overlap:
- Offline click conversion import via the Google Ads API. You call the ConversionUploadService and send the GCLID of the original ad click, plus the conversion action, time, and value.
- Enhanced Conversions for leads. You send hashed email or phone data, which Google matches to signed-in Google accounts that interacted with your ads. It can be sent through the API or through the tag.
- Server-side tagging. A server-side Google Tag Manager container receives events from your site and forwards them to Google Ads from your own infrastructure.
A common misconception is that enhanced conversions replace click IDs. They do not. Click IDs remain the most direct match, and hashed user data works best as a supplement or fallback. If you want a deeper comparison of how the two platforms differ, see the difference between Facebook CAPI and Google Enhanced Conversions.
Use this rule to choose:
- If your sales cycle is long and conversions happen in the CRM (MQL, SQL, opportunity, closed-won), use click conversion upload, ideally with user identifiers added.
- If you care about real-time website events and want fewer client-side tags, use server-side tagging.
- Many B2B SaaS teams combine them: tagging for the form fill, API upload for everything downstream.
This guide covers the API and server-side path. For the tag-level setup of Enhanced Conversions, follow our walkthrough on setting up Google Ads Enhanced Conversions rather than repeating it here. Steps 2 through 5 apply to the API route; Step 6 covers tagging.
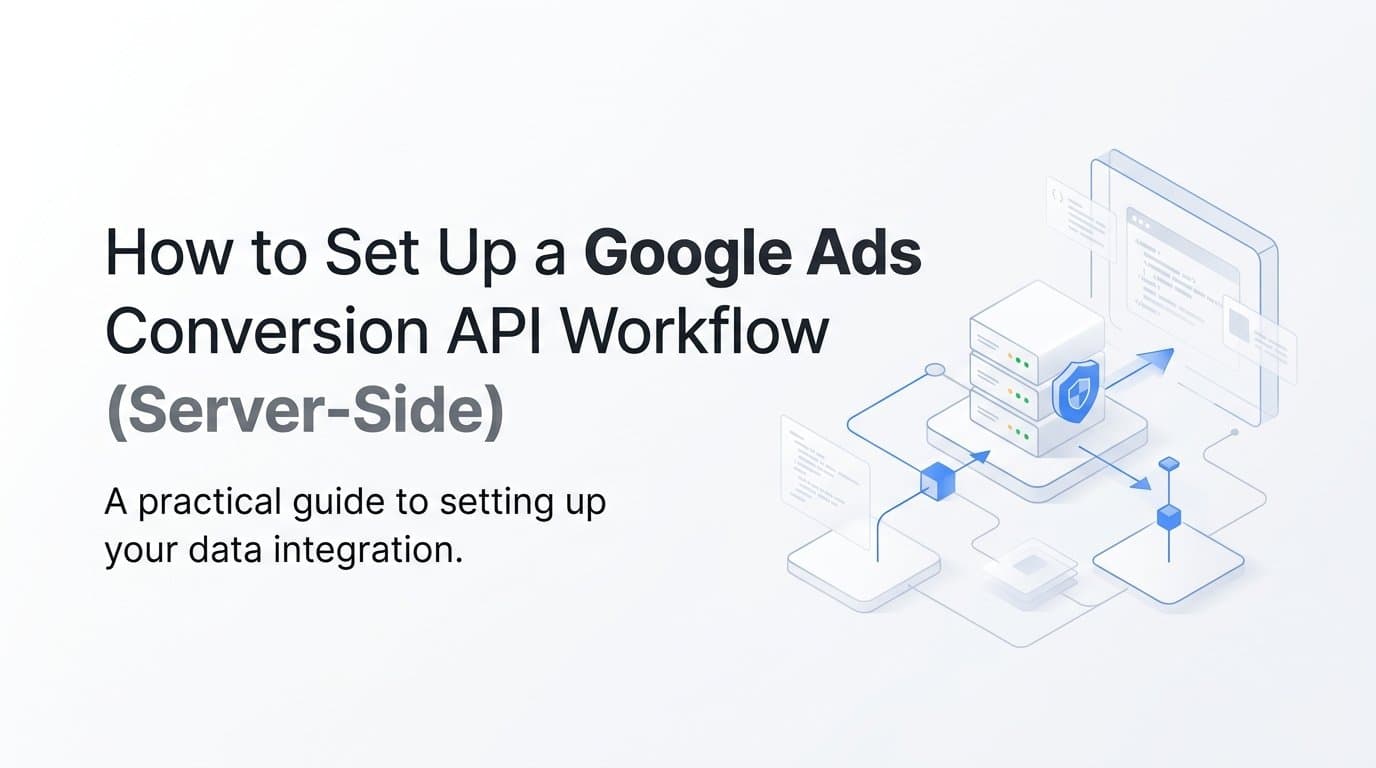
 How to Set Up a Google Ads Conversion API Workflow (Server-Side)
Step 2: Capture the click ID and user data at form submission
Offline uploads only work if the CRM holds the identifier of the original click. Start by confirming that auto-tagging is on in Google Ads under account settings. Without it, no GCLID is appended to your landing page URLs.
Then wire up capture:
- On landing, read the gclid, gbraid, and wbraid URL parameters. GBRAID and WBRAID cover iOS-related traffic where a GCLID is not provided.
- Persist them in a first-party cookie so they survive navigation to a pricing page, a demo page, or a later session.
- Add hidden fields to your forms and populate them from the cookie at submit.
- Map those fields to dedicated properties on the lead or contact record in your CRM.
Also collect email and phone on the same form. For Enhanced Conversions for leads, normalize each value before hashing: trim whitespace, lowercase emails, format phone numbers in E.164, then apply SHA-256. Check Google's current documentation for any extra rules, such as how Gmail addresses are handled.
The most frequent failure is a lost GCLID. It disappears when a redirect strips query parameters, when a form lives on a different domain or iframe, or when a script overwrites the cookie with an empty value on the next page view. Only overwrite the stored value when a new non-empty click ID arrives.
To test, click one of your own live ads, submit the form, and open the resulting CRM record. The GCLID field should be populated. If it is blank, fix capture before moving on, because every later step depends on it. Teams that struggle here often see the symptoms described in why Google Ads conversions don't match your CRM.
Step 3: Define conversion actions in Google Ads
Each CRM stage you want Google to learn from needs its own conversion action. In Google Ads, go to Goals, then Conversions, and create a new action. Choose the import option for CRM or offline data (the label has shifted over time, so follow the current in-product wording). Create one action per meaningful stage, for example MQL, SQL, opportunity, and closed-won.
Then configure each one deliberately:
- Primary or secondary. Only primary actions feed Smart Bidding optimization. Make primary the stages you want bidding to chase, typically SQL or later. Keep early, noisy stages secondary so they are reported but do not steer bidding.
- Counting. For lead-based stages, choose one conversion per click. Counting every would inflate numbers when a single lead triggers repeated events.
- Conversion window. It must cover your real sales cycle. If deals take 90 days to close and the window is 30, closed-won uploads will be dropped. Set the window to at least your typical cycle length, then check the maximum Google currently allows.
- Value. Use a fixed value for early stages if you want a rough weighting, or pass the actual deal value in each upload for closed-won.
Write down the conversion action ID or the full resource name, which looks like customers/1234567890/conversionActions/987654321. The API requires it in every upload.
Avoid creating two actions for the same stage, such as one from a tag and one from an import. Google will count both, and your reported conversions will be inflated while bidding trains on duplicated signals. If a legacy action already exists for a stage, reuse it or retire it first. Inflated counts like these are a common reason ads show conversions but no sales.
Step 4: Set up API access and authentication
The Google Ads API needs several credentials before a single call works:
- Developer token. Apply for it in the API Center of a Google Ads manager account. Access levels determine what you can do and at what volume, so confirm that your level fits production use.
- Google Cloud project with the Google Ads API enabled.
- OAuth 2.0 credentials (client ID and client secret) created in that project.
- Customer ID of the account receiving conversions, without dashes.
- Login customer ID, which is the manager account ID, if you access the client account through a manager.
Generate a refresh token by running the OAuth flow as a user who has access to the Google Ads account. Your integration exchanges that refresh token for short-lived access tokens on each run. Keep the developer token, client secret, and refresh token in a secrets manager, never in source code or a spreadsheet.
Be careful with versions. As of this writing, Google releases new Google Ads API versions regularly and sunsets older ones on a published schedule, and developer token access rules have changed over time. Check the current Google Ads API documentation, pick a supported version, and plan to upgrade on a calendar rather than when calls start failing. The Google Ads product page is a starting point, while the developer docs hold the authoritative version list.
Two errors cause most first-day pain. Authentication failures usually mean an expired or revoked refresh token, or credentials from the wrong Cloud project. Permission denied errors almost always mean the login customer ID is missing or points at the wrong manager account. Make a simple read call, such as listing the conversion action, to prove access works before building uploads.
Step 5: Upload click conversions through the API
With credentials working, send conversions using ConversionUploadService.UploadClickConversions. Each conversion object should include:
- The click identifier: gclid, or gbraid or wbraid where applicable. Send only one identifier per conversion.
- The conversion_action resource name from Step 3.
- conversion_date_time in the format yyyy-mm-dd hh:mm:ss+|-hh:mm, with the timezone offset included.
- conversion_value and currency_code.
- An order_id to act as a transaction identifier, such as the CRM opportunity ID plus the stage name.
To add Enhanced Conversions for leads, include user_identifiers with the SHA-256 hashed email or phone from Step 2. Google's documentation describes how these identifiers can accompany or substitute for a click ID, and the exact field requirements have been updated before, so verify them against the current reference for your API version.
Operationally, trigger the upload when the CRM stage changes rather than in a nightly batch that drifts. Whatever you choose, upload well inside the conversion window. Turn on partial_failure so one bad row does not reject the whole request, and then read the response, because per-row errors are returned inside it rather than as a failed call. The same approach applies to other sources of delayed conversions, as covered in our guide to tracking offline conversions from online ads.
The mistake that rejects the most rows is a conversion timestamp earlier than the click time. It happens when a CRM stage date is backfilled, or when time zones are mismatched. Always compare the conversion time to the click time and use the account's timezone offset deliberately. Also use the order_id consistently, since resending the same ID prevents duplicates when a job retries.
Step 6: Add server-side tagging for real-time web events (optional)
Server-side tagging suits events that happen on your site and need to be reported immediately, such as a demo request or trial signup. It also reduces the number of third-party scripts running in the browser. If CRM uploads already cover your key stages, you can skip this step.
- Create a server container in Google Tag Manager and provision hosting. Google's default path uses Cloud Run, and managed hosts are available as alternatives.
- Map a custom domain, such as sgtm.yourdomain.com, so requests and cookies are first-party.
- Point your web container's Google tag at the server endpoint by setting the server container URL.
- Add the Google Ads Conversion Tracking and Conversion Linker tags in the server container, with triggers based on the incoming events.
The main risk is double counting. If a lead is counted by the server tag and then again by an API upload, the same conversion action receives two signals. Keep one source of truth per conversion action: let tagging own the form fill, and let API uploads own CRM stages. If both must write to the same action, send a matching transaction ID with each so Google can deduplicate.
Weigh cost against benefit before committing. Hosting has a monthly bill that grows with traffic, and someone must maintain the container, monitor uptime, and handle updates. The payoff is more durable data, since first-party delivery is less exposed to browser restrictions and blockers. For lower-volume accounts that only care about pipeline stages, the API route alone often delivers most of the value. For background on how this fits into the wider picture, see what Conversion API tracking is and how Enhanced Conversions work for B2B.
Step 7: Validate, deduplicate, and monitor
Start in Google Ads. Open Goals, then Conversions, and then Uploads (or the Diagnostics tab for the conversion action, depending on your interface). Review upload summaries for status and error messages, such as unmatched click IDs, expired clicks, or conversions outside the window.
Next, reconcile counts. Compare the number of conversions you sent from the CRM against what Google Ads shows. Expect a delay before they appear, and remember that Google attributes an uploaded conversion to the date of the original click, not the date of the upload. A closed-won deal uploaded today will show up against a click from months ago, so do not look for it in today's column. If totals still look off, underreported conversions in Google Ads covers the usual culprits.
Keep watching for these problems:
- Low match rates. Usually a sign of missing or truncated GCLIDs, or poorly normalized hashed data.
- Expired credentials. Revoked refresh tokens or retired API versions stop uploads silently unless you alert on them.
- Duplicates. Retried jobs without consistent order IDs, or two sources writing to the same action.
Set an alert on any upload job that returns errors or sends zero rows for longer than your normal gap. A pipeline that quietly stops is worse than one that was never built, because bidding keeps optimizing on stale signals.
You can also skip the maintenance. Cometly syncs CRM stages and Stripe revenue back to Google Ads server-side, so bidding optimizes toward pipeline and revenue without custom scripts, token rotation, or version upgrades on your side.
With validation and monitoring in place, the technical work is largely done, but the pipeline only pays off once Google's bidding system starts acting on the data you are sending. Uploads that match cleanly and avoid duplicates are the foundation. What happens next depends on how you let bidding respond to those signals and how you interpret the results.
Letting Smart Bidding learn from pipeline, not just form fills
Once Diagnostics shows your uploads matching, leave the new primary conversions alone for a learning period. Changing targets or conversion settings every few days resets what bidding has learned. Give it enough time to collect conversions at the stages you chose, then review performance.
After that, compare what Google reports against your attribution source of truth. Google credits conversions to its own clicks, so differences from your CRM and multi-touch data are normal and informative. Cometly lets you see both views in one place, tied to real pipeline and revenue.
Ready to elevate your marketing game with precision and confidence? Discover how Cometly's AI-driven recommendations can transform your ad strategy. Get your free demo today and start capturing every touchpoint to maximize your conversions.