
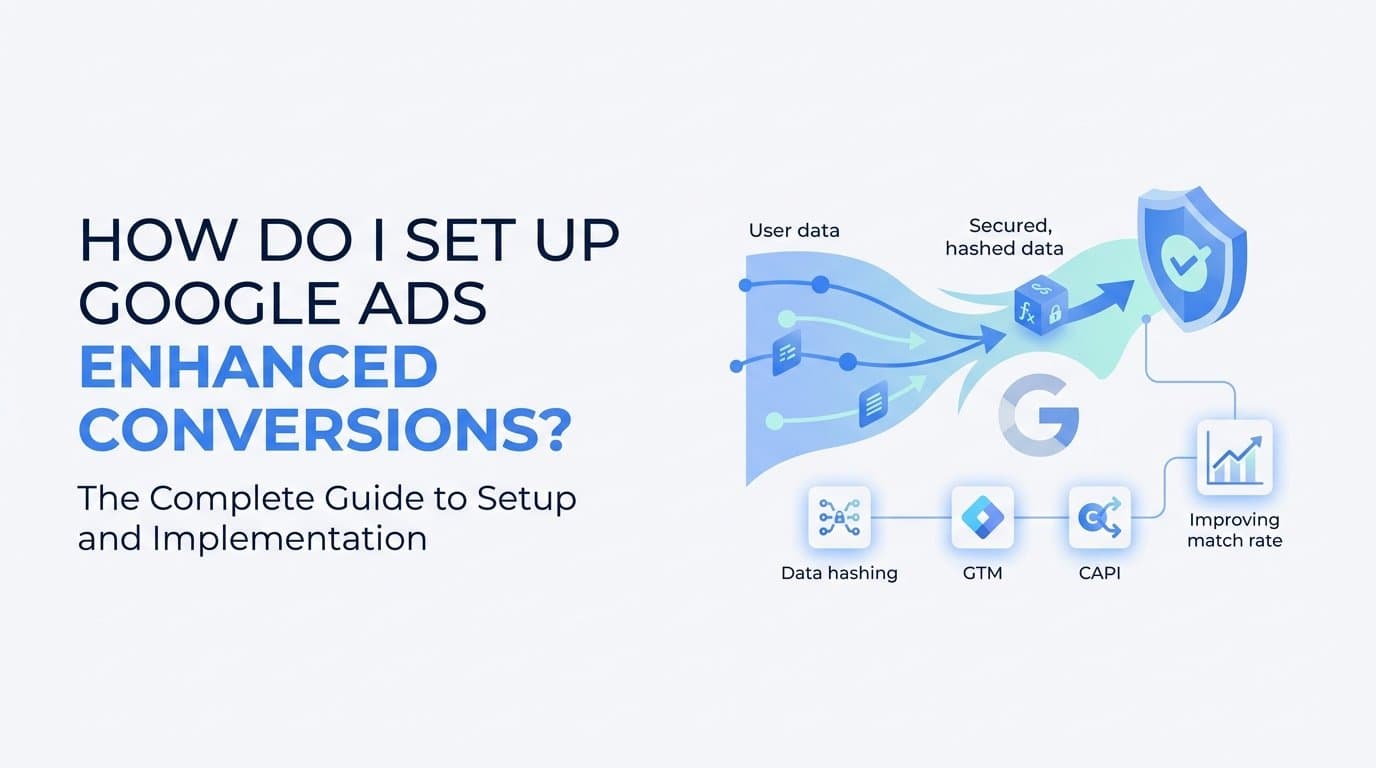
You set up Google Ads Enhanced Conversions by turning on the feature in your conversion action settings, then sending hashed first-party customer data (email, phone, name, address) alongside each conversion event through the Google tag, Google Tag Manager, or the Conversion API. This guide walks through the exact setup for both website and lead-form conversions, plus how to verify the match rate is actually improving before you scale spend. If you're doing this because Google flagged a low match rate or you're preparing for a cookie-restricted future, the steps below get you to a working, verified setup rather than a half-finished toggle.
Step 1: Confirm your account meets the prerequisites
Enhanced Conversions is not a standalone tracking method. It enhances a conversion action that already exists in your account, whether that's a website conversion, an app install, or an offline/CRM import. Before touching any settings, open Google Ads and confirm you have at least one active conversion action currently recording data under Goals > Conversions. If nothing is firing yet, fix that first.
Next, check what customer data your site or form actually collects. Enhanced Conversions needs at least one of these identifiers to build a match: email address, phone number, or full name paired with a mailing address. Lead-gen forms usually collect email and phone by default, which makes them good candidates. E-commerce checkouts often already capture email and shipping address. If your form only asks for a name and company, you'll need to add a field before Enhanced Conversions has anything useful to hash and send.
Finally, review your consent setup. Because Enhanced Conversions transmits hashed personal data, it still falls under EU, UK, and broader data privacy consent requirements as of 2026. Google requires Consent Mode signals for users in those regions regardless of hashing, since hashing protects the data in transit but doesn't remove the need for user consent to process it. Confirm your cookie banner or consent management platform is passing consent signals correctly, and check Google's official Consent Mode documentation for the current regional list before you go further, since requirements have expanded over time and are worth reconfirming at launch.
Step 2: Choose your Enhanced Conversions method
Google gives you three ways to implement Enhanced Conversions, and picking the right one depends on where in the funnel the conversion actually happens.
- Google tag on your website: best for conversions that complete on-site, such as a purchase, a demo booking, or a free-trial signup where the confirmation page has access to the customer's email or contact details.
- Google Tag Manager: a good fit if your team already manages tags through GTM and wants to map form fields or data layer variables to Google's built-in Enhanced Conversions field without editing site code directly. Works for both web and server-side containers.
- Google Ads API / Conversion API uploads: the right choice for lead-gen forms and offline conversions, meaning a lead fills out a form today but doesn't become a qualified opportunity or closed-won deal until weeks later. This method uploads hashed data tied to a GCLID after the fact.
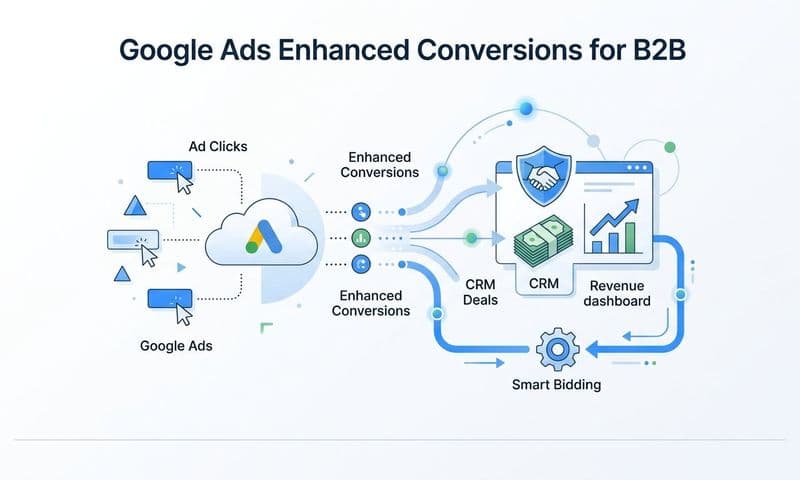
The decision point is simple: if the conversion event and the customer data exist on the same page at the same moment, use tag-based tracking (Google tag or GTM). If the "real" conversion, like a sales-qualified lead or a closed deal, happens downstream in a CRM long after the initial form fill, you need the API-based approach. B2B SaaS companies with sales cycles measured in weeks or months almost always need this second method for their most important conversion events, since the form fill itself is a weak signal compared to actual pipeline movement. This is also where server-side attribution tools become useful, since matching a GCLID to a CRM record days or weeks later is not something most sales teams want to build manually.
Step 3: Turn on Enhanced Conversions in your conversion action settings
With your method chosen, go to Goals > Conversions in Google Ads and click into the specific conversion action you want to enhance, not the account-level conversion settings. This is a critical distinction: Enhanced Conversions is configured per conversion action, not globally for the account. A common mistake is assuming that enabling it once covers every conversion event you're tracking. If you have five conversion actions (say, trial signup, demo request, purchase, lead form, and a CRM-imported "opportunity created" action), each one needs to be individually reviewed and enabled if you want Enhanced Conversions data attached to it.
Inside the conversion action's settings, find the "Enhanced conversions" section and toggle it to On. Google will prompt you to choose a setup method: Google tag, Google Tag Manager, or API/uploads. Select whichever matches the decision you made in Step 2. If you choose the tag or GTM path, Google will show setup instructions and a status check specific to that conversion action. If you choose the API path, Google will point you toward the Enhanced Conversions for Leads documentation and the upload format required.
Save the setting, then repeat this process for every conversion action you want enhanced. It's worth deciding upfront which conversion actions actually matter for bidding, since enabling Enhanced Conversions on a vanity metric (like a newsletter signup) adds data-handling overhead without moving the needle on ad performance. Focus first on the conversion actions tied directly to pipeline: demo requests, trial signups, and any CRM-imported deal-stage actions.
Step 4: Add the code or variable that sends customer data
Once the setting is enabled, Google Ads still needs the actual code or tag configuration that captures and sends the customer data at the moment of conversion.
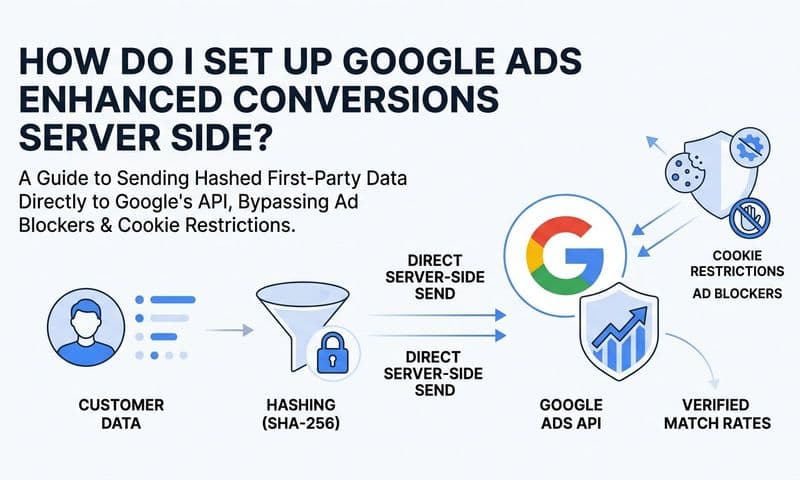
If you're using the Google tag directly on your website, you'll add an enhanced conversion data object to the conversion event snippet on your confirmation or thank-you page. This object includes fields like email, phone number, and address, populated dynamically from whatever the user entered on the form or checkout page. You don't write the hashing logic yourself. Google's tag automatically hashes the data client-side using SHA256 before it ever leaves the browser, which is what allows the match to happen without exposing plaintext personal data to Google's servers.
If you're using Google Tag Manager, the process is more visual. Open your Google Ads Conversion Tracking tag in GTM and look for the built-in Enhanced Conversions field. From there, you map the relevant data layer variables or form fields, email, phone, first name, last name, address components, to the corresponding Enhanced Conversions parameters. GTM handles passing this data to the Google tag, which then performs the same client-side SHA256 hashing before transmission.
A few things to watch for here. Never attempt to manually hash the data yourself and send pre-hashed strings unless you are using the API method and following Google's exact hashing and formatting specification. Google's client-side tag hashing expects raw values so it can normalize them first (lowercasing emails, stripping spaces from phone numbers, formatting to E.164) before hashing. If you send a pre-hashed value that wasn't normalized correctly, Google can't verify or use it, and your match rate will silently suffer. Also double-check that fields map to the correct type. A common formatting error is sending a phone number without a country code or an email address with leading/trailing whitespace, both of which break normalization even though the field technically contains data.
Step 5: Set up server-side or API-based Enhanced Conversions for leads
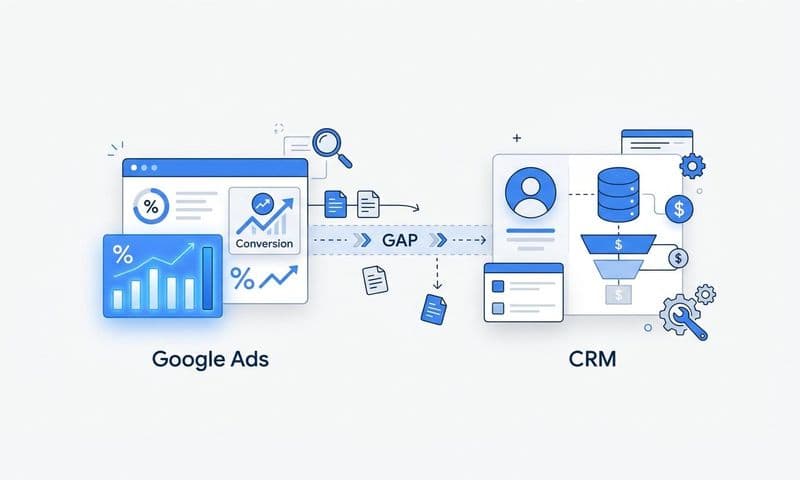
For lead-gen forms and CRM-qualified conversions, tag-based tracking isn't enough, because the conversion event that actually matters (a lead becoming an opportunity, or an opportunity becoming closed-won revenue) happens in your CRM, not on your website. This is where the Enhanced Conversions for Leads API comes in.
The mechanics require three things happening in sequence:
- Capture the GCLID (Google Click Identifier) at the moment a lead submits a form on your site, and store it as a hidden field or CRM property tied to that lead record.
- Track the lead's progression through your CRM pipeline stages, so you know exactly when it moves to sales-qualified, opportunity, or closed-won.
- Upload hashed customer data (email, phone) along with the stored GCLID back to Google via the Enhanced Conversions for Leads API whenever that stage change happens, so Google can attribute the eventual revenue back to the original ad click.
Building this pipeline by hand means writing custom code to capture GCLIDs on form submission, syncing that field into your CRM, watching for stage-change webhooks, hashing the relevant fields correctly, and making authenticated API calls to Google on a reliable schedule. Most B2B SaaS marketing teams don't have the engineering bandwidth to maintain that indefinitely, especially as CRM fields or sales stages change.
This is the step where a platform like Cometly fits naturally. Cometly captures the GCLID and customer data at the first touch, automatically attaches it to the CRM record as the lead moves through your pipeline, and sends the hashed Enhanced Conversions event back to Google the moment a deal closes, without requiring your team to build or maintain the GCLID-to-CRM-to-API pipeline manually. For B2B SaaS companies with sales cycles that stretch weeks or months, that automation is often the difference between Enhanced Conversions data that's accurate and current versus a pipeline that breaks quietly the first time someone renames a CRM field.
Step 6: Verify the setup in Google Ads diagnostics
After implementation, don't assume it's working. Verify it directly inside Google Ads before you let bidding algorithms lean on the new data.
Start with the status column on your conversion action. It should read "Recording conversions." Click into the conversion action itself and look for the Enhanced Conversions diagnostics panel, which flags specific issues such as missing required fields, incorrect data formatting, or a mismatch between what Google expects and what's actually being sent. This panel is the fastest way to catch a broken implementation before it quietly costs you match rate for weeks.
For tag-based setups, use Google Tag Assistant (or the Tag Diagnostics tool inside Google Ads) to inspect the actual network request fired on your conversion event. You're looking for the hashed parameters, the enhanced conversion fields, being present in the request payload. If they're missing entirely, the tag configuration or GTM variable mapping likely has an error. If they're present but the diagnostics panel still flags formatting issues, check for whitespace, capitalization inconsistencies, or missing country codes on phone numbers.
Resist the urge to judge success on day one. Give the setup 48 to 72 hours of live traffic before drawing conclusions, since Google needs a reasonable volume of conversions to calculate and report an accurate match rate. Checking too early, especially on a low-volume conversion action, will show incomplete or misleading numbers that don't reflect how the setup actually performs at scale.
Step 7: Monitor match rate and improve data quality
Once you have a few days of data, go back to the Enhanced Conversions diagnostics tab and check the match rate metric. This tells you what percentage of conversions Google was able to successfully match to a logged-in Google user via the hashed data you sent. According to Google's own documentation, match rates above 70% are generally considered strong for tag-based setups as of 2026, though the exact benchmark language is worth confirming in Google Ads Help since Google updates guidance periodically.
If your match rate comes in low, the cause is almost always one of a few things:
- Your form isn't collecting phone number or address fields, leaving email as the only identifier, which caps how well Google can match.
- Email capitalization or formatting is inconsistent between what users enter and what your normalization logic expects.
- For lead-based uploads, the GCLID never made it from the form into the CRM record, so there's nothing to tie the eventual deal-stage upload back to the original ad click.
It's also worth cross-checking Enhanced Conversions volume against whatever attribution platform you use for broader reporting. If Google Ads reports 40 conversions for the week but your attribution dashboard shows 55 closed deals tied to paid search for the same period, something is misaligned, either in timing, GCLID capture, or upload frequency. Reconcile these numbers before you use the improved match rate as justification to shift budget. Match rate is a leading indicator of tracking health, not a guarantee that your bidding decisions are correct until the volume and timing line up with your source of truth.
Is Enhanced Conversions the same as the Google Ads Conversion API?
No. Enhanced Conversions is Google's feature for improving the match quality of conversions you're already tracking, using hashed first-party customer data. The Conversion API (and the underlying Enhanced Conversions for Leads API) is simply one of the delivery methods, alongside the Google tag and Google Tag Manager, used to actually transmit that hashed data to Google server-side.
Do I need Consent Mode to use Enhanced Conversions?
Yes, for users in the EEA, UK, and Switzerland. Google requires Consent Mode v2 signals to be present alongside Enhanced Conversions data for these regions as of 2026. Regional requirements have expanded before and may again, so confirm the current list in Google's official documentation prior to launch rather than relying on last year's setup.
How long until Enhanced Conversions improves ad performance?
Most advertisers see measurable match rate improvements within one to two weeks of stable, consistent traffic. Google's bidding algorithms typically need two to four weeks of enhanced data flowing in before they meaningfully reoptimize campaigns around the improved signal, so avoid making budget decisions based on the first few days of data.
Connecting Enhanced Conversions to Revenue Reporting
Once Enhanced Conversions is live and you've confirmed the match rate is holding steady, the natural next step is connecting that improved conversion data to full-funnel revenue reporting. Match rate tells you Google can identify more of your converters. It doesn't tell you which campaigns are actually driving pipeline and closed revenue, which is the number that should be guiding budget decisions.
Ready to elevate your marketing game with precision and confidence? Discover how Cometly's AI-driven recommendations can transform your ad strategy. Get your free demo today and start capturing every touchpoint to maximize your conversions.