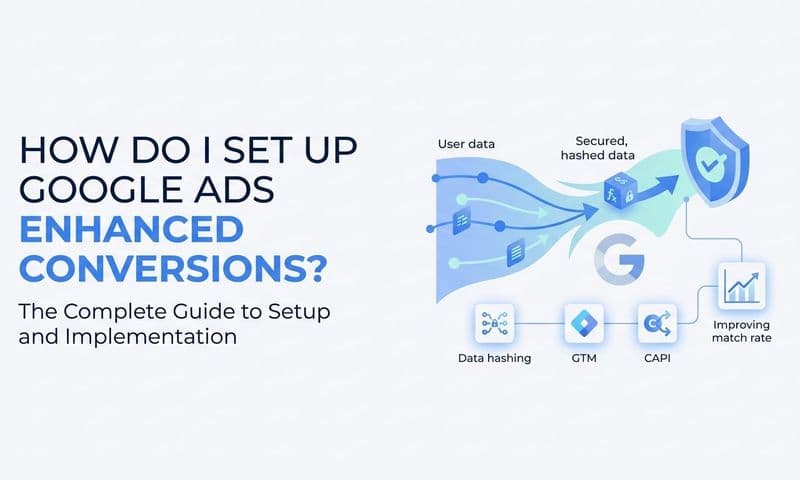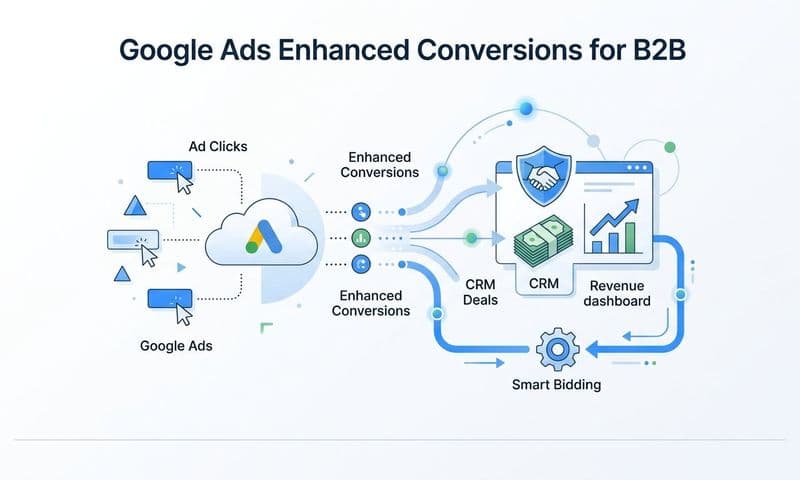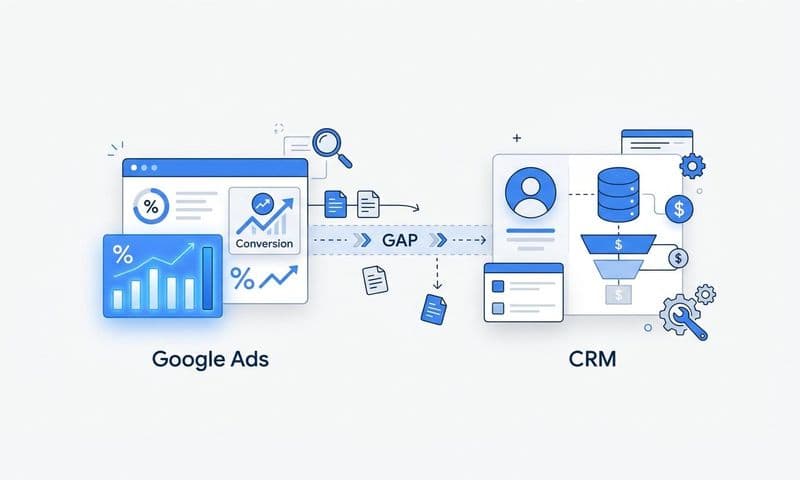

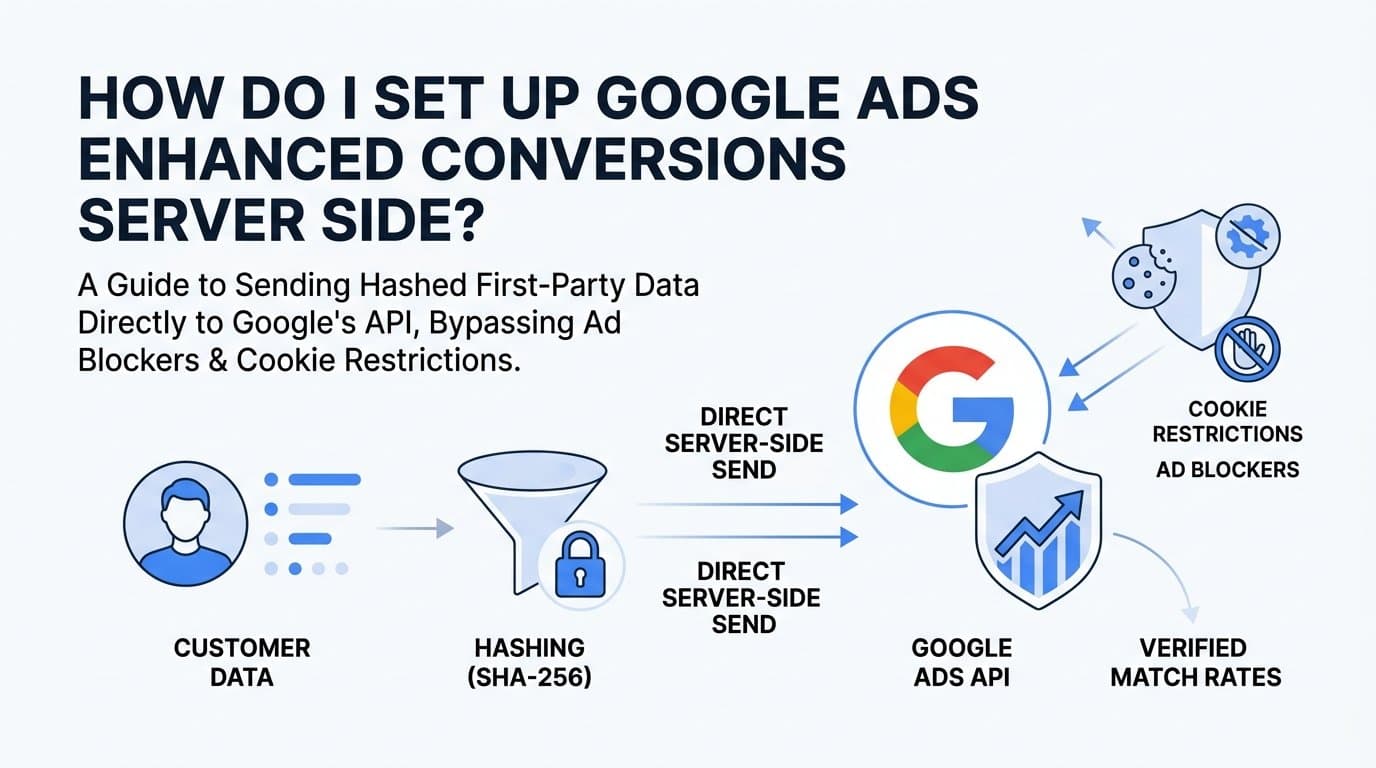
To set up Google Ads enhanced conversions server side, you send SHA-256 hashed first-party customer data from your server directly to Google's API, bypassing browser limitations like ad blockers, cookie restrictions, and Safari's Intelligent Tracking Prevention. This guide walks you through the exact process, from enabling the feature in your Google Ads account to verifying that enhanced data is being received and improving your match rates.
For B2B SaaS teams that want this done with minimal engineering lift and full attribution visibility, Cometly handles server-side enhanced conversions natively, connecting your ad data to CRM events and pipeline revenue in one place. If you prefer a manual setup or want to understand the mechanics before choosing a tool, this step-by-step breakdown covers everything you need.
Server-side enhanced conversions improve match rates between your conversion data and Google's user graph. That translates to better bidding signals, more accurate reporting, and ad algorithms that optimize toward the customers who actually convert. For B2B SaaS companies running paid search, this is one of the highest-leverage tracking improvements you can make.
The setup requires access to your Google Ads account, Google Tag Manager (or a direct API connection), and the ability to pass customer data such as email, phone number, or address at the point of conversion. Let's get into it.
Step 1: Enable Enhanced Conversions in Your Google Ads Account
Before any server-side code gets written, you need to turn the feature on inside Google Ads itself. This is the step most teams skip past too quickly, and it causes problems later when tags fire but nothing shows up in reporting.
Start by navigating to your Google Ads account. Click the wrench icon in the top navigation to open Tools and Settings, then select Conversions under the Measurement section. You'll see a list of your existing conversion actions.
Open the conversion action you want to enhance and click Edit Settings. Scroll down until you find the Enhanced Conversions section. Toggle it on. Google will prompt you to review and accept their customer data terms before the feature activates. This is a required step, not optional fine print.
Critical pitfall: If you skip accepting the customer data terms, the feature will not activate even if your tags fire correctly. Many teams spend hours debugging their server container only to discover the issue was a missing checkbox in the account settings.
Once you've accepted the terms, Google will ask you to choose your implementation method. Your options are:
1. Google Tag (gtag.js): best for simple setups where you control the website code directly.
2. Google Tag Manager: best for teams already using GTM who want to manage everything through a container.
3. Google Ads API: best for engineering teams who want full programmatic control over conversion uploads.
For a server-side implementation, you'll be working with either the GTM server container path or the Google Ads API directly. Select the method that matches your planned approach. You can change this later, but selecting it now ensures the account is configured correctly before you start building.
Success indicator: The conversion action shows Enhanced Conversions as Active in the settings panel. If it shows as inactive after you've toggled it on, go back and confirm the customer data terms were accepted at the account level.
Step 2: Choose Your Server-Side Implementation Method
Not every team should build this the same way. The right implementation path depends on your engineering bandwidth, your existing tech stack, and whether you need enhanced conversions alone or as part of a broader attribution strategy.
There are three main paths to consider.
GTM Server-Side Container: This is the most common approach for marketing teams with a developer available. You deploy a server container in Google Tag Manager, configure it to receive events forwarded from your web container, and then send hashed conversion data to Google from the server. It keeps your implementation within the GTM interface most marketers already know, and it doesn't require you to write raw API code. The tradeoff is that you still need to deploy and maintain a server endpoint, which typically runs on Google Cloud Run, AWS, or a similar hosting provider.
Google Ads API (direct): This path gives engineering teams full control. You authenticate via OAuth 2.0, call the uploadClickConversions endpoint directly, and pass conversion data including the Google Click ID (gclid), conversion timestamp, value, and hashed user identifiers. It's the most flexible option but also the most technically demanding. Teams that choose this path usually already have backend infrastructure for event processing.
Third-party attribution platform (Cometly): This is the fastest path for B2B SaaS marketing teams who want server-side tracking plus multi-touch attribution and CRM integration without custom development. Cometly sends enriched, conversion-ready events to Google and simultaneously connects those events to pipeline stages and revenue data. Instead of just knowing that a conversion happened, you can see which Google Ads campaigns drove leads that became closed-won deals. That cross-channel view is not available inside Google Ads alone.
When choosing between these paths, ask yourself three questions. First, how much engineering time can you realistically commit to this project? Second, are you running ads on multiple platforms beyond Google, where a unified attribution layer would add value? Third, do you need to connect ad spend to CRM and revenue data, or is conversion tracking at the lead level sufficient?
If your answers point toward speed and cross-channel visibility, Cometly is worth evaluating before you invest weeks in a manual GTM server setup. If you have the engineering resources and want full ownership of the implementation, the GTM or API paths are both solid choices.
Step 3: Set Up a Server-Side GTM Container
If you're going the GTM route, this step is where the real technical work begins. You'll create a separate server container in Tag Manager, deploy it to a server endpoint, and configure it to receive and forward conversion events.
In your Google Tag Manager account, click Create Container and select Server as the container type. This creates a new container that runs on your server infrastructure rather than in the user's browser. Keep this completely separate from your existing web container.
Next, you need to deploy the container to a server. Google provides a managed hosting option through Google Cloud Run, which is the simplest path if you don't have existing server infrastructure. You can also deploy to AWS, Azure, or any environment that can run a Node.js application. Google will give you a provisioning snippet and instructions during the container creation process.
Once deployed, configure a Client inside the server container. The Client is what receives incoming event data from your web container. For most setups, you'll use the Google Analytics 4 Client, which can receive events forwarded from a GA4 tag on your website and parse them into a format the server container can work with.
Now add a Google Ads Conversion Tracking tag inside the server container. Map it to the conversion action you enabled in Step 1. This is where you configure which data fields get sent to Google.
The fields you need to pass for enhanced conversions are:
1. sha256_email_address: The user's email address, hashed using SHA-256 before it reaches the tag.
2. sha256_phone_number: Phone number in E.164 format, then hashed.
3. sha256_first_name and sha256_last_name: Lowercased, whitespace-trimmed, then hashed.
4. sha256_street: Street address, lowercased and hashed.
Critical pitfall: Hashing must happen before the data reaches the server tag. You can use GTM's built-in SHA-256 variable template to hash values within the container, or hash the data on your own backend before it's pushed to the dataLayer. Sending raw, unhashed PII directly violates Google's policy and will cause the integration to fail or be disabled.
Success indicator: Use GTM's Preview mode on your server container. Trigger a test conversion and confirm that the Google Ads Conversion Tracking tag fires with all customer data fields populated. If the tag fires but fields are empty, the issue is in your dataLayer push configuration, which is covered in the next step.
Step 4: Pass First-Party Customer Data at Conversion Points
The server container is only as good as the data you feed it. This step is about identifying where customer data becomes available in your user journey and making sure it gets pushed into the dataLayer at exactly the right moment.
Start by mapping every conversion point in your product where customer data is captured. For B2B SaaS companies, the most common and valuable points are:
1. Lead form submissions: Demo request forms, contact forms, content downloads gated behind email capture.
2. Free trial signups: The moment a user creates an account, you have their email address at minimum.
3. Demo bookings: Calendar scheduling tools like Calendly capture email and sometimes phone number.
4. Purchase or upgrade confirmations: If you have a self-serve motion, the checkout confirmation page is a high-value conversion point.
At each of these points, push customer data into the dataLayer on your web container. The structure should look like this in practice: an event name that identifies the conversion type, the user's email address, phone number if available, first and last name, and a unique transaction or order ID for deduplication.
The deduplication ID is critical and often overlooked. When you run both a client-side browser tag and a server-side tag simultaneously (which is common during the transition period), Google can receive the same conversion twice. Including a unique transaction_id or order_id in every conversion event tells Google to count it only once, regardless of how many times it receives the signal.
Critical pitfall: Missing the transaction_id field leads to inflated conversion counts. If your Google Ads conversion volume suddenly spikes after enabling server-side tracking, duplicate counting from missing deduplication IDs is the first thing to check.
For B2B SaaS teams, email is almost always available at the point of a lead form submission or trial signup, making these the highest-priority conversion events to enhance. Even if you can only pass email and no other identifiers, that single field significantly improves Google's ability to match conversions to signed-in users.
Success indicator: In GTM Preview mode, trigger a form submission and confirm the dataLayer shows your event with all customer data fields populated before the server container tag fires.
Step 5: Authenticate and Test Your Google Ads API Connection
Whether you're using the GTM server container or the Google Ads API directly, you need to verify that the connection is working and that Google is actually receiving enhanced conversion data. Testing before you push to production saves significant debugging time later.
If you're using the Google Ads API directly, start by generating OAuth 2.0 credentials in Google Cloud Console. You'll need a developer token from your Google Ads account, a client ID and client secret from Cloud Console, and a refresh token generated through the OAuth flow. Once authenticated, use the uploadClickConversions endpoint to send a test payload.
Your test payload should include the gclid from a real recent ad click, the conversion_date_time in the correct format, a conversion_value, and your hashed user identifiers. Using a real gclid is important because Google validates that the click ID exists and is associated with your account. A fabricated gclid will return an error even if everything else is correct.
For GTM server-side setups, use GTM Preview mode to step through a test conversion end to end. Watch the server container's event stream to confirm the Google Ads Conversion Tracking tag fires, and check that the enhanced conversion fields are populated in the tag's output.
After running your tests, go to your Google Ads account and open the conversion action. Navigate to the Diagnostics tab. This tab shows whether Google is receiving enhanced conversion data and flags any issues with data formatting or missing fields. It's the most reliable way to confirm your setup is working beyond just checking that tags fire.
Also use Google Tag Assistant to validate your web container's dataLayer pushes and confirm that events are being forwarded to the server container correctly.
Success indicator: The Diagnostics tab in your Google Ads conversion action shows Recent Activity with enhanced conversion data received. If the tab shows activity but flags formatting warnings, review your hashing implementation and field naming conventions against Google's documentation.
Step 6: Verify Match Rates and Monitor Attribution Data
Going live is not the finish line. The value of server-side enhanced conversions shows up in your match rates and attribution data over time, and both need ongoing monitoring to stay healthy.
After your setup has been live for at least 72 hours, open your Google Ads conversion report and look for the Enhanced Conversions column. This column shows the percentage of conversions where Google successfully matched your hashed customer data to a signed-in Google user.
A healthy match rate is typically above 40 percent. Rates below this threshold usually point to data quality issues rather than implementation errors. The most common causes are missing email fields on some conversion events, email addresses that aren't normalized before hashing (extra spaces, uppercase characters), or phone numbers not formatted in E.164 standard before hashing.
Compare your conversion volume in the weeks before and after enabling enhanced conversions. Many B2B SaaS teams see recovered conversions that were previously lost to ad blockers or browser privacy restrictions. This recovered volume is real signal that was always there but invisible to Google's reporting.
For teams using Cometly, this is where the platform adds a layer of insight that Google Ads alone cannot provide. You can see how Google Ads enhanced conversions interact with other touchpoints across the customer journey, including organic search, LinkedIn, and direct traffic. A lead that converted on a Google Ads click may have had five prior touchpoints that influenced the decision. That cross-channel view helps you allocate budget more accurately and understand the true role Google Ads plays in your pipeline.
Set a recurring weekly check on the Diagnostics tab. Match rates can degrade over time if your form fields change, if a site update breaks the dataLayer push, or if a new form is added to the site without the enhanced conversion data configuration. Catching these issues early prevents gaps in your attribution data from compounding.
Pitfall to watch: A site redesign or CMS update is one of the most common causes of silent tracking failures. Add a post-deployment checklist item to verify your dataLayer pushes are still firing after any significant site change.
Putting It All Together
Here's a quick-reference checklist to confirm you've completed every critical step:
1. Enhanced conversions toggled on in the Google Ads conversion action settings.
2. Customer data terms accepted at the account level.
3. Implementation method selected: GTM server container, Google Ads API, or Cometly.
4. Server container deployed to a server endpoint (GTM path) or OAuth credentials configured (API path).
5. dataLayer push configured at every conversion point with email, phone, name, and a unique transaction ID.
6. SHA-256 hashing applied to all PII fields before they reach the server tag.
7. Deduplication ID included in every conversion event to prevent double counting.
8. API connection or GTM tag verified using Diagnostics tab and Tag Assistant.
9. Match rates checked after 72 hours and monitored on a recurring basis.
For B2B SaaS teams managing multiple ad channels, server-side enhanced conversions are most powerful when they're part of a complete attribution layer that connects Google Ads data to your CRM and revenue. Knowing that a campaign drove 50 leads is useful. Knowing that those leads generated a specific amount of pipeline and closed revenue is what drives confident budget decisions.
Cometly handles this end to end: server-side event sending, cross-channel attribution across Google, Meta, LinkedIn, and more, and pipeline reporting that connects ad spend to closed-won revenue in one platform. You get the accuracy of server-side tracking without the engineering overhead of building and maintaining a custom API integration.
Server-side enhanced conversions are one of the highest-impact tracking improvements available to B2B SaaS paid search teams right now. The setup has real technical requirements, but the payoff in bidding signal quality and attribution accuracy is significant. If you want to get this live faster and with full attribution context from day one, Get your free demo and see how Cometly connects every touchpoint to the revenue it drives.