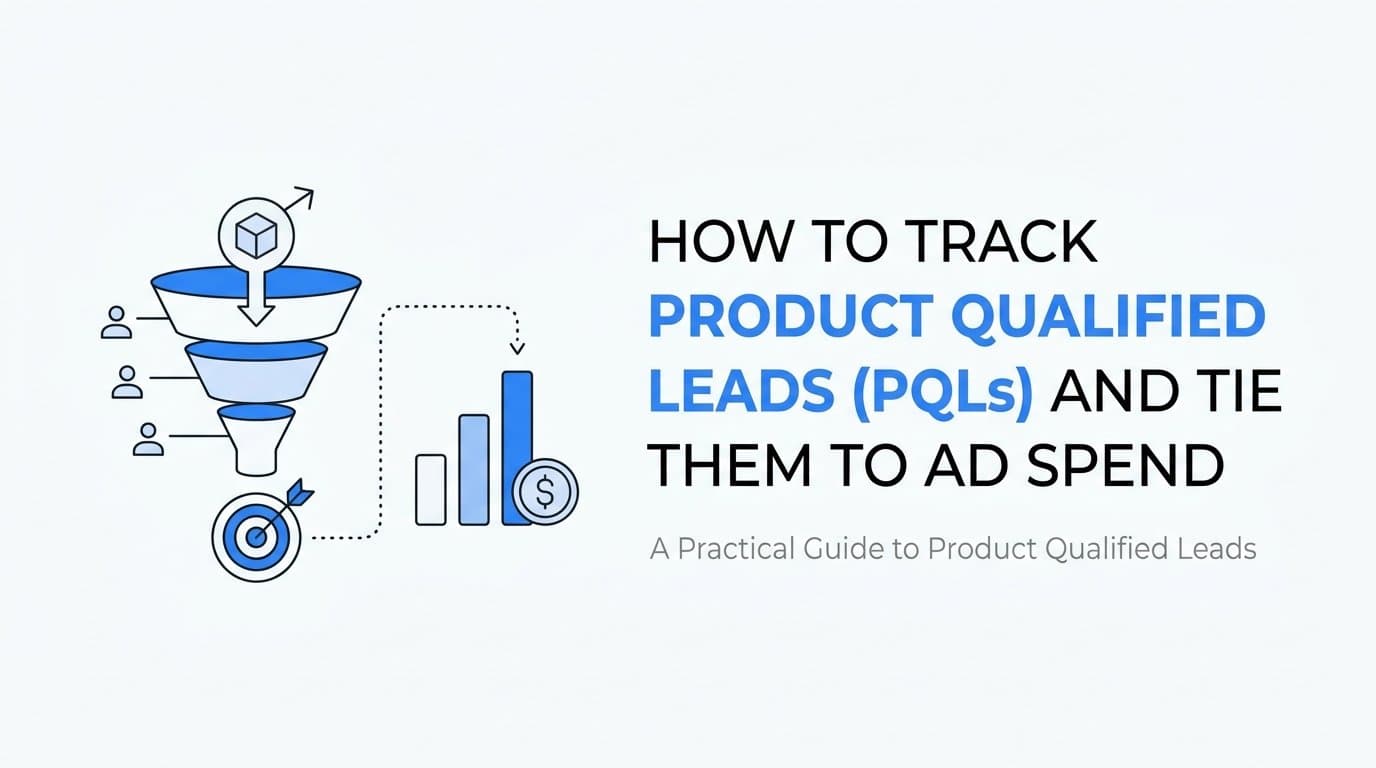
Most teams running a free trial or freemium motion count sign-ups and call it lead volume. The problem is that a sign-up says almost nothing about whether someone will pay, and ad platforms will happily optimize toward the cheapest sign-ups you give them. This guide walks you through defining product qualified leads, tracking the behavior that marks them, and tying each one back to the ad, channel, and revenue that produced it. You will finish with a validated PQL definition, tracked product events, a CRM status sales trusts, and a view of which campaigns generate PQLs that pay. Before you start, you need access to product analytics or raw event data, a CRM, and your ad platform accounts.
Step 1: Define what a product qualified lead means for your product
A product qualified lead is a user or account whose in-product behavior and firmographic fit indicate buying intent. That is different from a marketing qualified lead. An MQL is qualified by marketing engagement: content downloads, webinar attendance, form fills. A PQL is qualified by what someone does inside your product during a trial or on a free plan. Behavior is a stronger signal than a whitepaper download because it shows the person has already tried to get value.
Start by choosing two to four qualifying actions that signal value realization. Good candidates are behaviors that show a user has moved past exploring and into using:
- Inviting teammates to a workspace
- Connecting a core integration or data source
- Completing the main workflow once, such as publishing a report or launching a campaign
- Reaching a usage threshold, such as a number of projects or events in a set window
Then add a fit filter. Combine the behavior with firmographic criteria such as company size, job role, and domain type. A student at a personal Gmail address who completes your workflow five times is not the same lead as a marketing director at a 200-person company who does it once. Without a fit filter, free users inflate your PQL count and sales learns to ignore the label.
Mistake to avoid: picking actions because they are easy to measure or easy to complete. Account creation, email verification, and logging in are not PQL behaviors. Choose actions that plausibly correlate with paid conversion, and confirm that in the next step rather than assuming it.
Write the draft definition as a single sentence, for example: "A user who invites at least one teammate and connects an integration within 14 days of sign-up, at a company domain with 20 or more employees." Keep it that concrete. Also decide whether you are scoring individuals or accounts. A product qualified account (PQA) rolls users up to the company level, and Step 4 covers how to handle that.
Step 2: Validate your PQL criteria against past conversions
PQL criteria are not universal. The actions that predict payment for a project management tool differ from those for an analytics platform, so your definition has to come from your own data. Treat the draft from Step 1 as a hypothesis and test it before you build tracking around it.
- Pull a cohort. Export past trial or free users from a fixed period, ideally long enough that most of them have had time to convert. Split them into two groups: those who became paying customers and those who did not.
- Compare early behavior. For each candidate action, calculate how often it appeared in the paying group versus the non-paying group. Note the time window too. An action taken in the first 7 days may separate the groups sharply, while the same action at day 30 may not.
- Test your combined definition. Apply the draft PQL rule to the cohort and calculate the PQL-to-paid rate: of the users who met the rule, what share paid? Compare it to your baseline sign-up-to-paid rate.
- Tighten or adjust. If the PQL-to-paid rate is only slightly above baseline, the definition is not discriminating enough. Raise the threshold, add a required action, or shorten the time window, then retest.
Watch the trade-off as you tighten. A stricter rule raises the paid rate but shrinks PQL volume, and low volume causes problems later when you send these events to ad platforms. Aim for a definition that is clearly predictive while still producing enough PQLs each month to be useful.
Avoid leaning on industry benchmark conversion rates to judge your result. Your own baseline is the only comparison that matters here, and published figures vary widely by pricing model, audience, and how each source defines a PQL. Put a quarterly review on the calendar to rerun this analysis as your product, pricing, and audience change.
Step 3: Instrument product events and capture ad source at sign-up
A PQL is only useful for marketing if you can trace it to the ad that started the journey. That requires two things: clean product events and source data stored at the moment of sign-up.
Track the qualifying actions
Set up an event for each qualifying action in your analytics or event pipeline. Use a consistent naming convention, such as teammate_invited and integration_connected, and attach a user ID and an account ID to every event. Inconsistent names and missing IDs are the most common reasons PQL logic breaks months later.
Capture the source at sign-up
When a visitor submits the sign-up form, capture and store these values on the user record:
- UTM parameters (source, medium, campaign, content, term)
- Click IDs such as fbclid for Meta and gclid for Google
- The referrer and landing page URL
Click IDs matter because they let ad platforms match a downstream conversion to the exact click. UTMs alone tell you the campaign but not the click.
Use server-side tracking
Browser-only tracking loses data to ad blockers, browser privacy limits, and short cookie lifetimes. Server-side tracking sends events from your backend, so a PQL action that happens days after the click is not lost. Cometly pairs its website tracking, which records the visitor's touchpoints and source on the way in, with server-side tracking that keeps that source attached when later product and CRM events arrive. The original ad click stays connected to the user even if the browser session is long gone.
Troubleshooting: if source fields arrive blank on the user record, check whether parameters survive the jump from your marketing site to your app domain. Redirects, login walls, and cross-domain links often strip query strings. Test by clicking a tagged ad URL, signing up, and inspecting the stored record. If the values are missing, pass them through the redirect or write them to a first-party cookie on the marketing site that the sign-up form reads.
Step 4: Sync PQL events and scoring to your CRM
Product data that never reaches the CRM stays a marketing curiosity. Sales needs to see one consistent PQL status on the record it works from.
Create a dedicated PQL field or lifecycle stage in your CRM, and define the rule that sets it. Keep the logic in one place, either your product analytics tool, a data pipeline, or the CRM's workflow engine, so the status is never calculated two different ways. When the rule is met, the stage updates automatically and a timestamp records when the lead became a PQL. That timestamp powers the time-to-PQL metric in Step 7.
Next, map the supporting data onto the contact and account records:
- The qualifying product events and the date each occurred
- The original UTMs, click IDs, and landing page captured in Step 3
- Firmographic fields used in the fit filter
Then set a routing rule and a response-time expectation. Decide who owns a new PQL (a specific rep, a round-robin pool, or a territory owner) and how quickly they should reach out. PQLs are at their warmest right after the qualifying behavior, so a same-day or next-business-day standard is reasonable to aim for. Send the rep a notification that includes which actions triggered the status, so the first message can reference what the user actually did.
Finally, handle multi-user accounts. In product-led companies, five people at one company may each trigger the rule. If you count each as a separate PQL, you inflate volume and send five reps after one buyer. Roll qualification up to the account level: create the account-level status when the first qualifying user appears, attach the other users as contacts, and count the account once in reporting. Keep the individual user events, since a second or third engaged user is itself a useful expansion signal.
Step 5: Attribute PQLs and revenue back to ads and channels
With source data on the user, PQL status in the CRM, and payment records in billing, you can connect the full chain. Connect your ad platforms, CRM, and billing system, such as Stripe, in an attribution platform like Cometly. The PQL and the closed-won revenue then link back to the first click and every later touchpoint, so a campaign is credited for revenue that lands weeks after the sign-up.
Once the data is joined, compare attribution models rather than committing to one. Look at the same period under first touch, last click, linear, and multi-touch. Channel rankings often shift between them. A paid social campaign may look strong under first touch because it introduces people, while branded search dominates under last click because it captures people who were already convinced. Neither view is wrong, but together they show which channels create demand and which harvest it. Cometly lets you switch between models on the same data, which makes those differences easy to spot.
Then change the metrics you report by campaign. Cost per sign-up rewards cheap volume. Report these instead:
- Cost per PQL
- Sign-up-to-PQL rate
- PQL-to-paid rate
- Revenue per PQL
Here is an illustration, not real results. Suppose Campaign A produces sign-ups at $40 each and Campaign B at $90 each, so A looks more than twice as efficient. But if only 3% of A's sign-ups become PQLs and 12% of B's do, A's cost per PQL is about $1,333 and B's is $750. Add a higher PQL-to-paid rate for B and the gap widens further at the revenue level. The campaign that looked expensive is the one funding your growth.
Step 6: Send PQL events back to Meta and Google to optimize toward quality
Reporting tells you which campaigns work. Feeding PQL events back to the ad platforms changes what their algorithms optimize for. If Meta and Google only see sign-ups, they will find more people who sign up. If they see PQLs, they can learn what people who reach real value look like.
Send the PQL event as a conversion through each platform's server-side path: Meta's Conversion API for Meta, and enhanced conversions or offline conversion import for Google. Then set the campaign's optimization goal to the PQL event. Cometly can send enriched, conversion-ready events to these platforms from the same data you built in the earlier steps.
Three details determine whether this works:
- Deduplicate. If you send the same event from both the browser pixel and the server, give both the same event ID so the platform counts it once. Without a shared ID, conversions get double counted and optimization drifts.
- Check volume. Ad platforms need enough conversions in a given window to learn, and PQLs are rarer than sign-ups. If your PQL volume is too low, optimize on an earlier qualifying event (for example, the first teammate invite) and keep PQL as a reporting metric. Minimum conversion requirements change, so verify the current thresholds in Meta's and Google's documentation as of 2026 before you commit.
- Maximize match quality. Include hashed email and the stored click IDs (fbclid, gclid) where the platform permits, so each event can be tied to the right user. Higher match rates give the algorithm more usable signal.
Because PQLs occur days after the click, expect a delay between the ad interaction and the conversion showing up. Send the event with its original click timing so it attributes correctly, and allow the campaigns time to adjust after the change rather than judging them in the first few days.
Step 7: Build a PQL dashboard and review it on a fixed cadence
Set up one view that answers a single question: which sources produce PQLs that become revenue? Include these metrics:
- PQLs by source, channel, and campaign
- Cost per PQL
- Sign-up-to-PQL rate
- PQL-to-paid rate
- Time to PQL, from sign-up to the qualifying event
- Pipeline or revenue per PQL
Then fix the review rhythm. A weekly review handles budget decisions: which campaigns are trending up or down on cost per PQL and PQL quality. A quarterly review revisits the definition itself, rerunning the Step 2 analysis on recent cohorts to confirm the qualifying actions still predict payment.
Turn what you see into actions:
- Cut or cap campaigns that deliver sign-ups but weak PQL quality.
- Scale campaigns with a strong PQL-to-revenue record, in steps rather than one large jump.
- Refresh creative and messaging aimed at the audiences that produce your best PQLs.
- Investigate sources with high sign-up-to-PQL rates but slow time to PQL, since onboarding may be the constraint.
Mistake to avoid: judging campaigns before the sales cycle has run. If PQLs typically take 45 days to close, a campaign reviewed at day 14 will look worse on revenue than it is. Segment by sign-up cohort and compare like with like, using PQL rate as the early indicator and paid conversion as the confirmation once enough time has passed.
Running a test sign-up end to end, then moving budget
Before you trust the numbers, run a test. Click a tagged ad, sign up, complete the qualifying actions, and follow that one user through the system. Confirm the source and click ID landed on the user record, the product events fired with the right IDs, the CRM moved to the PQL stage, and the revenue record connects once a test payment is made. Any break in that chain will distort every report downstream, so fix it now while it is easy to see.
Once the path holds, use the data for the decision it was built for: moving budget toward campaigns that produce PQLs that pay, and away from those that only produce sign-ups.
Ready to elevate your marketing game with precision and confidence? Discover how Cometly's AI-driven recommendations can transform your ad strategy. Get your free demo today and start capturing every touchpoint to maximize your conversions.