
For B2B SaaS marketing teams, understanding how a prospect moves from first awareness to closed-won revenue is one of the most valuable things you can do. Yet most teams are working with incomplete pictures. They have CRM data in Salesforce, ad data scattered across platforms, and no reliable way to connect the two.
Salesforce customer journey mapping bridges that gap. It gives your team a structured way to document every stage a buyer moves through, identify where deals stall, and align your marketing and sales efforts around a shared understanding of the path to purchase.
The challenge is that most guides treat journey mapping as a theoretical exercise. This one does not.
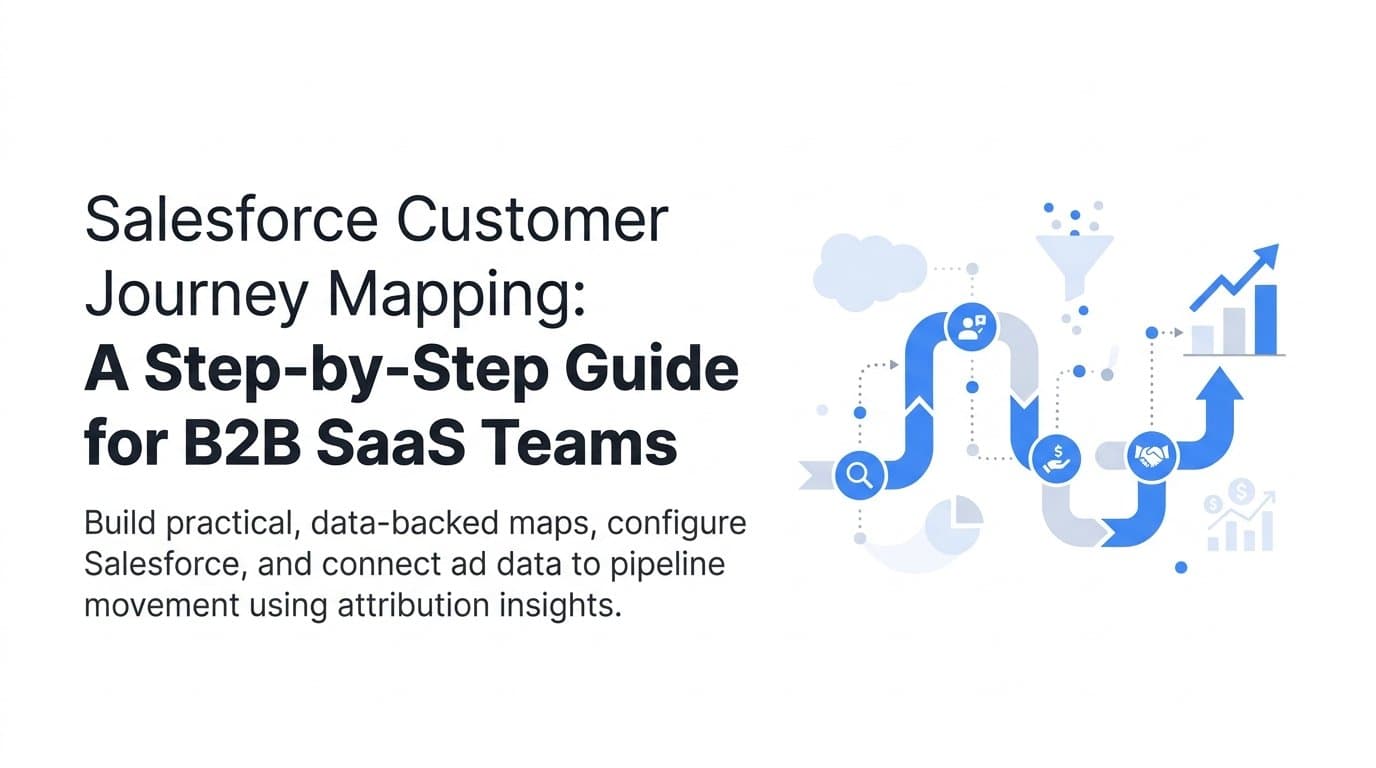
This step-by-step guide walks you through how to build a practical, data-backed customer journey map inside Salesforce that your marketing and sales teams will actually use. You will learn how to define your buyer stages, configure Salesforce to track them, connect your ad and campaign data to real pipeline movement, and use attribution insights to optimize every stage of the funnel.
By the end, you will have a working framework that shows you not just where leads come from, but which touchpoints actually drive revenue. Whether you are starting from scratch or cleaning up an existing Salesforce setup, this guide gives you a repeatable process you can implement and refine over time.
Step 1: Define Your Buyer Stages Before Touching Salesforce
This is the step most teams skip, and it is the reason so many Salesforce setups produce unreliable data. Before you touch a single picklist value or field configuration, you need to get clear on the actual stages your buyers move through from first awareness to closed-won revenue.
Notice the word "actual." Not a generic funnel template. Not the default Salesforce stages that come out of the box. The real decision points your specific buyers move through based on how they evaluate, engage, and ultimately buy your product.
Here is how to get there.
Interview your sales reps: Ask them to walk you through their last five to ten closed-won deals. Where did the buyer first engage? What happened between the first meeting and the proposal? What caused deals to stall? Their answers will reveal the real stage transitions that matter, not the ones that look clean on a whiteboard.
Review closed-won and closed-lost deals in your CRM: Look for patterns in how long deals spent in each phase, which activities preceded stage changes, and where lost deals typically dropped off. This gives you a data layer to complement the qualitative input from your reps.
Document entry and exit criteria for each stage: This is the most important output of this exercise. For every stage you define, write down what must be true for a record to enter that stage and what must happen for it to move to the next one. Without this, different reps will interpret stages differently, and your reporting will be useless.
Keep it to five to seven stages maximum: More stages create more complexity without adding proportional insight. Common B2B SaaS journey stages might include Awareness, Engaged, Marketing Qualified Lead, Sales Accepted Lead, Opportunity, Evaluation, and Closed Won. Adapt these to your actual buying motion.
The most common pitfall here is skipping this step entirely and jumping straight into Salesforce configuration. When that happens, you end up with a CRM that reflects what someone thought the funnel should look like rather than what it actually is. Fixing that later is far more painful than doing it right the first time.
You will know this step is complete when every member of your marketing and sales team can describe, without ambiguity, what moves a prospect from one stage to the next. That shared understanding is the foundation everything else is built on.
Step 2: Configure Salesforce Lead and Opportunity Stages to Match Your Map
Now that your buyer stages are defined with clear entry and exit criteria, it is time to build them into Salesforce. This is where your journey map stops being a document and starts becoming an operational system.
Start with your Lead Status and Opportunity Stage picklist values. Go into your Salesforce setup and update these to match the stages you defined in Step 1. Delete or deactivate any default values that do not reflect your actual buying motion. This keeps your data clean and prevents reps from using stages that do not correspond to anything meaningful.
Add Stage Entry Date fields: This is one of the highest-leverage configurations you can make. Create custom date fields for each stage, such as "MQL Date," "SAL Date," and "Opportunity Created Date," and use workflow rules or Flow automations to populate them automatically when a record enters that stage. These fields are what allow you to calculate time-in-stage metrics and pipeline velocity later.
Set up required fields at stage transitions: Use Salesforce validation rules to enforce data quality. For example, require that a rep enters a "Next Step" value before moving an opportunity from Evaluation to Closed Won. This prevents skipped stages and ensures the data you collect at each transition is complete and usable.
Build a Lead-to-Opportunity conversion process that preserves source data: This is critical for attribution. When a Lead converts to a Contact and Opportunity, make sure the original Lead Source, UTM parameters, and Campaign fields carry over. If this data is lost at conversion, you lose the ability to connect closed-won revenue back to the marketing activities that generated it.
Use Salesforce Path or Kanban view: These visual tools make stage progression intuitive for sales reps. You can add guidance text to each stage in the Path component, which reinforces the entry and exit criteria you defined in Step 1 right inside the rep's workflow.
The most common pitfall at this stage is allowing reps to skip stages or back-date records. Both behaviors destroy the accuracy of your journey data. Use validation rules and stage-locking logic to prevent this where possible, and reinforce the importance of accurate stage management in your sales team training.
You will know this step is working when your Salesforce reports can show average time in each stage and conversion rates between stages. If those numbers look credible and consistent, your configuration is solid.
Step 3: Capture Every Marketing Touchpoint With Campaign and Source Tracking
A well-configured Salesforce setup tells you where leads are in the funnel. But to understand how they got there and which marketing activities influenced their journey, you need systematic touchpoint tracking. This step is where multi-touch attribution begins.
Enable Salesforce Campaigns and use Campaign Members: Salesforce Campaigns are the native mechanism for tracking marketing influence. When you associate a Lead or Contact with a Campaign as a Campaign Member, you create a record of that touchpoint that can be tied to pipeline and revenue. Enable this for every marketing activity: webinars, content downloads, paid ad clicks, events, and email sequences.
Implement UTM parameters across all traffic sources: Every paid ad, organic social post, email link, and partner referral should carry consistent UTM parameters. Map these UTM values to Salesforce Lead Source and Campaign fields using hidden form fields or your marketing automation platform. Without this, a large portion of your leads will show up as "Direct" or "Unknown," making it impossible to attribute pipeline to specific channels.
Set up First Touch and Last Touch source fields: Create two custom fields on your Lead and Contact objects: one that captures the original acquisition source and one that captures the most recent campaign touchpoint. Use automation to populate the First Touch field only once, when the record is first created, and update the Last Touch field with every new campaign interaction. This gives you both the acquisition story and the conversion story.
Connect your ad platforms to Salesforce: Integrating Meta, Google, and LinkedIn campaign data with Salesforce allows you to see ad spend alongside pipeline data. This is where the picture starts to get genuinely useful. Instead of viewing ad performance in isolation, you can begin to see which campaigns are generating leads that actually convert to opportunities and revenue.
Use Salesforce Campaign Influence: This native feature allows you to distribute revenue credit across multiple campaigns that touched a deal before it closed. You can configure different attribution models, such as first touch, last touch, or even distribution, to understand how different campaigns contributed to the journey. This is more accurate for B2B contexts than single-touch models because B2B buying journeys rarely involve just one interaction.
The most common pitfall here is tracking only the last touchpoint and losing all context about how the buyer was first acquired. Last-touch attribution is convenient but misleading. A buyer who first engaged with a LinkedIn ad three months ago and then converted on a retargeting campaign should not have all the credit assigned to the retargeting campaign.
You will know this step is complete when every closed-won opportunity has at least two to three campaign touchpoints recorded with source data intact. That is the signal that your tracking infrastructure is capturing the full journey rather than just the final click.
Step 4: Build Journey Reports and Dashboards That Reveal Funnel Gaps
Data in Salesforce is only valuable if it surfaces insights that drive decisions. This step is about turning your journey configuration and tracking data into reports and dashboards that show you exactly where your funnel is working and where it is breaking down.
Build a Stage Conversion Rate report: This is your most important journey report. It shows what percentage of records advance from each stage to the next. Create a summary report grouped by Stage, with a calculated field showing the conversion rate between consecutive stages. This single report will often reveal a bottleneck you did not know existed.
Create a Time in Stage report: Using the Stage Entry Date fields you created in Step 2, build a report that calculates the average number of days records spend in each stage. Long average durations in a specific stage are a signal that something is slowing deals down there, whether it is a content gap, a process issue, or a sales behavior problem.
Build funnel visualization dashboards: Use Salesforce's native dashboard components or a connected BI tool to create a visual funnel chart showing volume at each stage. This makes it immediately obvious where you are losing the most records and how the shape of your funnel compares to previous periods.
Segment your journey reports by acquisition source: Filter your stage conversion and time-in-stage reports by Lead Source, Campaign, and Industry. This is where you start to see which channels produce the fastest and highest-value paths through the funnel. A lead from a specific campaign might convert to an opportunity at twice the rate of leads from another source, and that insight has direct implications for budget allocation.
Automate weekly dashboard snapshots: Schedule automated dashboard refreshes and email summaries so leadership can track journey health without manual reporting. Consistency matters here. A dashboard that is reviewed weekly becomes a management tool. One that requires manual effort to produce gets ignored.
The most common pitfall is building reports without filtering out test records, recycled leads, or disqualified prospects. These records skew your conversion rates and make your funnel look worse or better than it actually is. Build filters into your reports from the start to ensure you are only analyzing qualified, active pipeline.
You will know this step is working when you can identify in under five minutes which stage has the lowest conversion rate and which source produces the best pipeline velocity. That speed of insight is the goal.
Step 5: Connect Ad Attribution Data to Salesforce Pipeline for Revenue Clarity
This is the step where Salesforce customer journey mapping moves from a CRM exercise to a revenue intelligence system. Connecting your ad attribution data to Salesforce pipeline gives you the ability to answer the question every B2B SaaS marketing leader needs to answer: which campaigns are actually driving revenue?
Integrate your attribution platform with Salesforce: A dedicated attribution platform that connects to both your ad platforms and your Salesforce CRM allows you to match ad spend data to pipeline and closed-won revenue at the deal level. This is something Salesforce's native Campaign Influence cannot fully accomplish on its own, because it does not have visibility into actual ad spend data from Meta, Google, or LinkedIn.
Use multi-touch attribution models: B2B buying journeys involve multiple decision-makers and multiple touchpoints over weeks or months. A single-touch model, whether first click or last click, will systematically misrepresent which campaigns are contributing to deals. Multi-touch models distribute credit across all the touchpoints that influenced a deal, giving you a more accurate picture of how your marketing mix is working.
Map Opportunity Amount and Close Date back to original ad campaigns: This is the connection that makes attribution actionable. When you can see that a specific LinkedIn campaign generated a cohort of opportunities that closed at a higher average deal size than leads from paid search, you have the insight you need to make a confident budget reallocation decision.
Calculate cost per opportunity and cost per closed-won deal by source: These are the two metrics that reveal your highest-ROI channels. Cost per lead is a vanity metric if those leads never convert to pipeline. Cost per opportunity and cost per closed-won deal tell you what you are actually paying for revenue.
Use server-side conversion tracking: Send enriched conversion events from Salesforce back to Meta and Google via their Conversion APIs. When ad platforms receive high-quality conversion signals tied to actual pipeline and revenue rather than just form fills, their optimization algorithms perform better. This creates a feedback loop where better attribution data leads to better ad performance.
Cometly connects Salesforce CRM data with ad platform data to give B2B SaaS teams a single view of which campaigns are driving real pipeline and revenue. Instead of toggling between your CRM and your ad dashboards, you get a unified attribution layer that traces every ad dollar to a stage in the journey and ultimately to closed-won revenue.
The most common pitfall is relying on last-click attribution from your ad platforms. Every ad platform defaults to attributing conversions to itself using the most favorable model. That data is not wrong, it is just incomplete. It ignores the multi-touch reality of B2B buying journeys and will consistently overvalue bottom-of-funnel campaigns while undervaluing the awareness and consideration campaigns that started the relationship.
You will know this step is complete when you can report on cost per pipeline dollar and revenue ROI by ad channel directly from your attribution dashboard, without needing to manually reconcile data from multiple sources.
Step 6: Use Journey Insights to Optimize Campaigns and Sales Handoffs
Building a journey map and connecting it to attribution data is only valuable if you act on what it tells you. This final step is about closing the loop between insight and action, both on the marketing side and the sales side.
Identify the touchpoints that appear most frequently in your fastest closed-won deals: Look at your closed-won opportunities with the shortest time-to-close and trace back the campaign touchpoints that appeared in those journeys. You will typically find two or three channels or content types that show up consistently. Those are your highest-leverage channels, and they deserve a larger share of your budget and attention.
Use stage conversion data to calibrate your marketing-to-sales handoff: If your data shows that leads who reach a certain engagement threshold convert to opportunities at a much higher rate than leads who are handed off earlier, that is a signal to adjust your MQL definition. Moving the handoff threshold based on actual conversion data rather than intuition will improve both sales efficiency and lead quality.
Create lead scoring rules based on journey progression: Use the stage progression and campaign engagement data you have built in Salesforce to create a lead scoring model that prioritizes rep follow-up based on actual buying signals. A lead who has attended a webinar, downloaded a case study, and visited your pricing page three times in the last week should rank higher than a lead who filled out a form six weeks ago and has not engaged since.
Feed journey insights back into your ad targeting: Build lookalike audiences from your highest-converting lead segments and use them to expand your reach on Meta and LinkedIn. Your closed-won customer list and your fastest-converting leads are your most valuable targeting seeds. This creates a compounding effect where better attribution data leads to better audience targeting, which leads to higher-quality leads entering the top of your funnel.
Set up stale deal alerts in Salesforce: Use workflow automations to flag deals that have been sitting in a specific stage longer than the average duration you identified in Step 4. Send an alert to the rep and their manager when a deal crosses that threshold. This simple automation prevents deals from going dark and gives your team a consistent process for re-engaging stalled opportunities.
The most common pitfall is treating journey mapping as a one-time project. Buyer behavior changes. Your product positioning evolves. New channels emerge. A journey map that was accurate six months ago may no longer reflect how your buyers actually move through the funnel today. Build a quarterly review into your process to audit stage conversion rates, update your attribution models, and refresh your targeting based on new closed-won data.
You will know this step is working when your sales team is following up faster on the right leads and your marketing team is reallocating budget toward channels that are proven to drive pipeline and revenue, not just traffic and form fills.
Putting It All Together
Salesforce customer journey mapping is not just a documentation exercise. When done correctly, it becomes the operational backbone of your marketing and sales alignment.
You have defined your buyer stages with real exit criteria. You have configured Salesforce to track every transition. You have captured multi-touch campaign data, built reports that expose funnel gaps, connected ad attribution to pipeline, and turned those insights into action. The result is a system where every marketing dollar can be traced to a stage in the journey and ultimately to revenue.
The teams that get the most from this process are the ones who treat it as a living framework. Review your stage conversion rates monthly. Audit your source tracking quarterly. Make sure your attribution data is flowing cleanly between your ad platforms and Salesforce so you are always working from accurate numbers.
Here is a quick-start checklist to confirm you have covered every step:
Buyer stages defined: Entry and exit criteria documented for each stage, reviewed with both marketing and sales.
Salesforce configured: Lead Status and Opportunity Stage picklist values updated, Stage Entry Date fields active, and validation rules enforcing data quality.
UTM and campaign tracking active: All paid and organic channels tagged, Campaign Members being created for every marketing touchpoint, and First Touch and Last Touch fields populating correctly.
Multi-touch attribution connected: Ad spend data linked to pipeline data, with cost per opportunity and cost per closed-won deal visible by channel.
Journey dashboards built: Stage conversion rate and time-in-stage reports shared with leadership, segmented by source and campaign.
Review cadence scheduled: Monthly and quarterly review sessions on the calendar with a defined owner.
If you want to see which ads and campaigns are actually driving pipeline in your Salesforce data, Cometly gives B2B SaaS teams the attribution layer that connects ad spend to closed-won revenue in real time. Get your free demo and start capturing every touchpoint to maximize your conversions.