
Display ads reach audiences across millions of websites, apps, and platforms. But reach without measurement is just spending money in the dark. If you cannot connect your display ad impressions and clicks to actual conversions, you have no way to know which campaigns are generating pipeline and which are burning budget.
Display ads conversion tracking solves this problem by creating a clear line between your ad spend and the actions that matter: form fills, demo requests, trial signups, and closed revenue. For B2B SaaS companies especially, this matters because the sales cycle is long, the buyer journey is complex, and every dollar of ad spend needs to be justified.
Without proper tracking, your team is forced to make decisions based on incomplete data. That leads to misallocated budgets, underperforming campaigns, and missed growth targets. The challenge with display ads specifically is that they typically operate higher in the funnel than search ads. The path from impression to conversion is longer, involves more touchpoints, and spans multiple sessions and devices. Standard last-click tracking misses most of that story.
This guide walks you through exactly how to set up display ads conversion tracking from scratch. You will learn how to define the right conversion events, implement tracking tags, configure attribution settings, validate your data, and connect everything to a central attribution platform so you can see the full picture.
Whether you are running Google Display Network campaigns, programmatic display, or retargeting ads, these steps apply directly to your setup. By the end, you will have a working tracking system that tells you not just how many conversions happened, but which display ads, audiences, and placements actually drove them.
Step 1: Define Your Conversion Events Before Touching Any Tag
Before you install a single pixel or configure a single tag, you need to know exactly what you are trying to measure. This step sounds obvious, but skipping it is one of the most common reasons display tracking setups produce noisy, unreliable data.
Start by identifying the specific actions that represent real business value in your funnel. For most B2B SaaS companies, these fall into two categories.
Macro-conversions are the high-value actions tied directly to pipeline and revenue: demo requests, free trial signups, pricing page form submissions, and purchase or subscription events. These are the outcomes your sales team cares about and the ones your ad platforms should optimize toward.
Micro-conversions are lower-intent signals that indicate engagement but do not directly drive revenue: page visits, scroll depth, video views, content downloads, and webinar registrations. These have value for understanding audience behavior, but they should not be your primary optimization signal.
The pitfall most teams fall into is tracking too many micro-conversions as primary conversion events. When you do this, your ad platform's machine learning algorithm optimizes toward low-value actions. You end up with campaigns that look great on paper but generate very little qualified pipeline.
Map each conversion event to a specific stage in your B2B SaaS funnel. A demo request maps to a sales-qualified lead. A trial signup maps to product activation. A subscription event maps to closed revenue. When your tracking aligns with funnel stages, you can connect display ad spend to actual pipeline movement, not just surface-level engagement.
Before moving to implementation, document each event in a simple tracking plan. For every conversion event, write down the event name, the trigger condition (what action fires it), the assigned monetary value if applicable, and which ad platforms need to receive that signal. This document becomes your source of truth throughout the setup process and makes troubleshooting much faster when something does not fire correctly.
Think of it like building a house. If you start laying bricks before you have a blueprint, you will spend more time tearing things down than building them up. Your conversion event plan is the blueprint.
Step 2: Set Up Your Tracking Tags and Pixels
With your conversion events documented, you are ready to implement. The foundation of any modern tracking setup is Google Tag Manager. Installing GTM as your tag management layer means you can add, edit, and test tags without touching your site's source code every time. This alone saves significant development time and reduces the risk of breaking your site during updates.
To install GTM, create a container in your Google Tag Manager account, then add the GTM snippet to your site's header and body. Most website platforms have native GTM integrations that make this a one-time setup.
Once GTM is in place, here is how to set up your core display tracking tags.
For Google Display Network: Navigate to your Google Ads account, go to Tools and Settings, then Conversions. Create a new conversion action, select the appropriate category (lead, purchase, or signup), and generate the conversion tag snippet. In GTM, create a new Google Ads Conversion Tracking tag, paste your conversion ID and label, and configure the trigger to fire on the correct condition.
Trigger options include a thank-you page URL (the confirmation page a user lands on after submitting a form), a button click event (when a user clicks a specific CTA button), or a form submission event (when a form is successfully completed). Choose the trigger that matches how your conversion actually happens on your site.
For programmatic display platforms: The logic is the same. Each DSP or display platform provides its own pixel or event snippet. Add these as custom HTML tags in GTM and configure them to fire on the same conversion triggers you have already defined.
One setting that most teams configure incorrectly is the conversion window. The default in Google Ads is 30 days for clicks and 1 day for view-throughs. For B2B SaaS, where a prospect might see your display ad in January and convert in March, the default click window is too short. Set your click conversion window to match your typical sales cycle length. Depending on your product and deal size, this might be 60 or 90 days.
Before publishing any tags to production, use GTM's built-in Preview mode. This lets you walk through your conversion flow in a test environment and confirm that each tag fires exactly when and where it should. Catching a misconfigured trigger in preview takes minutes. Catching it after three weeks of live campaign data takes considerably longer.
Step 3: Implement Server-Side Tracking for Accurate Data
Here is where many display tracking setups fall short. Browser-based pixel tracking alone is no longer sufficient for accurate conversion measurement. Three forces are steadily eroding its reliability.
Ad blockers prevent tracking pixels from loading for a meaningful portion of web users. Browser privacy updates, particularly in Safari and Firefox, restrict how long cookies persist and limit cross-site tracking. And the ongoing deprecation of third-party cookies means that browser-based attribution will continue to degrade over time.
The result is that pixel-only setups systematically undercount conversions. Your ad platform sees fewer conversions than actually occurred, which causes its optimization algorithm to make worse decisions about who to target and how much to bid.
Server-side tracking solves this by sending conversion data directly from your server to the ad platform, bypassing client-side limitations entirely. The data travels through your infrastructure, not through the user's browser, so ad blockers and cookie restrictions do not affect it. Understanding why server-side tracking is more accurate is essential before configuring this layer of your setup.
For Google Ads: Configure Enhanced Conversions alongside your standard conversion tags. Enhanced Conversions sends hashed first-party data (email address, phone number) with your conversion events, which Google uses to match conversions more accurately to users even when cookie-based matching fails. You can configure this through GTM using the Enhanced Conversions feature or through a server-side GTM container.
For Meta display retargeting: Set up the Conversions API (CAPI) to send server events that supplement your Meta Pixel data. CAPI sends events directly from your server to Meta's API, improving event match quality and recovering conversions that the pixel would have missed.
When you run both pixel and server-side tracking simultaneously, which you should, you introduce a risk: duplicate conversion counting. If both your pixel and your server event fire for the same form submission, your conversion count inflates. This makes your campaigns look more effective than they are and corrupts your optimization signals.
Prevent this by implementing deduplication using event IDs. Assign a unique event ID to each conversion event and pass that same ID through both your pixel and your server event. The ad platform uses the event ID to identify and discard duplicates, so only one conversion is recorded per action.
First-party data enrichment through server events also improves the quality of the data you send back to ad platforms. When you pass hashed email addresses and user identifiers alongside conversion events, the platform's event match quality score improves. Higher match quality means better audience targeting, better lookalike modeling, and ultimately better campaign performance.
Step 4: Configure Attribution Settings to Match Your Sales Cycle
Your tracking tags are live and your server-side events are firing. Now you need to make sure the attribution model you use actually reflects how display ads contribute to your pipeline, because the default settings almost certainly do not.
Last-click attribution is the most common default, and it is the worst choice for display advertising. Here is why. Display ads typically influence buyers earlier in the journey. A prospect might see your display ad three times across two weeks, then search for your brand name and convert through a paid search click. Last-click attribution gives all the credit to that final search click and zero credit to the display impressions that built awareness and drove the search in the first place. Over time, this makes display look ineffective even when it is doing meaningful work.
For B2B SaaS display campaigns, consider these alternatives.
Data-driven attribution uses machine learning to assign credit across touchpoints based on their actual contribution to conversion. It is the most accurate model when you have sufficient conversion volume, and Google Ads offers it natively.
Linear attribution distributes credit equally across all touchpoints in the customer journey. It is a reasonable choice when you want to give display ads fair credit without over-attributing to early touches.
Time decay attribution gives more credit to touchpoints closer to conversion. This works well for shorter sales cycles but can undervalue display for B2B SaaS where the journey spans months.
View-through conversions deserve special attention for display. A view-through conversion occurs when a user sees your display ad, does not click, but later converts through another channel. Tracking this is valuable because it captures display's influence on awareness-driven conversions. However, view-through attribution requires conservative configuration. Set your view-through window to 1 to 7 days rather than the maximum available. A 30-day view-through window will attribute far too many unrelated conversions to your display impressions.
Finally, connect your CRM data so that pipeline and revenue events feed back into your attribution model. Lead form fills are a starting point, but they are not the end of the story. When you can see which display campaigns contributed to opportunities that closed, you have a complete picture of ROI rather than a top-of-funnel approximation. Exploring the best software for tracking marketing attribution can help you find the right tool to close this loop.
Step 5: Validate Your Tracking Setup Before Scaling Spend
A tracking setup that looks correct in GTM is not necessarily a tracking setup that is correct in practice. Validation is the step that separates teams who trust their data from teams who discover a misconfiguration three months and a significant budget later.
Start with GTM's Preview mode and Google Tag Assistant. Walk through each conversion flow on your site: submit a test form, click a CTA button, complete a trial signup. Confirm that the correct tags fire on each action and that no tags fire when they should not.
Next, check your Google Ads conversion section. After firing test events, conversions should appear in your account within 24 to 48 hours. If they do not show up, that is a signal to investigate your tag configuration, trigger conditions, or conversion action settings before running any live campaigns.
Compare conversion counts across your systems. Your ad platform, your CRM, and your website analytics tool should show broadly consistent conversion volumes for the same time period. They will never match perfectly because attribution models differ, but large discrepancies indicate a problem. If your ad platform is reporting significantly more conversions than your CRM is recording leads, you likely have a duplicate counting issue.
Check your event match quality scores for server-side events. Both Google's Enhanced Conversions and Meta's CAPI provide match quality scores that indicate how well your server events are matching to user profiles. Low scores suggest that your first-party data enrichment is not configured correctly.
Run a small test campaign before scaling spend. Even a modest budget over a few days will generate enough data to confirm that conversions are flowing correctly from ad click to conversion event to ad platform reporting. This is far less expensive than discovering a tracking gap after you have scaled to full budget.
Step 6: Connect Display Tracking to a Centralized Attribution Platform
Here is the reality of running display ads across multiple platforms: every ad platform reports its own conversions in isolation. Google Ads shows the conversions it attributes to Google Display Network. Your programmatic DSP shows its own attributed conversions. Your Meta retargeting campaigns claim their conversions. And none of these systems talk to each other.
The result is attribution overlap. A single conversion gets claimed by multiple platforms simultaneously, making your total reported conversions look much higher than the actual number of customers you acquired. When you try to compare channel performance, you are comparing numbers that are each inflated by the same double-counting problem.
This is why a centralized attribution platform is not a nice-to-have for B2B SaaS teams running display ads. It is a necessity for making accurate budget decisions.
A centralized attribution platform pulls data from your ad platforms, CRM, and website tracking into a single unified view. Instead of each platform reporting its own version of the truth, you get one consistent customer journey view that shows every touchpoint a prospect interacted with before converting. Reviewing the top conversion tracking platforms can help you evaluate which solution fits your stack.
With multi-touch attribution applied across all channels in a single platform, you can answer questions that siloed data cannot. Is display influencing pipeline even when it is not the last touch? Which display placements are contributing to deals that eventually close? Are your retargeting campaigns accelerating sales cycles or just claiming credit for conversions that would have happened anyway?
Pipeline and revenue attribution takes this further by connecting display ad spend directly to closed-won deals. Instead of measuring success by lead volume, you can measure it by the revenue that traces back to specific campaigns, audiences, and creatives. That is the metric that justifies budget to a CFO or a board.
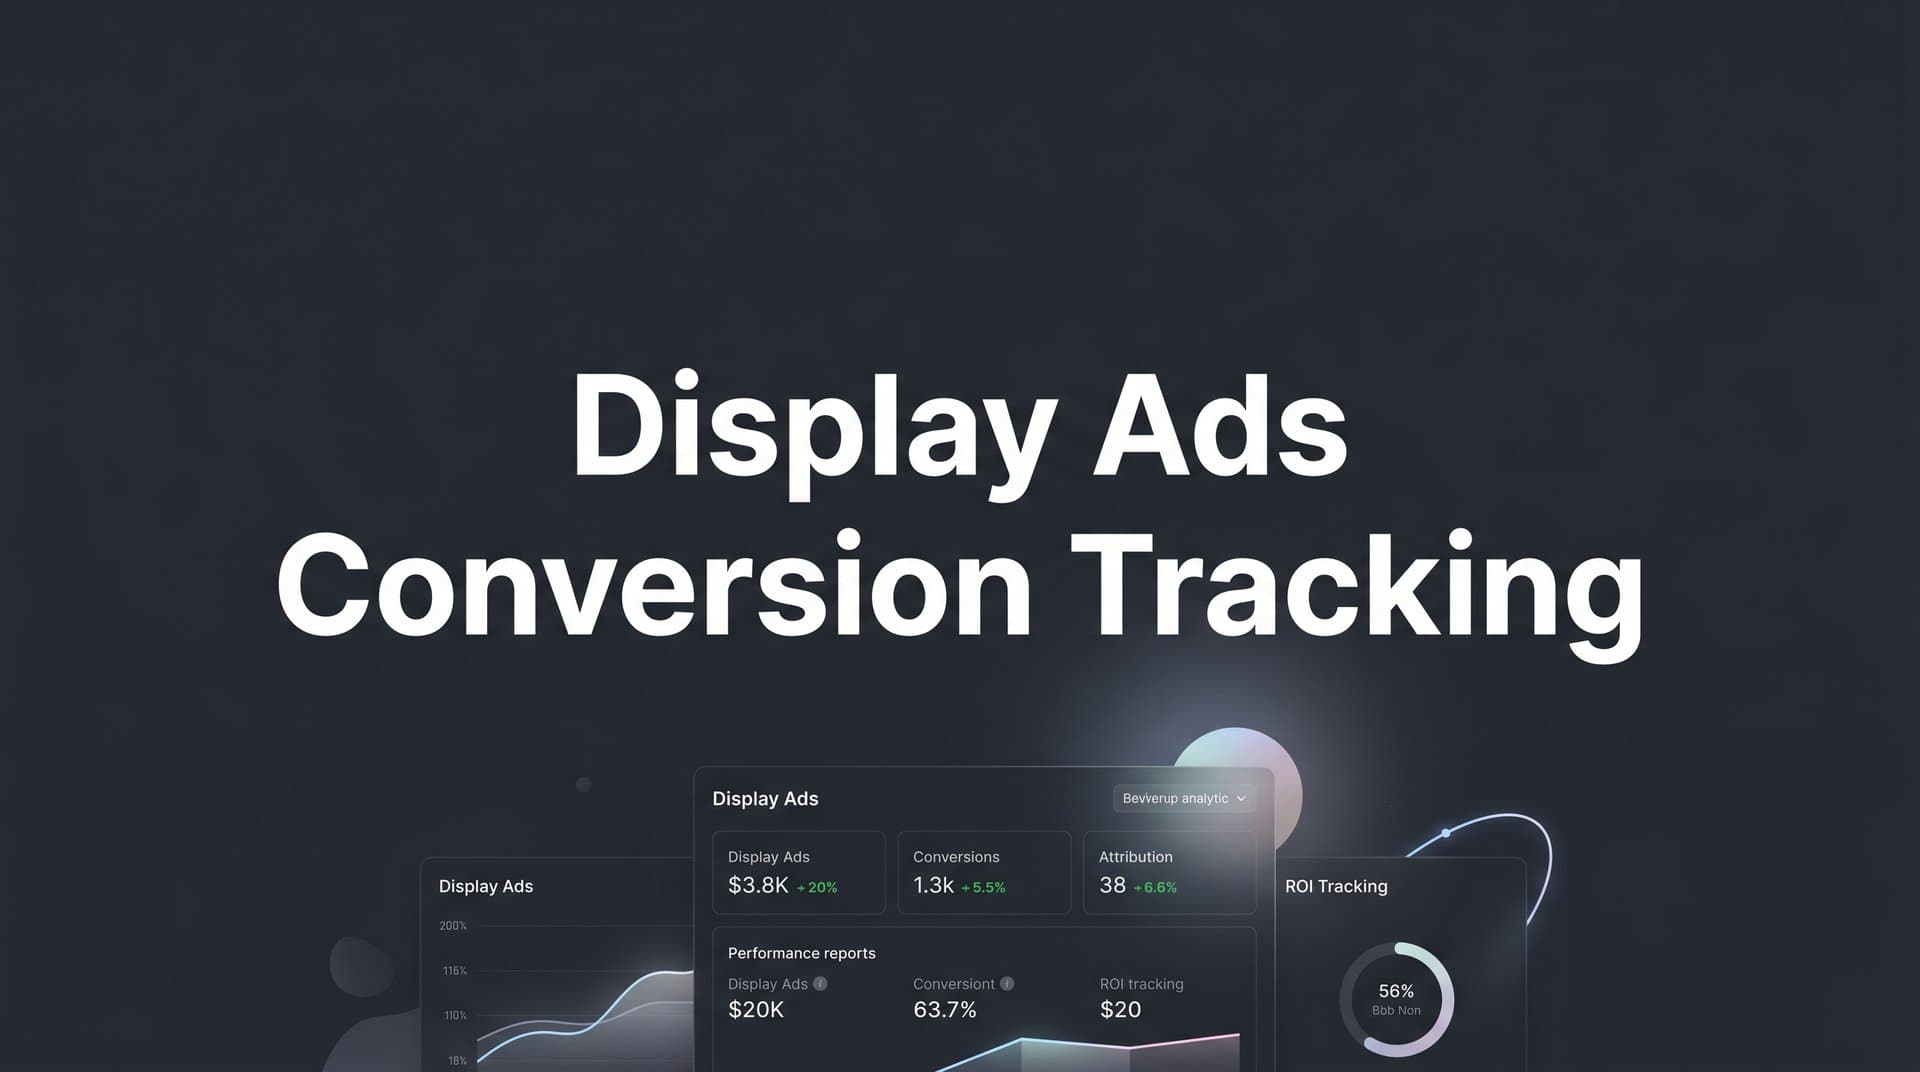
This is exactly where Cometly fits into your display tracking stack. Cometly connects your ad platforms, CRM events, and website data to give you a real-time, single source of truth for display ad performance across the full customer journey. It captures every touchpoint from first ad click to closed-won revenue, applies multi-touch attribution across all your channels, and surfaces AI-driven recommendations about which display campaigns and audiences are generating the highest pipeline contribution. Instead of making budget decisions based on fragmented platform data, you make them based on a complete, accurate picture of what is actually driving growth.
Cometly also sends enriched, conversion-ready events back to Meta, Google, and other ad platforms, which improves their targeting and optimization algorithms. Better data in means better campaign performance out.
Step 7: Analyze Performance and Optimize Based on Conversion Data
With your tracking validated and your data centralized, you are finally in a position to make decisions that actually improve performance. This is where all the setup work pays off.
Start by reviewing conversion data across four dimensions: placement, audience segment, creative, and device. Each dimension tells you something different. Placement data shows you which websites and apps are delivering conversions, not just clicks. Audience data shows you whether your retargeting segments are outperforming your prospecting audiences. Creative data shows you which ad formats and messages are resonating with buyers who actually convert. Device data reveals whether your mobile placements are driving meaningful pipeline or just consuming budget.
Use cost per conversion and revenue per conversion as your primary optimization signals. Click-through rate and impression share are useful for diagnosing creative performance, but they are not indicators of business impact. A placement with a high CTR that generates zero conversions is a waste of budget. A placement with a low CTR that consistently produces demo requests is worth scaling.
Feed your high-quality conversion signals back to your ad platforms. When Google and Meta receive accurate, enriched conversion data, their machine learning algorithms improve their targeting and bidding decisions over time. The quality of your conversion signals directly affects the quality of your campaign optimization. This is a compounding advantage: better data leads to better targeting, which leads to better conversions, which leads to even better data.
Identify underperforming placements and exclude them. This is not just a brand safety exercise. Use your actual conversion data to build a placement exclusion list based on which sites and apps have consumed budget without producing conversions.
Use AI-driven recommendations from your attribution platform to surface which display campaigns and audiences are contributing most to pipeline, even when they are not the last touch in the journey. These insights often reveal that certain awareness-stage display campaigns are more valuable than their direct conversion numbers suggest.
Set a regular review cadence. Weekly reviews are appropriate for budget allocation decisions: pausing underperforming campaigns, shifting spend toward high-converting placements. Monthly reviews are better suited for audience and creative strategy: refreshing ad creative, adjusting audience segments, and revisiting your attribution model settings as your data matures.
Your Display Tracking Foundation: A Final Checklist
Tracking display ad conversions accurately is not optional for B2B SaaS teams that want to grow efficiently. When you follow these steps, you build a foundation that connects every display impression and click to real business outcomes: leads, pipeline, and revenue.
The setup process is sequential for a reason. Each step depends on the one before it. Defining your conversion events clearly makes tag implementation accurate. Accurate tags make server-side tracking meaningful. Proper attribution settings make your conversion data trustworthy. Validation ensures you are not scaling spend on a broken foundation. And centralized attribution transforms isolated platform data into strategic intelligence.
Before you launch your next display campaign, run through this checklist to confirm your tracking is ready.
Conversion events defined and documented: Every macro-conversion mapped to a funnel stage with a name, trigger, and assigned value.
GTM installed and tags configured: Conversion tags for all active display platforms set up with correct triggers and conversion windows.
Server-side tracking and deduplication active: Enhanced Conversions and/or Conversions API configured with event ID deduplication preventing double counting.
Attribution model and lookback window set: Data-driven or multi-touch attribution selected with a lookback window that reflects your actual sales cycle length.
Tracking validated with test events: Tags confirmed firing correctly, conversions appearing in ad platforms, and event match quality scores reviewed.
Ad platforms connected to a centralized attribution platform: All display channels, CRM, and website data flowing into a single source of truth.
Optimization cadence established: Weekly budget reviews and monthly strategy reviews scheduled with conversion data as the primary input.
When your display tracking is set up correctly, you stop guessing and start making data-driven decisions that compound over time. The teams that build this foundation early are the ones that scale display advertising profitably while others are still trying to figure out why their numbers do not add up.
Ready to connect every display touchpoint to real revenue? Get your free demo and see how Cometly gives your team a complete, real-time view of which display ads are actually driving pipeline and closed-won deals.


