
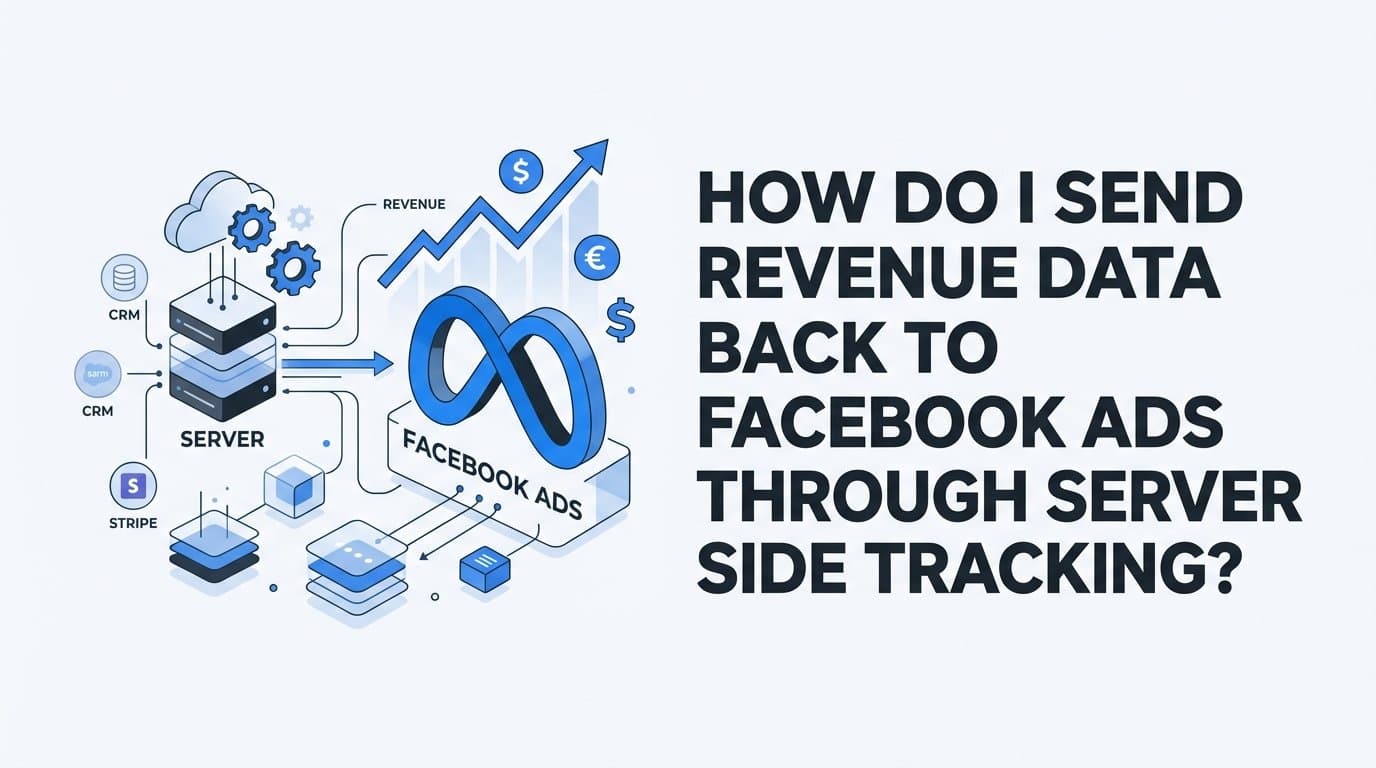
You send revenue data back to Facebook Ads through server-side tracking by using the Meta Conversions API (CAPI), which sends purchase and revenue events directly from your server to Meta without relying on browser pixels. Tools like Cometly make this process straightforward for B2B SaaS teams because it connects your CRM, Stripe revenue data, and ad platforms in one place, then fires enriched server-side events back to Meta automatically.
If you have ever looked at your Facebook Ads Manager and wondered why the revenue numbers feel disconnected from what your billing system shows, you are not imagining things. Browser-based pixels miss a significant portion of purchase events because of ad blockers, iOS privacy restrictions, and users who close the browser before a confirmation page loads. The result is a distorted picture of which campaigns are actually driving revenue.
Server-side tracking through the Meta Conversions API fixes this by taking the browser out of the equation entirely. Instead of waiting for a pixel to fire on a thank-you page, your server sends the purchase event directly to Meta the moment a payment is confirmed. That means cleaner data, better optimization signals for Meta's algorithm, and ROAS reporting you can actually trust.
This guide walks you through the exact steps to set this up, from getting your Meta access token to verifying that revenue values are flowing correctly into Ads Manager. Whether you are using Cometly, a CDP like Segment, or building a direct CAPI integration, the fundamentals are the same. You will also find answers to closely related questions marketers ask about server-side revenue tracking at the end of this guide.
Step 1: Understand What Server-Side Revenue Tracking Actually Does
Before you touch any credentials or write any code, it helps to understand exactly what is happening under the hood. The distinction between browser pixel events and server-side CAPI events is not just technical trivia. It determines whether your revenue data is reliable enough to make budget decisions.
A browser pixel fires from the user's device. When someone completes a purchase, a small JavaScript snippet on your confirmation page sends an event to Meta. The problem is that this relies entirely on the browser cooperating. Ad blockers prevent the pixel from loading. iOS privacy features limit tracking. Users who close the tab before the page fully renders never trigger the event at all. For B2B SaaS products where deals close over multiple sessions and devices, this data loss compounds quickly.
The Meta Conversions API works differently. Instead of the browser sending data to Meta, your server sends it. When a payment is confirmed in Stripe or a deal moves to Closed Won in your CRM, your server fires a Purchase event directly to Meta's API. No browser involved. No ad blocker interference. The event travels from your payment system to Meta's servers, period.
Two fields carry the revenue information in a Purchase event: value and currency. The value field is a decimal number representing the transaction amount, such as 299.00. The currency field is a three-letter ISO 4217 code, such as USD or EUR. These fields tell Meta exactly how much revenue to attribute to the ad that drove the conversion.
There is one important concept to get right from the start: event deduplication. If you run both a browser pixel and CAPI simultaneously (which Meta recommends), you need to ensure the same purchase event is not counted twice. You do this by passing an identical event_id in both the pixel event and the CAPI payload. Meta uses this shared ID to recognize that both events refer to the same transaction and counts it only once. A Stripe payment_intent ID or an order ID from your billing system works perfectly as an event_id because it is unique per transaction.
Once you understand this flow, the rest of the setup is straightforward. Revenue data travels from your payment system to Meta's servers, not from the browser. That shift is the entire value of server-side tracking.
Step 2: Gather Your Meta Conversions API Credentials
You need two pieces of information before you can send a single event to Meta: your Pixel ID and a CAPI access token. Getting these wrong is one of the most common reasons server-side setups fail silently, so take your time here.
Start by navigating to Meta Events Manager. In the left panel, you will see your data sources listed. Click on the pixel you want to use for revenue tracking. Your Pixel ID is displayed at the top of the overview page. Copy it and save it somewhere secure. You will need it in every API call you make.
Next, generate your CAPI access token. Inside Events Manager, go to Settings and scroll down to the Conversions API section. You will see an option to generate an access token. This token is what authenticates your server's requests to Meta's API.
Here is where a common and costly mistake happens. Many teams generate a token tied to a personal Facebook account. Personal user tokens expire, often within 60 days, and when they do, your server-side events stop flowing to Meta without any obvious error message. You end up with data gaps that are hard to diagnose after the fact.
The correct approach is to use a System User token generated inside your Meta Business Manager. Go to Business Settings, navigate to System Users, create a system user with employee-level access, assign your pixel to that system user, and then generate a token from there. System User tokens do not expire unless you revoke them manually, making them appropriate for production environments.
Also note which Facebook Ad Account ID is linked to the pixel you are using. You will need this when configuring your tracking tool or when troubleshooting attribution discrepancies in Ads Manager.
By the end of this step, you should have three things saved securely: your Pixel ID, a non-expiring System User access token, and your Ad Account ID. Do not store these in plain text in a shared document. Use a secrets manager or your tool's encrypted credential storage.
Step 3: Connect Your Revenue Source to a Server-Side Tracking Tool
Now that you have your credentials, you need to decide how revenue data will flow from your billing system or CRM to Meta. The right choice depends on your technical resources and the complexity of your revenue data.
First, identify your revenue source. For most B2B SaaS companies, this is one of three things: Stripe (or another payment processor), a CRM like HubSpot or Salesforce where deals move to Closed Won, or a subscription billing system. The event that triggers your Purchase CAPI call should fire at the moment revenue is confirmed, not when a lead fills out a form.
Option A: Cometly is built specifically for B2B SaaS teams and handles the complexity that raw CAPI integrations miss. You connect Stripe and your CRM to Cometly, and it automatically maps revenue events to the correct ad touchpoints using first-touch and multi-touch attribution logic. When a deal closes or a payment is confirmed, Cometly fires an enriched Purchase event to Meta via CAPI, including the revenue value, currency, and hashed customer data. The key advantage for B2B teams is that Cometly resolves the touchpoint-to-revenue matching problem: it knows which Facebook ad the customer clicked weeks or months before the deal closed, and it passes that context back to Meta. This is something a raw CAPI integration cannot do without significant custom development.
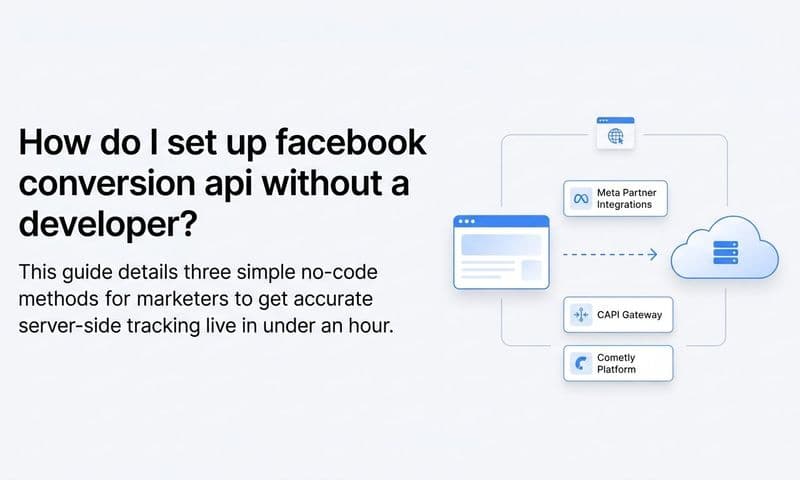
Option B: Meta's native CAPI Gateway is a self-hosted Docker container that Meta provides for teams with developer resources. It gives you direct control over event routing but requires engineering time to map revenue fields, handle hashing, and maintain the infrastructure. It is a good fit for teams with dedicated engineering support who want full control over the integration.
Option C: Segment or another CDP is useful if you already route events through a customer data platform. Segment has a Meta Conversions API destination that can forward purchase events server-side. You would configure your billing system to send events to Segment, then map those events to Meta's CAPI destination with the correct field mappings.
Regardless of which option you choose, the key data fields you must pass in every Purchase event are: event_name (set to "Purchase"), value (the revenue amount as a decimal), currency (three-letter ISO code), event_time (Unix timestamp of the transaction), event_id (unique transaction identifier for deduplication), and customer information parameters hashed with SHA-256, including email (em) and phone (ph) at minimum.
Your chosen tool should show an active connection to both your revenue source and your Meta pixel before you move to the next step.
Step 4: Map Revenue Events and Configure the Purchase Payload
This is where the technical precision matters most. A misconfigured payload means Meta either rejects the event silently or attributes revenue incorrectly. Work through each field carefully.
Start by defining the trigger. What action in your system confirms that revenue has been received? For Stripe, the most reliable triggers are the payment_intent.succeeded webhook or the invoice.payment_succeeded webhook for subscription payments. For CRM-based revenue, the trigger is a deal stage change to Closed Won. Choose the trigger that represents confirmed, collected revenue, not a trial start or a free signup.
Build your Purchase payload with these required and recommended fields:
event_name: Set this to exactly "Purchase" with a capital P. Meta's API is case-sensitive on standard event names.
value: This must be a decimal number, not a string. Send 299.00, not "299.00". Sending value as a string is one of the most common silent failures in CAPI integrations. Meta will accept the request but discard the revenue data without returning an error.
currency: Use the three-letter ISO 4217 code matching the transaction currency. USD, EUR, GBP, and so on. This must match the currency your Ads Manager account is configured to report in, or your ROAS calculations will be skewed.
event_time: A Unix timestamp representing when the transaction occurred. Use the actual transaction time from your payment processor, not the current server time when the event is being sent.
event_id: Use your Stripe payment_intent ID, invoice ID, or CRM deal ID. This must be unique per transaction and must match the event_id you pass in your browser pixel for the same event if you are running both in parallel.
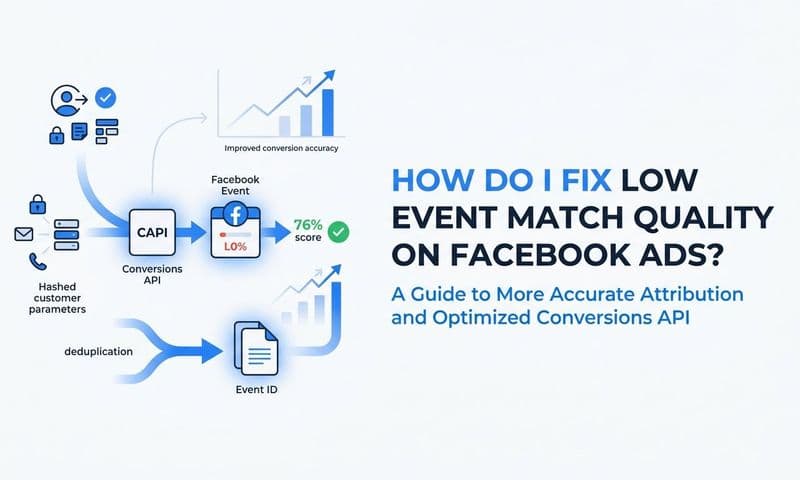
For customer information parameters, hash each value with SHA-256 before sending. The fields that most improve your Event Match Quality score are email (em) and phone (ph). Including first name (fn), last name (ln), city (ct), state (st), zip (zp), and country further improves matching. Do not send unhashed customer data. Meta requires hashing, and sending plain-text personal information is both a policy violation and a privacy risk.
After configuring the payload, send a test event using a real transaction ID from a test environment. In Meta Events Manager, navigate to the Test Events tab and verify that the event appears with event_name set to Purchase and a non-zero value. If the value shows as zero or the event does not appear at all, check that your value field is a number type and that your access token is valid.
Step 5: Test and Validate Revenue Data in Meta Events Manager
Sending events is only half the job. Confirming that those events are being received correctly, attributed accurately, and flowing into Ads Manager reporting is where many setups fall short.
Open Meta Events Manager and navigate to the Test Events tool. Enter your test event code (found in the Test Events tab) and trigger a purchase event from your server. The event should appear in the activity log within a few seconds. Confirm that the event_name shows as Purchase, that the value field contains the correct revenue amount, and that the currency is correct.
Next, check your Event Match Quality (EMQ) score. Meta scores CAPI events on a scale from 0 to 10 based on how well the customer information in your payload matches Meta's user database. A score above 6 out of 10 indicates strong matching, which means Meta can reliably attribute the conversion to the right user and the right ad. If your score is low, the most common fix is adding hashed phone number alongside hashed email. Sending both together typically produces a meaningfully higher score than email alone.
Verify that deduplication is working correctly. In the event log, check that the same event_id does not appear twice. If you see duplicate entries for the same transaction ID, your pixel and CAPI events are not sharing the same event_id, and Meta is counting the conversion twice. Fix this by ensuring your browser pixel passes the same event_id as your CAPI payload for every Purchase event.
Once Events Manager looks clean, move to Ads Manager. Navigate to the Columns settings and add "Website Purchase ROAS" and "Website Purchases Value" to your campaign view. These columns will show revenue attributed to your campaigns once real transactions flow through.
Allow 24 to 48 hours for data to populate in campaign reporting after your initial setup. This is normal. Meta processes and attributes CAPI events on a slight delay compared to real-time Events Manager activity.
One important pitfall to check: revenue data may appear correctly in Events Manager but show nothing in Ads Manager. This usually means the Purchase event has not been selected as the conversion event in your campaign objective. Go to your campaign settings and confirm that Purchase is selected as the conversion event you are optimizing for. Without this, Meta receives the revenue data but does not use it to influence delivery or report it against your campaigns.
Step 6: Monitor Ongoing Data Quality and Optimize Attribution
A server-side integration is not a set-it-and-forget-it system. Data quality can degrade over time as your product changes, your payment processor updates webhooks, or customer data completeness fluctuates. Building a monitoring habit protects the investment you have made in getting this right.
Set up a weekly review of your Event Match Quality scores in Events Manager. A score that drops from 7 to 4 over a few weeks is a signal that something changed in your customer data pipeline, perhaps a field that used to be populated is now coming through empty, or a hashing function was updated incorrectly. Catching this early prevents weeks of degraded attribution data.
Use Cometly's attribution dashboard to compare revenue attributed by Meta against actual closed revenue in your CRM or billing system. This comparison is one of the most valuable checks you can run. If Meta is attributing significantly more revenue than your CRM shows, you likely have a deduplication issue or an attribution window mismatch. If Meta is showing less, you may have gaps in your CAPI coverage, such as transactions that occur outside the tracked flow.
Attribution window selection is particularly important for B2B SaaS products. Meta's default attribution window is 7-day click and 1-day view. For a product with a 30 to 90-day sales cycle, this window will miss most conversions. A prospect who clicked your ad in week one and converted in week six will not appear in your 7-day click window reporting. Adjust your attribution window in Ads Manager to match your actual average sales cycle length. This will not change how Meta optimizes delivery, but it will give you a more accurate picture of campaign performance in your reports.
Feeding accurate, enriched first-party revenue data back to Meta consistently also improves your ad targeting over time. Meta uses Purchase events from your CAPI integration to refine lookalike audiences based on actual paying customers, not just website visitors. The more complete and accurate your revenue events are, the better Meta's algorithm can find new customers who resemble your best ones.
When revenue data in Meta Ads Manager consistently aligns within an acceptable variance range compared to your CRM or billing system, your integration is working correctly. A small variance is normal due to attribution model differences. A large or growing variance is a signal to investigate.
Related Questions About Server-Side Revenue Tracking for Facebook Ads
What is the Meta Conversions API and how is it different from the Facebook pixel?
The Meta Conversions API is a server-to-server integration that sends events directly from your server to Meta, while the Facebook pixel fires from the user's browser and can be blocked by ad blockers or browser restrictions. CAPI gives you more reliable event delivery because it does not depend on the user's device or browser settings. Meta recommends running both in parallel with event deduplication rather than replacing the pixel entirely.
Do I still need the Facebook pixel if I use the Conversions API?
Yes, you should run both in parallel and use event deduplication via a shared event_id so Meta can match and deduplicate them without double-counting conversions. The pixel captures real-time behavioral signals like page views and add-to-cart events that complement the server-side purchase data. Running both gives Meta the most complete picture of the customer journey.
What revenue value should I send in a CAPI Purchase event?
Send the actual transaction revenue amount as a decimal number in your chosen currency, for example 299.00 for a $299 subscription payment. Do not send the value as a string, do not include currency symbols, and do not round to a whole number if the actual amount includes cents. The value field should reflect confirmed, collected revenue, not projected or estimated amounts.
How long does it take for CAPI revenue data to show in Facebook Ads Manager?
Revenue data typically appears in Ads Manager within 24 to 48 hours after a server-side Purchase event is successfully received by Meta. Events Manager will show received events in near real-time, but campaign-level reporting in Ads Manager processes on a delay. If data has not appeared after 48 hours, check that Purchase is selected as the conversion event in your campaign settings.
Can I send B2B deal revenue from my CRM to Facebook Ads via CAPI?
Yes, you can trigger a CAPI Purchase event when a CRM deal moves to Closed Won, passing the deal value as the revenue amount, which is exactly how B2B SaaS teams attribute pipeline revenue back to specific Facebook campaigns. This approach requires that you have stored the customer's contact information (email, phone) in your CRM at the time of the deal, so you can include it as hashed customer data in the CAPI payload for accurate attribution matching.
Quick-Reference Checklist Before You Go Live
Before you flip the switch on your server-side revenue tracking integration, run through this checklist to confirm everything is in place:
Credentials gathered: Pixel ID saved, non-expiring System User access token generated from Business Manager, Ad Account ID noted.
Revenue source connected: Stripe, CRM, or billing system has an active connection to your chosen tracking tool (Cometly, CAPI Gateway, or Segment).
Payload fields mapped correctly: event_name set to "Purchase", value sent as a decimal number (not a string), currency as a three-letter ISO code, event_time as a Unix timestamp, event_id as a unique transaction identifier, and customer data hashed with SHA-256.
Test event validated: A test Purchase event appears in Meta Events Manager with the correct value, currency, and a non-zero Event Match Quality score above 6.
Conversion event selected in campaign settings: Purchase is set as the optimization and conversion event in your active campaigns so revenue data influences delivery and appears in Ads Manager reporting.
Attribution window matched to sales cycle: Your Ads Manager attribution window reflects your actual average time from first ad click to closed deal, not Meta's default 7-day window.
Server-side revenue tracking gives Facebook's ad algorithm accurate purchase signals, which improves campaign optimization and makes your ROAS reporting trustworthy. When Meta receives confirmed revenue data directly from your server, it can optimize delivery toward the users most likely to actually pay, not just click.
B2B SaaS teams that want to skip the manual setup can connect Stripe and their CRM to Cometly, which handles the CAPI integration and maps revenue back to the exact ads that drove each conversion. Get your free demo and start sending enriched, accurate revenue data back to Meta today.