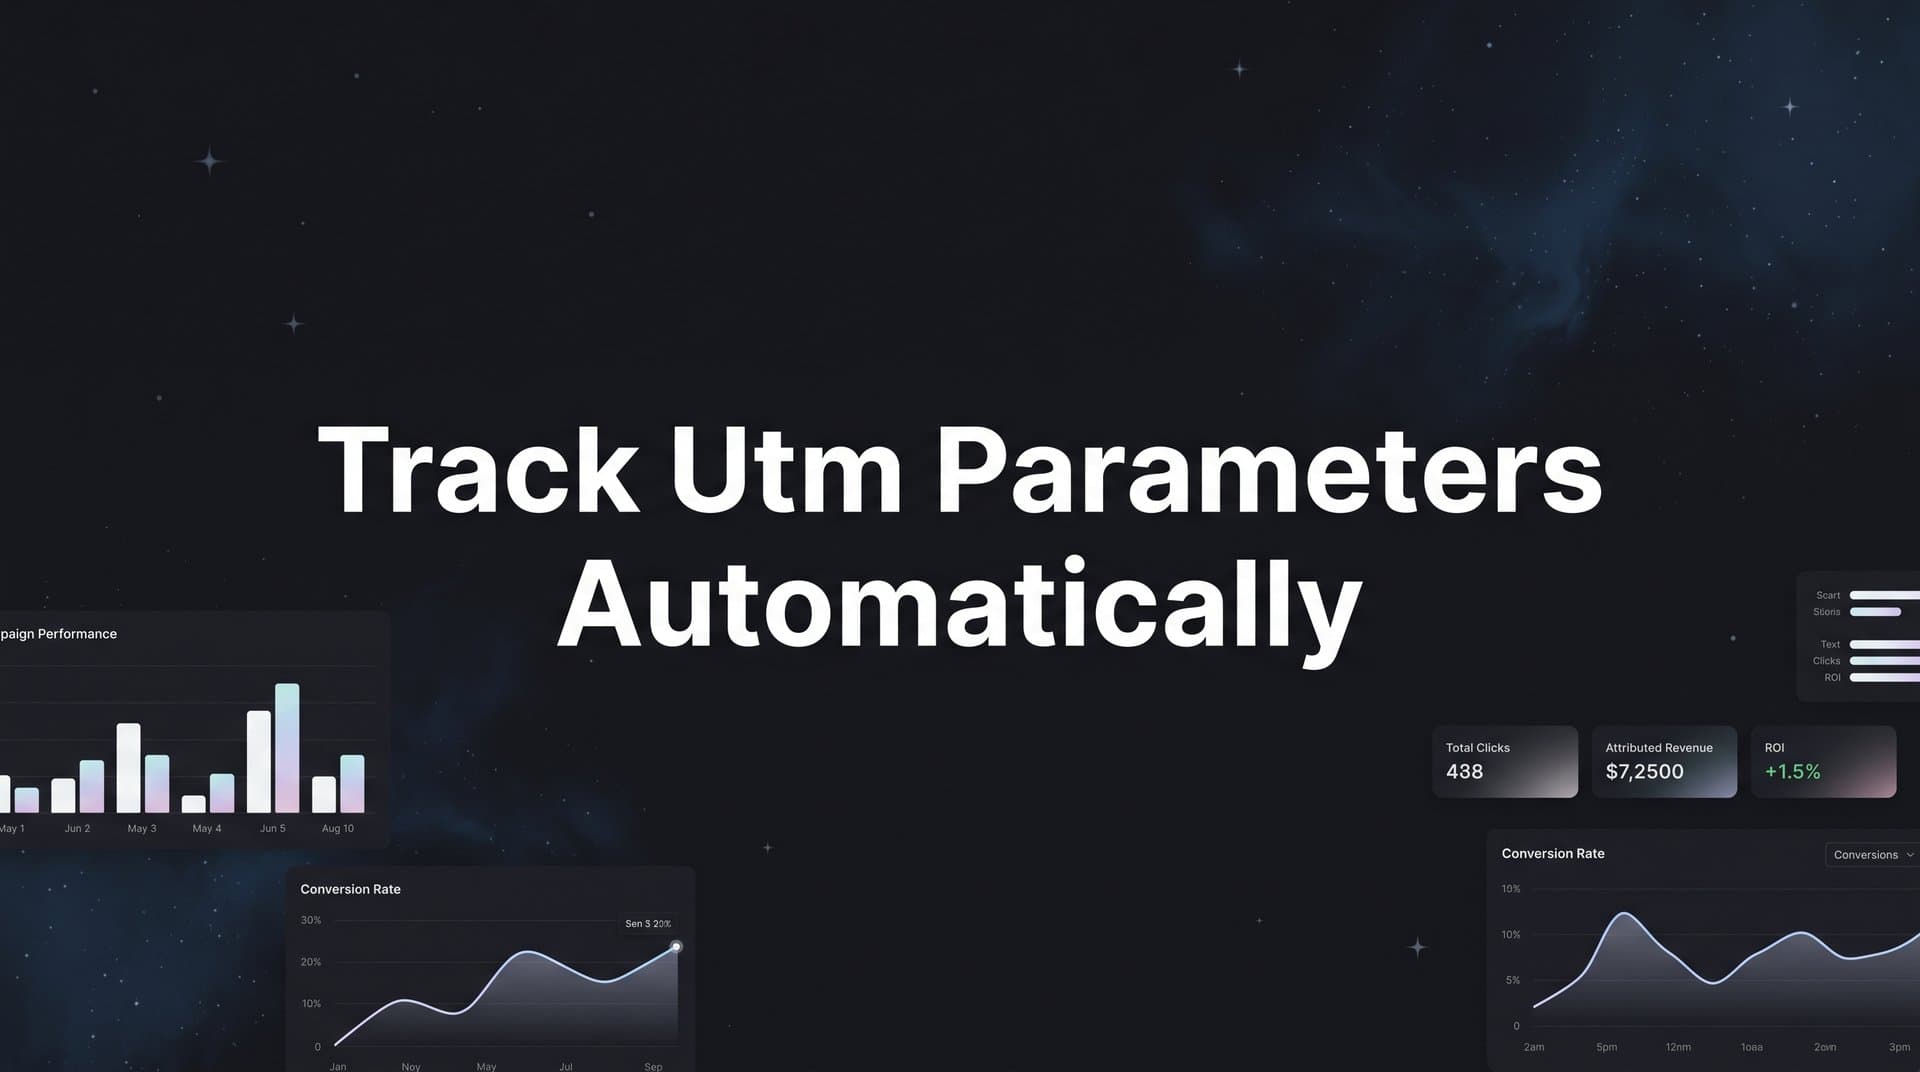
If you are running paid ads across multiple channels and still manually tagging every URL, you are leaving attribution gaps that quietly distort your marketing data. UTM parameters are the foundation of campaign tracking, but manual processes break down fast. A single missed tag, a mistyped source value, or an inconsistent naming convention can corrupt weeks of data and make it impossible to know which campaigns are actually driving pipeline and revenue.
The good news is that UTM parameter tracking can be largely automated, giving your team consistent, reliable data without the overhead of manual URL building. This guide walks you through exactly how to track UTM parameters automatically from scratch.
You will learn how to configure auto-tagging at the ad platform level, standardize your parameter structure, capture UTM data through your funnel, and connect it to revenue outcomes. Whether you are a growth marketer trying to prove ROI on paid spend or a marketing ops leader building a single source of truth, these steps will give you a clean, scalable tracking foundation.
By the end, your UTM data will flow automatically from ad click to CRM, with no manual tagging required and no attribution blind spots. Let's get into it.
Step 1: Define Your UTM Parameter Structure Before Touching Any Settings
Before you configure a single ad platform or write a single line of JavaScript, you need to establish your naming conventions. Skipping this step is the single most common reason UTM tracking systems fall apart, and it is a problem you cannot fix retroactively.
The five standard UTM parameters each serve a distinct reporting purpose. Here is how to think about each one:
utm_source: Identifies where the traffic comes from. Examples: google, facebook, linkedin, newsletter. This should map to the ad platform or channel, not a campaign name.
utm_medium: Describes the marketing channel type. Examples: cpc, paid-social, email, organic. This is the category that lets you compare channel performance at a high level.
utm_campaign: Names the specific campaign. Examples: q2-brand-awareness, demo-retargeting, competitor-search. This should match your internal campaign naming so reports are readable without a decoder ring.
utm_content: Differentiates ads within the same campaign. Examples: headline-a, video-30s, carousel-v2. Use this for creative testing and ad-level attribution.
utm_term: Captures the keyword for paid search campaigns. For other channels, it can capture audience segment or targeting information.
Once you know what each field means, set your formatting rules. Use lowercase only across all values. Analytics platforms treat "Google" and "google" as two separate sources, which fragments your data silently. Choose hyphens as word separators and stick with them. Decide on abbreviation standards so "paid-social" never becomes "paid_social" or "paidsocial" in different campaigns.
Create a shared UTM taxonomy document and make it accessible to everyone who touches campaigns, including external agencies. This document should list all approved values for utm_source and utm_medium, along with naming conventions for campaigns and content fields. Treat it like a style guide for your data. Understanding how marketers use UTMs for campaigns can help you build a taxonomy that scales across your entire team.
The common pitfall here is assuming everyone on the team will figure it out. They will not. Without a documented standard, you will end up with entries like "Google," "google," "Google-Ads," and "google_ads" all representing the same source in your reports. Those entries can never be merged retroactively without manual data cleaning.
Success indicator: You have a shared document with approved UTM values, formatting rules, and examples for each active channel. Every team member who launches campaigns has reviewed it.
Step 2: Enable Auto-Tagging in Google Ads and Meta Ads
With your naming convention locked in, the next step is to configure auto-tagging at the platform level. This is where the automation actually begins. For Google Ads and Meta Ads, which together account for the majority of paid spend for most B2B SaaS teams, the process is straightforward.
Google Ads Auto-Tagging
In Google Ads, navigate to your account settings and confirm that auto-tagging is turned on. When enabled, Google automatically appends a gclid (Google Click Identifier) parameter to every destination URL at the moment of click. This happens without any manual URL modification required.
Here is an important nuance: the gclid is not a standard UTM parameter. It is a proprietary identifier that Google Analytics decodes automatically on the backend. If you are using Google Analytics as your only analytics tool, this works seamlessly. However, if you are routing data to a CRM or a third-party attribution platform, you will need additional configuration to translate gclid into readable UTM fields.
For multi-platform attribution, the best approach is to enable auto-tagging for the gclid and also append explicit UTM parameters in your final URL suffix at the account or campaign level. This gives you both Google's click-level data and standardized UTM fields that flow into any downstream system. Reviewing the best UTM tracking tools available can help you choose the right platform to handle this translation reliably.
Meta Ads Dynamic Parameters
Meta Ads does not use a click identifier the same way Google does. Instead, it supports dynamic URL parameters using double-curly-brace tokens that are injected at click time. You can configure these in the URL Parameters field at the campaign, ad set, or ad level.
The exact syntax to use in the URL Parameters field looks like this:
utm_source=facebook&utm_medium=paid-social&utm_campaign={{campaign.name}}&utm_content={{ad.name}}&utm_term={{adset.name}}
When a user clicks your ad, Meta replaces the tokens with the actual campaign name, ad name, and ad set name from your account. This means UTM values populate automatically every time, without manual URL building for each new ad.
A few things to verify before moving on. First, check that your destination URLs do not already have conflicting UTM parameters manually appended. If both your ad URL and the URL Parameters field contain utm_source, you will end up with duplicate parameters that break tracking. Second, use the ad preview tool in Meta Ads Manager to click through a live ad and confirm the full UTM string appears correctly in the landing page URL. Do this for at least one ad in each campaign type.
Success indicator: You can click a live Google Ads URL and see a gclid appended. You can click a live Meta ad and see all five UTM parameters populated with the correct campaign and ad names in the landing page URL.
Step 3: Configure Dynamic UTM Parameters for LinkedIn, TikTok, and Other Channels
Google and Meta are usually the largest channels, but most B2B SaaS teams run campaigns across LinkedIn, TikTok, and other platforms as well. Each has its own approach to dynamic URL parameters, and getting them right is essential for consistent attribution across your full media mix.
LinkedIn Campaign Manager
LinkedIn supports dynamic macros in the Tracking section of each campaign. You can append parameters like {campaignName} and {creative} to your destination URLs. The syntax uses single curly braces rather than Meta's double-curly-brace format, so do not mix them up.
A standard LinkedIn tracking URL might look like this: utm_source=linkedin&utm_medium=paid-social&utm_campaign={campaignName}&utm_content={creative}
Set these in the Campaign Manager tracking fields rather than hardcoding them into individual ad URLs. This way, when you duplicate campaigns or create new ads, the dynamic values carry forward automatically.
TikTok Ads Manager
TikTok supports dynamic URL parameter tokens including __CAMPAIGN_NAME__ and __AID__ (the ad ID). You configure these in the tracking URL field within TikTok Ads Manager. The token format uses double underscores, which is different from both Google and LinkedIn, so always verify the correct syntax in TikTok's documentation for the current version. If you want a deeper look at platform-specific tracking capabilities, this guide on TikTok ad tracking covers what to look for in a reliable setup.
Channels Without Native Dynamic Tagging
For channels that do not support dynamic macros, create a UTM builder template in a shared spreadsheet. Pre-fill the utm_source and utm_medium fields for each channel. Campaign managers only need to fill in the campaign-specific values and generate the final URL. This reduces errors while keeping the process fast.
Storing UTM Values Across Sessions With Google Tag Manager
Here is where many tracking setups fall short. A user clicks your ad, lands on your site with UTM parameters in the URL, then navigates to another page. The UTM values disappear from the URL on that second page. If your form is on a different page from your landing page, you will lose the attribution data.
The solution is to use Google Tag Manager to capture UTM values on page load and store them in first-party cookies. Set the cookie expiration to 30 days to match standard attribution windows. On every subsequent page load, your JavaScript reads the UTM values from the cookie rather than the URL, so attribution persists through the entire conversion funnel. This is a core part of cross-channel tracking implementation that many teams overlook until they see gaps in their data.
This first-party cookie approach is also more resilient than relying solely on URL parameters, because it survives page navigations, form redirects, and multi-step conversion flows.
Success indicator: Click a live ad from each active channel in an incognito browser window. Verify the full UTM string appears in the landing page URL for each channel. Then navigate to a second page on the site and confirm the UTM values are still accessible via your cookie or data layer.
Step 4: Capture UTM Data Through Forms and Pass It to Your CRM
UTM parameters in a URL are only useful if they make it into your CRM. The standard method for doing this is hidden form fields, and it is one of the highest-leverage steps in the entire setup.
How Hidden Form Fields Work
A hidden form field is an input element in your HTML form that is invisible to the user but submits its value along with the rest of the form data. You add one hidden field for each UTM parameter you want to capture: utm_source, utm_medium, utm_campaign, utm_content, and utm_term.
On page load, a JavaScript snippet reads the UTM values from either the URL parameters or the first-party cookie you set in the previous step, then populates the hidden fields with those values. When the user submits the form, all five UTM values are included in the submission and flow into your CRM as lead source fields.
Implementation in HubSpot, Marketo, and Custom Forms
Most marketing automation platforms support this natively or with minimal configuration. In HubSpot, you can add hidden fields to any form and map them to contact properties. HubSpot also has a native UTM capture feature that stores UTM values automatically when a contact first visits your site.
In Marketo, you add hidden fields to your forms and use a JavaScript snippet to populate them from URL parameters or cookies. The values then map to lead fields in your database, enabling attribution reporting at the lead and opportunity level. Using dedicated lead tracking software alongside your CRM can make this mapping significantly more reliable and easier to audit.
For custom HTML forms, the implementation is a short JavaScript function that runs on page load, reads each UTM parameter from the URL or cookie, and sets the value of the corresponding hidden input field. This is a well-documented pattern and straightforward to implement for any developer.
Handling Multi-Touch Scenarios
Decide upfront whether you want to capture first-touch UTM values, last-touch UTM values, or both. First-touch captures the original source that brought a lead to your site. Last-touch captures the source from the most recent visit before conversion.
The cleanest approach for B2B SaaS is to store both. Save the first-touch UTM values to separate CRM fields when a new contact is created, and update the last-touch fields on every subsequent form submission. This gives your attribution platform the full picture without forcing you to choose one model at the data capture layer.
A common pitfall to avoid: if your forms do not have hidden fields for all five UTM parameters, you will silently drop attribution data. A form that only captures utm_source and utm_medium will lose campaign and creative-level attribution entirely, limiting your ability to optimize at the ad level.
Success indicator: Submit a test form with all five UTM parameters in the URL. Check the resulting CRM record and confirm all five values appear correctly in the lead source fields. Test this for both first-visit and return-visit scenarios.
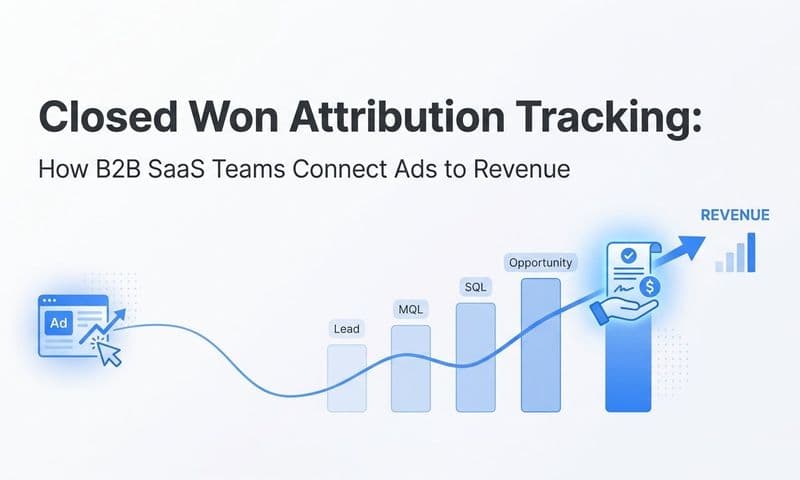
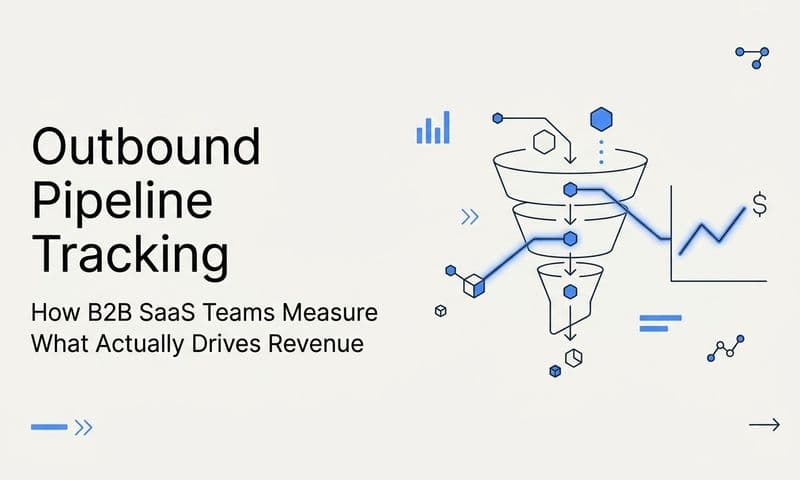
Step 5: Connect UTM Data to Revenue With an Attribution Platform
UTM data sitting in a CRM as text fields is not attribution. It is raw data. The difference between raw data and actionable attribution intelligence is a system that connects those UTM values to actual pipeline, closed-won revenue, and ad spend. This step is where your tracking investment pays off.
Why CRM Data Alone Is Not Enough
Your CRM knows which lead came from which UTM source. But it does not know how much you spent on that campaign, what the CPL was, how many touches it took to close the deal, or what the ROI looks like by channel. To answer those questions, you need a platform that joins your UTM data with ad platform spend data and revenue data in a single view. Choosing the right marketing attribution platform is what separates teams that guess from teams that know.
How Cometly Turns UTM Data Into Revenue Attribution
Cometly ingests UTM parameter data alongside ad platform APIs, CRM events, and website behavior to build a complete customer journey view. Instead of looking at UTM source fields in isolation, you can see exactly which campaigns, ad sets, and creatives drove leads that converted to pipeline and closed-won revenue, with corresponding ad spend and ROI calculations at every level.
This matters because the campaign that drives the most leads is often not the campaign that drives the most revenue. Without connecting UTM data to downstream revenue outcomes, you risk optimizing for the wrong metric and misallocating budget. Tracking closed-won revenue by campaign is the clearest way to validate which channels are actually delivering business results.
Server-Side Tracking for Reliable UTM Capture
Browser-based UTM tracking has a growing reliability problem. iOS Intelligent Tracking Prevention, ad blockers, and the deprecation of third-party cookies all reduce the percentage of clicks where UTM values are successfully captured and stored in the browser. For B2B SaaS companies with long sales cycles, a missed touchpoint early in the funnel can mean an entire deal goes unattributed.
Server-side tracking via Conversion APIs, including Meta's Conversion API and Google's Enhanced Conversions, sends UTM and conversion data directly from your server rather than relying on the browser. Cometly's server-side tracking capability ensures UTM values are captured even when browser-based tracking is blocked, giving you a more complete picture of every customer journey. Understanding why server-side tracking is more accurate helps explain why this approach is increasingly essential for reliable attribution.
Multi-Touch Attribution Models Built on UTM Data
Once your UTM data is flowing cleanly into an attribution platform, you can apply different attribution models to understand how credit should be distributed across touchpoints. First-touch, last-touch, linear, and data-driven models all use your UTM parameters as the backbone for identifying which sources and campaigns contributed to each conversion.
Clean, consistent UTM data is what makes these models accurate. If your UTM values are fragmented or missing, every attribution model will produce unreliable results regardless of how sophisticated the algorithm is.
Success indicator: You can view a report showing pipeline or revenue attributed to each utm_source and utm_campaign, with corresponding ad spend and ROI. You can compare performance across channels and make budget allocation decisions based on actual revenue data, not just lead volume.
Step 6: Audit and Validate Your UTM Tracking on a Regular Cadence
Automatic tracking systems degrade over time. Ad accounts change. Landing pages get updated. New campaigns launch without proper tagging. A setup that works perfectly today can develop gaps within weeks if no one is actively monitoring it. This is why a regular audit process is as important as the initial setup.
Building a Monthly UTM Audit Process
Set a recurring monthly task to pull a traffic source report from your analytics platform or attribution tool. Look for three specific failure patterns.
First, check for direct traffic spikes. A sudden increase in direct traffic often means UTM parameters are being stripped by a redirect somewhere in your funnel. This is common when ad destination URLs pass through a redirect chain before reaching the final landing page. Each redirect is an opportunity for UTM values to be lost.
Second, look for "(not set)" values in your campaign and source reports. These indicate sessions where UTM parameters were present but not captured correctly. This can point to a misconfigured cookie, a form missing hidden fields, or a page load timing issue with your JavaScript. A structured approach to fixing conversion tracking gaps can help you diagnose and resolve these issues systematically.
Third, scan for naming convention violations. Look for capitalized source values, inconsistent separators, or campaign names that do not match your taxonomy document. These entries are easy to spot and usually indicate a new campaign was launched without following the established process.
Assigning Ownership and Building Checklists
Assign UTM hygiene ownership to a specific person on your team. Without a named owner, audits get skipped and data quality erodes quietly. Build a UTM verification checklist into your campaign launch process so every new campaign is reviewed before it goes live.
If your attribution platform supports validation rules, configure them to flag non-compliant parameter values automatically. This creates a real-time alert system rather than a monthly cleanup task.
Success indicator: Less than five percent of paid traffic sessions are missing UTM attribution in any given month. Your traffic source report shows clean, consistent values that match your taxonomy document with no rogue entries.
Putting It All Together: Your UTM Automation Checklist
Automatic UTM tracking is not a one-time setup task. It is an ongoing system that requires a clear naming convention, platform-level configuration, funnel-wide data capture, and a revenue attribution layer to deliver real value. When all six steps are in place, your team stops guessing which campaigns drive pipeline and starts making budget decisions based on clean, connected data.
Here is a quick checklist to confirm your setup is complete:
UTM taxonomy document: Created, shared with all stakeholders, and reviewed by everyone who launches campaigns.
Google Ads auto-tagging: Enabled in account settings, with explicit UTM parameters added as a final URL suffix for CRM and third-party tool compatibility.
Meta Ads dynamic parameters: Configured in the URL Parameters field at the campaign level using Meta's dynamic token syntax.
LinkedIn and TikTok dynamic parameters: Set up using each platform's native macro syntax in the tracking URL fields.
Cookie-based UTM persistence: Implemented via Google Tag Manager so UTM values survive multi-page sessions and form redirects.
Hidden form fields: Added to all conversion forms for all five UTM parameters, with JavaScript populating values from cookies on page load.
CRM attribution fields: Receiving first-touch and last-touch UTM values correctly on all new lead records.
Attribution platform: Connected to UTM data, ad spend, and revenue so you can report ROI by source, medium, and campaign.
Monthly audit process: Scheduled with a named owner and a launch checklist in place for new campaigns.
If you are ready to move beyond raw UTM data and connect every ad click to closed-won revenue, Cometly gives B2B SaaS marketing teams the attribution infrastructure to do exactly that. From server-side tracking to AI-powered campaign recommendations, it is built to turn your UTM data into decisions that scale revenue. Get your free demo today and start capturing every touchpoint to maximize your conversions.