If you are running paid ads and using HubSpot as your CRM, you already have two powerful tools in your stack. The problem is that most B2B SaaS teams never connect them properly, which means your marketing data tells one story and your revenue data tells another.
You end up guessing which campaigns actually drove pipeline, which channels closed deals, and where to put your budget next quarter. It is a frustrating position to be in, especially when you have significant ad spend on the line.
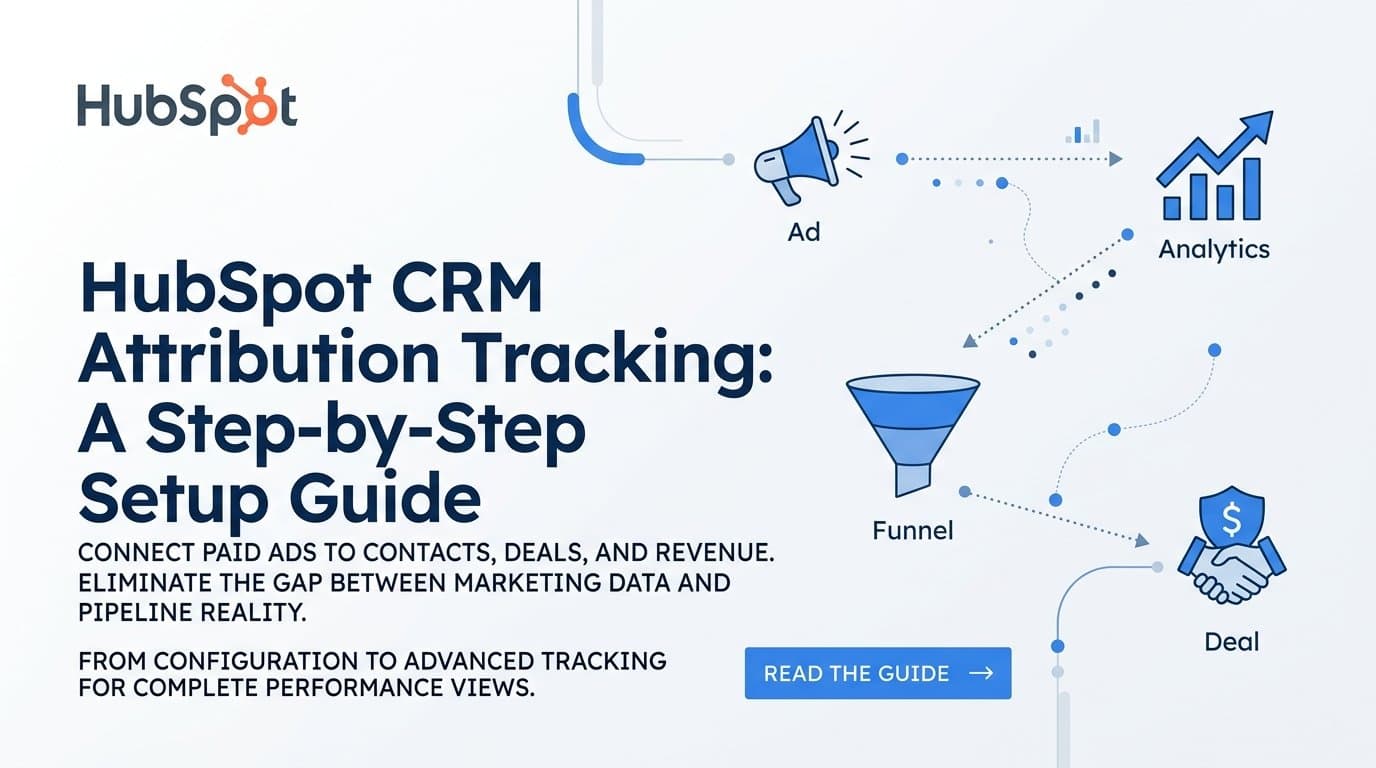
HubSpot CRM attribution tracking solves this by linking your marketing touchpoints directly to contacts, deals, and revenue inside your CRM. When it works correctly, you can see exactly which ad, channel, or campaign influenced a closed-won deal. You stop relying on last-click guesses and start making decisions based on the full customer journey.
This guide walks you through the complete setup process, from configuring HubSpot's native attribution tools to layering in advanced tracking for a complete picture of your marketing performance. Whether you are a marketing manager setting this up for the first time or a growth leader auditing an existing setup, each step is designed to be actionable and produce a measurable outcome.
By the end, you will have a working attribution system inside HubSpot that connects your ad spend to pipeline and revenue, giving your team a reliable foundation for data-driven decisions. Let's get into it.
Step 1: Configure HubSpot's Tracking Code and UTM Standards
Before any attribution data can flow into HubSpot, two foundational elements need to be in place: the HubSpot tracking code installed on every page of your website, and a consistent UTM naming convention applied across all your ad platforms.
Think of these as the plumbing behind your attribution system. If either one is missing or inconsistent, everything downstream breaks.
Install the HubSpot tracking code: Navigate to Settings > Tracking and Analytics > Tracking Code in HubSpot and copy your unique embed script. This code needs to live on every page where a prospect might land, including your main website, landing pages, blog, and any campaign-specific pages. If you are using a CMS like WordPress or Webflow, most teams install it via a global header snippet so it fires on every page automatically.
Once installed, verify it is working by visiting your site and checking HubSpot's built-in diagnostics under the same tracking settings panel. You can also use browser developer tools to confirm the HubSpot tracking pixel fires on page load. Do not skip this verification step. A tracking code that appears installed but is not firing correctly is one of the most common causes of missing attribution data.
Establish a UTM naming convention: This is where most teams leave significant attribution accuracy on the table. Without a documented and enforced naming convention, the same channel can appear as dozens of different source values in HubSpot reports. For example, "Paid-Social," "paid_social," "PaidSocial," and "facebook-ads" all describe the same channel but HubSpot treats them as four separate sources.
The standard parameters to define are utm_source, utm_medium, utm_campaign, utm_content, and utm_term. Use lowercase values throughout, and separate words with hyphens rather than underscores or spaces. A clean example for a Google Ads campaign might look like: utm_source=google, utm_medium=cpc, utm_campaign=brand-awareness-q3, utm_content=responsive-search-ad.
Document and distribute your convention: Create a shared naming guide and make it mandatory for anyone building campaigns, including agencies or contractors. A simple spreadsheet with approved values for each parameter works well. The goal is that six months from now, every source in your HubSpot attribution reports is clean, consistent, and aggregatable.
Success indicator: When you visit Reports > Traffic Analytics in HubSpot and look at your source breakdown, you should see clean, recognizable channel names with no obvious duplicates or typos. If you see a long tail of oddly named sources, your UTM convention needs tightening before you move to the next step.
Step 2: Set Up HubSpot's Native Attribution Reports
With tracking in place, you can now configure HubSpot's built-in attribution reporting. This is where you start connecting marketing activity to actual business outcomes, not just website sessions.
Navigate to Reports > Attribution in HubSpot. You will see two primary report types: contact create attribution and deal create attribution. Understanding the difference is important before you configure anything.
Contact create attribution shows which marketing interactions influenced a net new contact being created in your CRM. This is useful for measuring top-of-funnel performance and lead generation effectiveness.
Deal create attribution shows which touchpoints influenced a deal being created in your pipeline. For B2B SaaS teams, this is typically more valuable because it connects marketing activity to actual sales opportunities, not just form fills.
Choosing the right attribution model: HubSpot offers several models, and the right choice depends on your sales cycle length and team priorities.
First touch: Assigns all credit to the very first interaction. Useful for understanding which channels initiate awareness, but it ignores everything that happened afterward.
Last touch: Assigns all credit to the final interaction before conversion. Simple to understand but systematically undervalues the channels that started and nurtured the journey.
Linear: Distributes credit equally across all touchpoints. A fair starting point but treats a brief mid-funnel page view the same as a product demo request.
U-shaped (position-based): Gives heavier weight to the first touch and the conversion event, with remaining credit distributed across middle touches. A strong choice for teams that care about both acquisition and conversion.
W-shaped: Adds weight to the opportunity creation touchpoint in addition to first touch and conversion. Well-suited for B2B SaaS companies where the moment a lead becomes a sales opportunity is a meaningful milestone.
For B2B SaaS companies with sales cycles longer than a few weeks and multiple stakeholders involved, multi-touch models like W-shaped or full-path attribution provide a far more accurate picture than first or last touch alone. If your average deal takes 30 to 90 days to close, a lot of meaningful interactions happen in between, and those deserve credit too.
Configure revenue attribution: HubSpot's revenue attribution report ties closed-won deal value back to the marketing interactions that influenced those deals. Set this up by creating a revenue attribution report and selecting the attribution model you chose above. Filter by closed date to analyze specific time periods.
Success indicator: You can open HubSpot's attribution reports and see deal pipeline value broken down by marketing source with a model that reflects your actual sales process. If the numbers look reasonable and match what your sales team is telling you anecdotally, your native setup is working.
Step 3: Connect Your Ad Platforms to HubSpot
HubSpot's native ad integrations allow campaign data from Google Ads and Meta Ads to flow directly into contact records. This is what makes it possible to filter your attribution reports by specific campaigns, ad groups, or even individual ads.
Connect Google Ads: Go to Marketing > Ads in HubSpot and click Connect Account. Select Google Ads and follow the OAuth flow to authorize the connection. Once connected, HubSpot will begin pulling campaign, ad group, and keyword data and associating it with contacts who click your ads and convert on your site.
Critically, make sure auto-tagging is enabled in your Google Ads account settings. Auto-tagging appends a gclid parameter to every ad click URL, which HubSpot reads to accurately attribute paid search conversions. Without auto-tagging, HubSpot cannot distinguish between organic and paid Google traffic reliably.
Connect Meta Ads: Follow the same process to connect your Meta Business account. HubSpot will pull Facebook and Instagram campaign performance data and link it to contacts who convert after clicking a Meta ad. This gives you a CRM-level view of which Meta campaigns are generating leads and influencing deals.
Map campaign names to contact properties: After connecting your ad platforms, verify that campaign data is actually appearing on contact records. Open a handful of recently created contacts who came from paid channels and check their contact properties. You should see fields like "Latest Ad Campaign," "Latest Ad Group," and "Original Source" populated with real campaign data.
This spot-check is non-negotiable. Many teams connect their ad platforms and assume everything is working, only to discover weeks later that contact records are missing campaign data due to a configuration issue or a mismatch between auto-tagging and UTM parameters.
Check 10 to 15 recent leads: Pull a list of contacts created in the last two weeks who came from paid channels. Review their contact records individually to confirm campaign data is present. If you see blank fields where campaign names should appear, investigate whether auto-tagging is enabled, whether your landing pages are passing UTM parameters correctly, and whether HubSpot's ad tracking is fully authorized.
Success indicator: Recent paid contacts have campaign, ad group, and source data populated in their contact records. You can filter a contact list by "Latest Ad Campaign" and see a recognizable list of your active campaigns. That is your confirmation that the ad platform integrations are working correctly.
Step 4: Track Offline Conversions and CRM Events
B2B SaaS buying journeys rarely happen entirely online. Prospects attend webinars, take sales calls, meet your team at events, and respond to direct outreach from SDRs. If these touchpoints are not captured in HubSpot, your attribution picture has significant blind spots.
This step is about making sure your attribution system reflects the full reality of how your deals actually progress, not just the web-based interactions HubSpot can track automatically.
Use workflows to log CRM milestones: HubSpot workflows can automatically log marketing interactions when specific deal stage changes occur. For example, when a deal moves to "Demo Scheduled," you can trigger a workflow that records this as a meaningful touchpoint on the contact's timeline. The same applies to SQL qualification, proposal sent, and other key milestones in your sales process.
This is valuable because it connects the dots between marketing-driven awareness and the downstream sales activities that ultimately close deals. Without it, your attribution reports only tell half the story.
Import offline conversions: If leads come in through channels outside HubSpot forms, such as phone calls, trade show badge scans, or inbound emails, you need a process to import these into HubSpot and tag them with the appropriate source. HubSpot allows manual and bulk imports of contact records with custom source properties.
Create a standardized import template that includes fields for first-touch source, campaign name, and the event or channel that generated the lead. Assign a team member to own this process so offline leads do not fall through the cracks.
Create custom contact properties for source data: For leads that enter through non-web channels, HubSpot's automatic source detection will not fire. Build custom contact properties to store "First Touch Source" and "Last Touch Source" for these contacts, and populate them during the import process or through workflow automation.
Connect sales activity to the attribution timeline: Work with your sales team to ensure that meetings booked, demos delivered, and proposals sent are being logged in HubSpot, either automatically through calendar integrations or manually. The more CRM events you capture, the more complete your attribution picture becomes across the full B2B buying journey.
Success indicator: When you open a contact record for a recently closed deal, the activity timeline shows a meaningful sequence of events including both marketing touchpoints and sales interactions. You can trace the journey from first touch to closed-won without unexplained gaps.
Step 5: Build Attribution Dashboards That Connect Spend to Revenue
Data sitting in individual reports is useful. Data organized into a single dashboard that your whole team can reference is transformative. This step is about building the views that make your attribution system actionable on a daily and weekly basis.
Create a dedicated attribution dashboard: In HubSpot, go to Dashboards and create a new dashboard titled something like "Marketing Attribution" or "Channel Performance." This will be your single destination for understanding which channels and campaigns are driving pipeline and revenue.
Add a contacts-by-original-source report: This report shows how many new contacts each channel generates over a selected time period. It is your top-of-funnel view, useful for understanding which channels are generating the most leads. Build this as a bar chart grouped by "Original Source" and filter by contact create date.
Add a deals-by-original-source report: This is where the real insight lives. Rather than counting leads, this report shows the total pipeline value associated with each source. A channel that generates fewer leads but higher-value deals is often more efficient than one that floods your CRM with low-quality contacts. Build this report using deal data, grouped by the original source of the associated contact, and display both deal count and total deal value.
Layer in campaign-level breakdowns: Add additional reports that break down performance by specific campaign names. This allows you to compare cost per deal across Google Ads, Meta, LinkedIn, and organic channels at the campaign level, not just the channel level. When you connect this data to your actual ad spend, you can start calculating true cost per pipeline dollar by campaign.
Add a closed revenue by source report: Build a report that filters only closed-won deals and groups them by original source or latest campaign. This is your revenue attribution view, the one that answers the question your leadership team actually cares about: which marketing investment produced real revenue?
Success indicator: You can open your attribution dashboard and answer the question "which campaign produced the most closed revenue this quarter" without switching tools, exporting data to a spreadsheet, or asking your sales team. If you can answer that question in under 60 seconds from one screen, your dashboard is doing its job.
Step 6: Extend Attribution Beyond HubSpot with a Dedicated Platform
HubSpot's native attribution tools are genuinely powerful, and the steps above will give you a significant improvement over having no attribution system at all. But it is important to understand where HubSpot's attribution ends and where a dedicated platform becomes necessary.
Where HubSpot attribution has limits: HubSpot's tracking relies primarily on cookies and browser-based pixels. This means it struggles to capture touchpoints that happen across different devices, after a user clears their cookies, or in environments where ad blockers are active. iOS privacy changes have further reduced the reliability of pixel-based tracking for anyone running Meta ads.
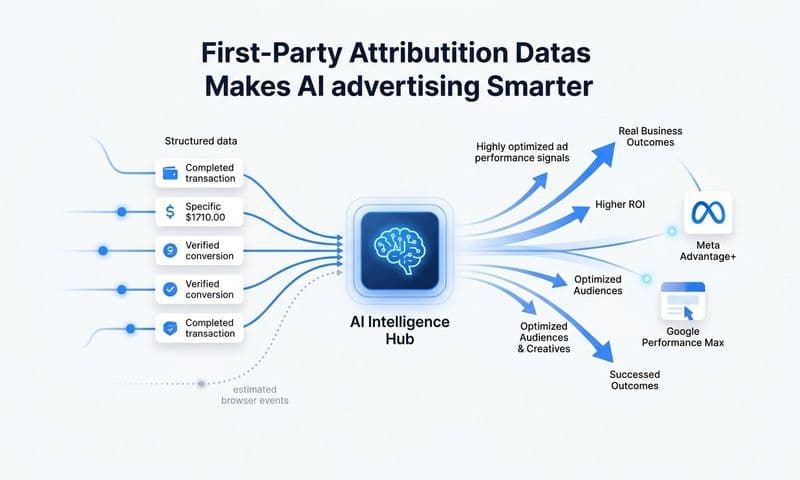
Additionally, HubSpot does not natively send enriched conversion data back to ad platforms like Meta and Google. This matters because ad platform algorithms rely on conversion signals to optimize targeting and bidding. When those signals are incomplete or delayed, your ad performance suffers and your reported ROAS becomes unreliable.
Server-side tracking and Conversion API: The solution to these limitations is server-side tracking combined with Conversion API (CAPI) integration. Instead of relying on a browser pixel to fire and report a conversion, server-side tracking sends conversion data directly from your server to the ad platform. This bypasses browser restrictions entirely and dramatically improves match rates between your CRM data and ad platform data.
Where Cometly fits in: Cometly is purpose-built for B2B SaaS marketing teams that need to go beyond what HubSpot's native attribution can provide. It sits between your ad platforms, your website, your CRM, and your revenue data to create a single source of truth that HubSpot alone cannot deliver.
Cometly captures every touchpoint from first ad click to closed-won revenue, connecting the entire customer journey even when it spans multiple devices or sessions. It integrates with Stripe to connect billing and subscription data directly with ad spend, so you can see actual revenue, not just deal value, attributed to specific campaigns and creatives.
Critically, Cometly sends enriched conversion events back to Meta and Google via server-side CAPI, improving the quality of signals those platforms use to optimize targeting. This means your ad platform AI gets better data, which leads to better targeting, lower cost per acquisition, and more accurate ROAS reporting.
Teams that layer Cometly on top of HubSpot gain multi-touch attribution across the full customer journey, AI-driven insights that surface top-performing campaigns across every ad channel, and the ability to make budget decisions based on actual closed revenue rather than platform-reported numbers. It closes the gap between what HubSpot tracks and what your ad platforms need to perform at their best.
Success indicator: You can compare your HubSpot attribution data with Cometly's multi-touch view and see a more complete picture of which touchpoints are actually influencing revenue. Discrepancies between the two views reveal the blind spots in your current cookie-based tracking, and those are exactly the gaps worth closing.
Putting It All Together: Your Attribution Tracking Checklist
Setting up HubSpot CRM attribution tracking is a progression, not a single task. Here is a quick checklist you can use to audit your current setup or track your progress through each step.
1. HubSpot tracking code installed and verified on all website and landing pages
2. UTM naming convention documented, distributed, and enforced across all ad platforms and team members
3. Native attribution reports configured with the right model for your sales cycle length
4. Google Ads and Meta Ads connected with auto-tagging enabled and contact-level campaign data verified
5. Offline conversions and CRM milestones captured through workflows, imports, and custom properties
6. Attribution dashboard built with source-level and campaign-level views connecting leads, pipeline, and closed revenue
7. Server-side tracking and a dedicated attribution platform layered in to close the gaps HubSpot's pixel-based tracking cannot cover
The progression here is intentional. You start with clean data foundations, build native reporting on top, connect your ad platforms, fill in the offline gaps, create the dashboards your team actually uses, and then extend the system with server-side tracking for complete coverage.
Attribution is not a one-time setup. It is an ongoing system that improves as more data flows through it. The more deals close, the more your multi-touch models sharpen. The more campaigns you run with consistent UTM tagging, the cleaner your source data becomes. Treat it as infrastructure you maintain and refine, not a project you complete and forget.
The goal is not just better reports. It is better decisions about where to invest your marketing budget, which campaigns to scale, and which channels to cut. When your attribution system is working, those decisions become obvious rather than debated.
Ready to close the gap between your HubSpot CRM data and your ad platform performance? Get your free demo of Cometly and see how server-side tracking and AI-driven attribution can give your team a complete, accurate picture of every touchpoint from first click to closed revenue.