
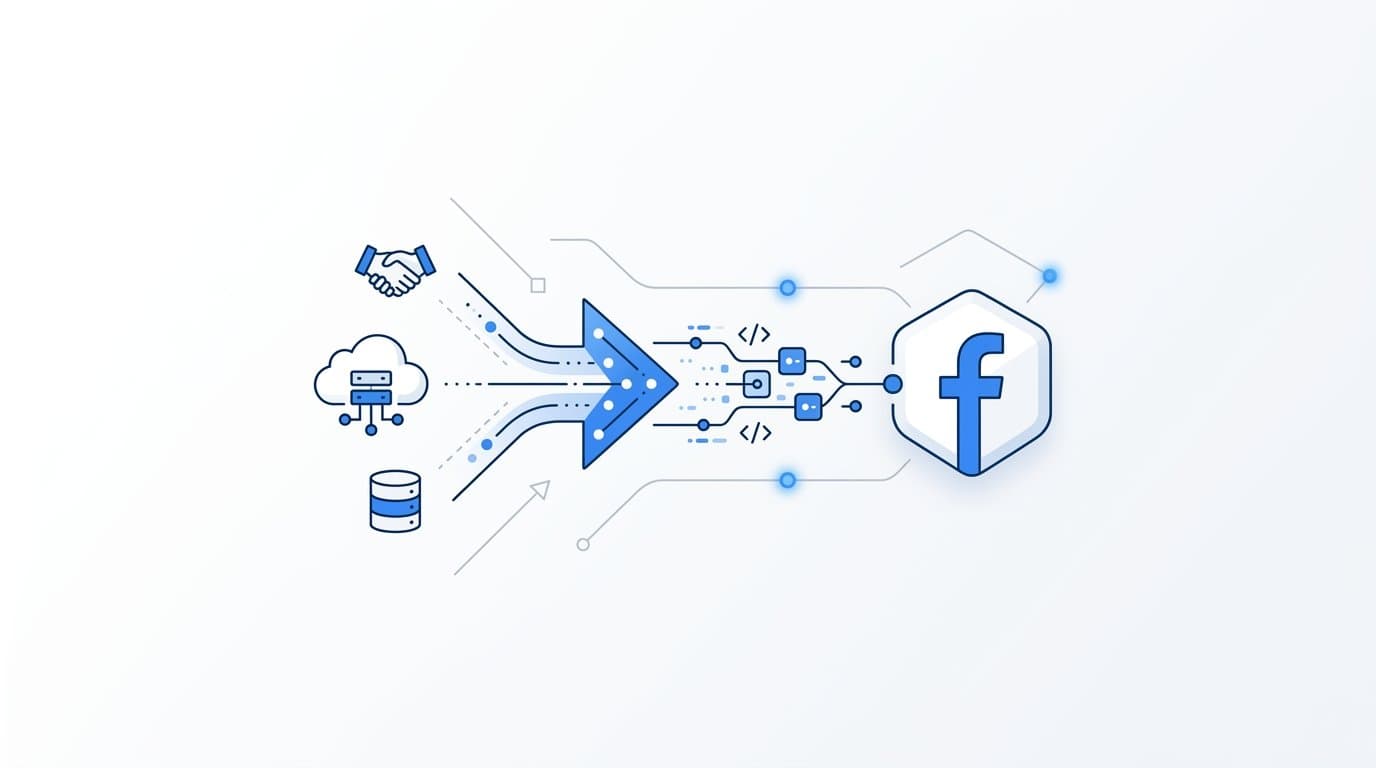
You send offline conversions to Facebook through the Conversion API by collecting conversion event data from your CRM, billing system, or sales tools, then transmitting it server-side to Meta using the CAPI endpoint with matched customer identifiers. This bypasses browser-based pixel limitations entirely and gives Facebook accurate signal on what actually happened after the click.
For B2B SaaS teams, this distinction is critical. Your most valuable conversions, such as closed deals, trial activations, and pipeline milestones, happen days or weeks after the initial ad click and never touch a browser pixel. If Facebook only sees your top-of-funnel form fills, its algorithm optimizes toward the wrong behavior and your ad spend follows.
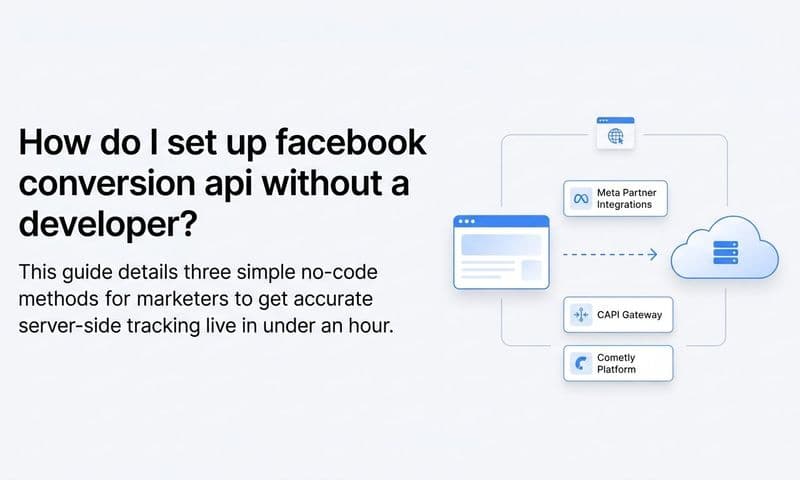
The good news is that CAPI is well-documented and increasingly accessible. Platforms like Cometly handle the entire process automatically: connecting your ad data, CRM events, and revenue data in one place, then sending enriched conversion events back to Meta server-side without requiring custom engineering. If you prefer to build directly, Meta's Graph API gives you full control. You can also use Meta's native tools inside Events Manager or route data through a third-party pipeline.
This guide walks through the complete process step by step, from identifying which events to send all the way through validating match quality in Events Manager, so your Facebook campaigns receive the conversion signals they need to optimize toward real revenue rather than surface-level clicks.
Step 1: Identify Which Offline Conversion Events to Send
Before touching any API, get clear on which events actually matter for your business. Not every CRM stage change is worth sending to Meta. The goal is to give Facebook's algorithm high-quality signals that connect ad clicks to meaningful business outcomes.
For B2B SaaS, the conversion events worth prioritizing typically include:
Sales Qualified Lead (SQL): When a lead is qualified by your sales team, this represents a meaningful step beyond a form fill and maps well to Meta's Lead standard event.
Trial Started or Activated: A user who activates a free trial has demonstrated real intent. Map this to CompleteRegistration or a custom event name.
Opportunity Created: If your sales team creates a deal in your CRM, this is a strong mid-funnel signal. Use Lead or a custom event depending on your funnel structure.
Closed-Won Deal: This is your most valuable event. Map it to Meta's Purchase standard event and include the deal value so Meta can calculate ROAS against actual revenue.
Subscription Renewal: For SaaS businesses with monthly or annual billing, renewals represent retained revenue. Map these to Subscribe.
Once you have your list, map each event to a Meta standard event name where possible. Standard events get better treatment in Meta's optimization algorithms compared to fully custom event names. Only use custom names when no standard event fits your use case.
A common mistake here is sending too many events at once. If you push fifteen different CRM stage changes to Meta, you dilute the signal quality and make it harder for the algorithm to learn what actually drives revenue. Start with two to four high-intent conversion points, validate that they are working correctly, then expand from there.
Also decide on event timing upfront. Real-time server events, triggered as soon as the conversion occurs, are strongly preferred over batched uploads because they feed optimization signals to Facebook's algorithm faster. Batched uploads work for historical data backfills, but for ongoing campaign optimization, real-time transmission is the right approach.
Step 2: Gather the Data Fields Meta Requires for Matching
Meta matches your offline conversion events to real user accounts using the customer data you include in each event payload. The more identifying information you send, the higher your Event Match Quality (EMQ) score, and the more conversions get attributed back to your ads.
Here is what Meta uses for matching:
Email address (em): The strongest identifier for B2B SaaS. Email is collected at signup or form fill and is typically available in your CRM for every lead.
Phone number (ph): Useful when collected, but less consistently available in B2B contexts.
First name (fn) and last name (ln): Easy to collect and worth including even if they feel basic. They contribute to match confidence when combined with other identifiers.
City, state, zip code, and country: Geographic identifiers help Meta confirm a match when other signals are ambiguous.
Date of birth: Less commonly collected in B2B funnels, but include it if you have it.
At a minimum, every event needs an event name, an event time expressed as a Unix timestamp, and at least one customer identifier. In practice, you should aim to include email plus first and last name at a minimum, and add phone and location data whenever your CRM has it.
One field that dramatically improves match accuracy is the fbclid, the Facebook Click ID that Meta appends to ad click URLs as a query parameter. When a user clicks your Facebook ad and lands on your site, the fbclid is present in the URL. If you capture it at that moment and store it through your funnel, you can include it in your CAPI payload later and create a direct link between the ad click and the offline conversion.
The key is capturing fbclid at the point of the initial click, not just at the landing page. Pass it through your funnel using URL parameters or first-party cookies so it is available when the conversion event fires in your CRM days or weeks later.
All personally identifiable information must be hashed using SHA-256 before transmission. This is a documented requirement from Meta, not optional. If you are using a platform like Cometly, hashing is handled automatically. If you are building a direct integration, you are responsible for hashing every PII field before including it in the payload.
Step 3: Set Up Your Meta CAPI Access and Credentials
With your events defined and your data fields identified, you need to configure access to Meta's Conversion API before you can send anything.
Start in Meta Events Manager. Select the Pixel associated with your ad account, then navigate to Settings. Your Pixel ID is displayed here and is required for every API call.
Next, generate a CAPI Access Token. Inside Events Manager, go to Settings, then find the Conversions API section, and select Generate Access Token. Copy this token and store it securely. It is the credential that authenticates your server's requests to Meta's API.
If you are using a partner platform like Cometly, you skip manual token management entirely. You connect your Meta ad account through Cometly's integration settings, and the platform handles credential management, token storage, and API authentication on your behalf.
For direct API builds, your events are sent to this endpoint:
https://graph.facebook.com/v18.0/{pixel-id}/events
Your access token is passed as a query parameter in each request. Replace {pixel-id} with your actual Pixel ID from Events Manager.
One important note on access tokens: personal user tokens can expire or become invalid if the user's permissions change. For production environments, create a system user token instead. System users are created in Meta Business Manager under Business Settings, and their tokens do not expire the way personal user tokens do. This prevents your integration from silently breaking when a token rotates.
Before going live, create a Test Event Code inside Events Manager under the Test Events tab. This lets you send test payloads and see them appear in real time in the Events Manager interface without affecting your live data or ad optimization. Use this throughout your setup process to confirm that events are being received and structured correctly.
Step 4: Structure and Send the Conversion Event Payload
Each CAPI request sends a JSON payload to Meta's Graph API endpoint. Understanding the structure of that payload is essential for getting events to register correctly.
Every payload includes a data array containing one or more event objects. Each event object requires these core fields:
event_name: The Meta standard event name or your custom event name, such as Purchase, Lead, or CompleteRegistration.
event_time: A Unix timestamp representing when the conversion occurred. This is not when you are sending the event, but when the actual conversion happened. Events older than 7 days will not be used for campaign optimization, though they are still recorded in reporting. This is a hard technical limit documented by Meta.
user_data: The object containing your hashed customer identifiers. Include em for email, ph for phone, fn and ln for name, plus fbc for the stored fbclid value and fbp for the Facebook browser ID cookie when available.
custom_data: For Purchase events, include value (the revenue amount as a number) and currency (the ISO currency code, such as USD). This is what powers ROAS calculation in Meta Ads Manager and is critical for B2B SaaS teams who want to connect ad spend to actual contract value.
action_source: For offline conversions that did not originate in a browser, set this to system_generated. For web events, use website. Getting this field right ensures Meta categorizes your events correctly.
You can send up to 1,000 events per API call, which makes batching efficient for historical data or high-volume pipelines. For real-time conversion signals, send events as they occur rather than waiting to batch them, since faster signals improve campaign optimization.
During testing, include your Test Event Code as a parameter in the request. Events sent with a test code appear in the Test Events tab in Events Manager within seconds and do not affect live reporting or ad optimization. Remove the test code before going to production.
Step 5: Implement Deduplication to Avoid Double-Counting
If you run both a browser pixel and server-side CAPI, Meta will receive the same conversion event twice unless you implement deduplication. Without it, your reported conversions will be inflated and your optimization signals will be noisy.
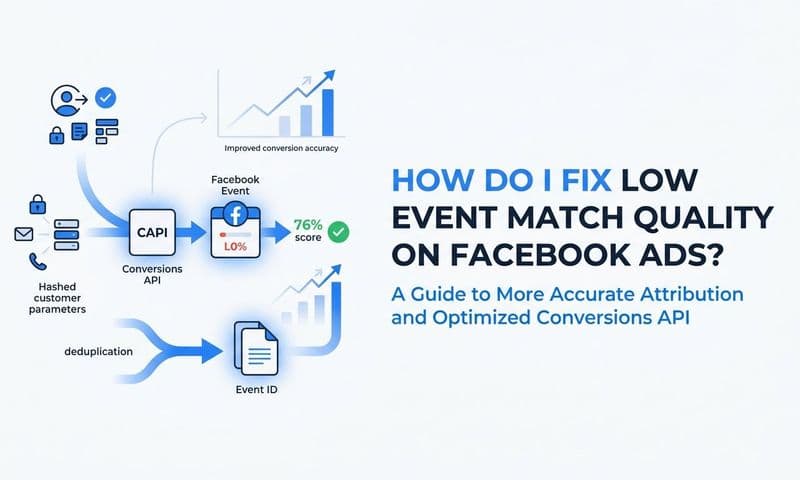
Meta deduplicates events by matching the event_id field. When the same conversion fires both from the browser pixel and from your server-side CAPI call, both events need to carry the same unique event_id. Meta will then recognize them as duplicates and count them only once.
Here is how to implement it correctly:
1. At the moment a conversion occurs, generate a unique identifier. This can be a UUID, your CRM's record ID for that deal or lead, or any string that uniquely identifies this specific conversion event.
2. Pass that identifier to your browser pixel's fbq() call using the eventID parameter in the event options object.
3. Include the same identifier as the event_id field in your CAPI payload for that same conversion.
4. Meta deduplicates events that share the same event_name and event_id within a 48-hour window. Events outside that window are not deduplicated, so timely transmission matters.
Platforms like Cometly handle deduplication automatically by managing event IDs across both pixel-fired and server-side events. This removes one of the most error-prone parts of a manual CAPI implementation.
To verify that deduplication is working, open Events Manager and look at the Events table. There should be a Deduplicated column showing how many events were recognized as duplicates and collapsed. If you have both pixel and CAPI active but see zero deduplication, your event_id values are not matching between the two sources. Go back and confirm that the same ID is being passed to both the pixel call and the CAPI payload for each conversion.
Step 6: Validate Event Quality and Monitor in Events Manager
Sending events is only half the job. You need to confirm that Meta is receiving them correctly, matching them to user accounts effectively, and using them for optimization.
Start in Meta Events Manager and open the Overview tab. You should see your events listed with recent activity. If events are not appearing, check your access token, confirm your Pixel ID is correct in the API endpoint, and verify that your server is actually making outbound requests to Meta's API.
Next, review the Event Match Quality (EMQ) score for each event. EMQ is scored from 0 to 10. Meta considers a score of 6.0 or above to be strong matching. Scores below 4.0 typically indicate that your customer identifiers are missing, incorrectly formatted, or not being hashed properly.
To improve a low EMQ score, open the event detail and look at the breakdown of which match parameters are contributing. If email is your only identifier and your score is low, adding phone number, city, or zip code to your payloads will often push the score higher. Each additional identifier gives Meta more data points to confirm a match.
Use the Test Events tab to send individual test payloads and confirm they appear with the correct event name, parameters, and user data within seconds. This is the fastest way to debug payload structure issues before they affect live data.
Check the Diagnostics tab regularly for errors. Common issues include invalid hashing format (PII fields not correctly SHA-256 hashed), missing required fields, and events with timestamps outside the accepted window. Meta surfaces these as warnings or errors that tell you exactly what needs to be fixed.
Set up a recurring check on event volume. A sudden drop in received events often signals a broken integration, an expired access token, or a CRM workflow that stopped triggering. Monitoring event volume weekly catches these issues before they quietly drain your ad budget on bad optimization data.
Related Questions About Facebook Offline Conversions and CAPI
What is the difference between Meta's Offline Conversions tool and the Conversions API?
Meta's Offline Conversions tool is a legacy CSV upload method, while the Conversions API is a real-time server-side integration that feeds optimization algorithms continuously. Meta has been migrating advertisers away from the legacy tool toward CAPI because real-time server-side events give the algorithm far better signal for campaign optimization than periodic batch uploads.
How far back can I send offline conversion events to Facebook?
Meta accepts events up to 7 days old for campaign optimization. Events older than 7 days are recorded and appear in reporting, but they are not used to optimize active campaigns. This 7-day limit is a hard technical constraint documented by Meta, not an estimate. For B2B SaaS deals with longer sales cycles, this means you should transmit conversion events as soon as they occur in your CRM rather than waiting to batch them.
Do I need a Facebook Pixel if I am using the Conversions API?
No, you can run CAPI without a pixel. However, running both together with proper deduplication gives you the most complete data coverage. The pixel captures browser-based events like page views and add-to-cart actions, while CAPI captures server-side and offline events. Together, they give Facebook a fuller picture of the customer journey across both browser and non-browser touchpoints.
What is a good Event Match Quality score on Meta?
Meta considers an EMQ score of 6.0 or above to be strong. Scores below 4.0 typically indicate missing or low-quality customer identifiers in your event payloads. The most impactful improvements usually come from adding email (if missing), including the fbclid when available, and adding geographic identifiers like city and zip code.
Can I send CRM deal data like pipeline stage or closed-won revenue to Facebook?
Yes. You map CRM events to Meta standard events such as Purchase for closed-won deals or Lead for pipeline stage changes, and include the deal value in the custom_data.value field. This enables revenue-based ROAS reporting directly in Meta Ads Manager, so you can see which campaigns are generating actual contract value rather than just clicks or form fills.
Putting It All Together
Before you go live, run through this checklist to confirm your integration is complete:
Events identified and mapped: You have selected two to four high-intent conversion events and mapped each to a Meta standard event name.
Customer identifiers collected: Email, name, and location data are being captured and stored in your CRM or data pipeline for each conversion.
Data hashed correctly: All PII fields are SHA-256 hashed before transmission, or your platform handles hashing automatically.
CAPI credentials secured: You have a system user access token stored securely and your Pixel ID confirmed.
Payloads structured correctly: Each event includes event_name, event_time, user_data, action_source, and custom_data where applicable.
Deduplication implemented: The same event_id is being passed to both your pixel and your CAPI payload for each conversion.
EMQ validated: Your Event Match Quality score is 6.0 or above in Events Manager.
When all of these are in place, Facebook's algorithm can optimize toward your actual revenue events rather than top-of-funnel clicks. For B2B SaaS teams managing multiple ad channels, CRM data sources, and longer sales cycles, the manual engineering work involved in a direct CAPI build is substantial. A platform like Cometly removes that burden by handling CAPI setup, event enrichment, SHA-256 hashing, and deduplication automatically, connecting your ad data, CRM, and revenue in one place.
Ready to skip the custom engineering and get accurate offline conversion signals flowing to Meta? Get your free demo and see how Cometly connects your CRM, ad data, and revenue to send enriched conversion events to Facebook automatically.